Content .. 1848 1849 1850 1851 ..
Chevrolet Silverado / GMC Sierra. Manual - part 1850

Fig. 221: View Of Exhaust Particulate Filter Nuts
Courtesy of GENERAL MOTORS CORP.
5. Install the exhaust muffler to exhaust particulate filter nuts (1).
Tighten: Tighten the nuts to 45 N.m (33 lb ft).
NOTE:
Refer to Fastener Notice .
2008 Chevrolet Silverado 1500
2008 ENGINE Engine Exhaust - Cab & Chassis Sierra, Cab & Chassis Silverado, Sierra & Silverado
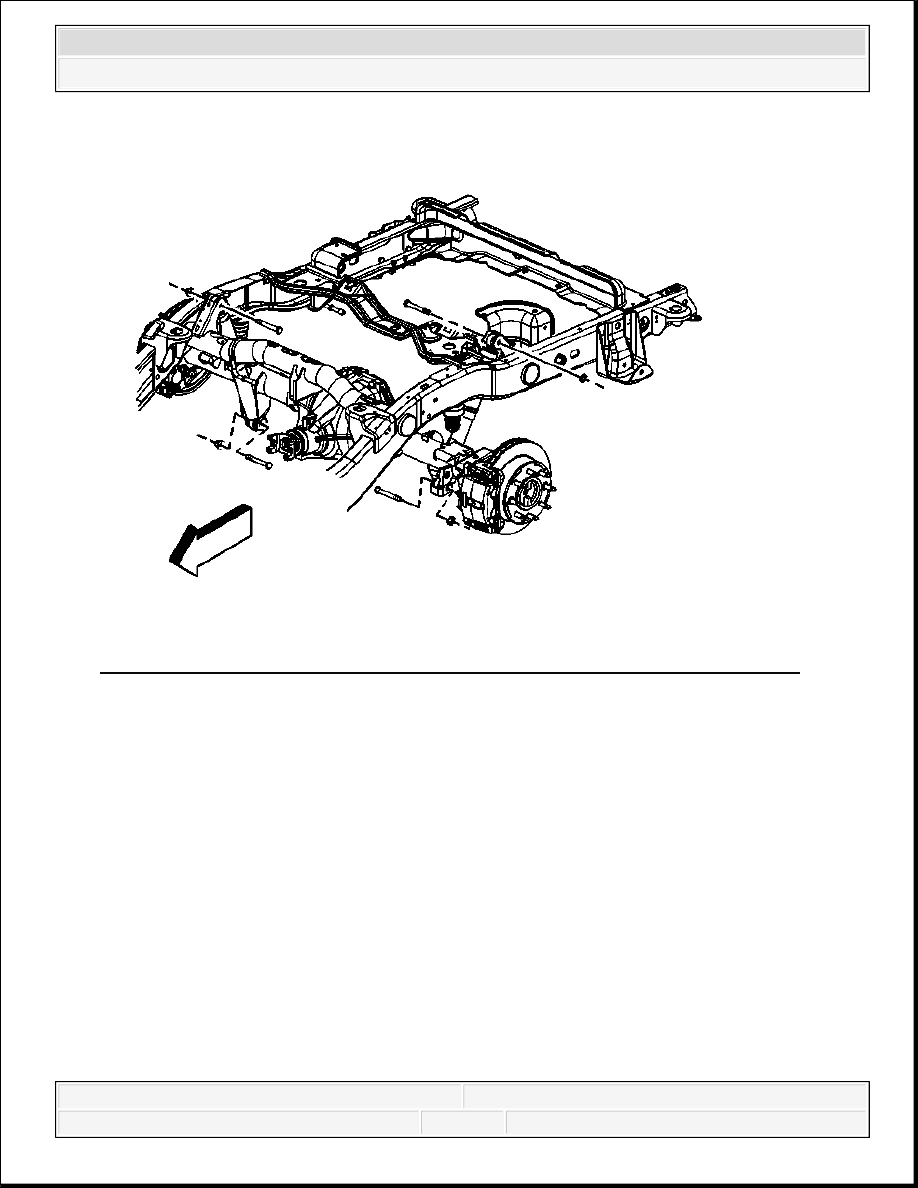
Fig. 222: Rear Shock Absorber Bolts And Nuts (6.0L, 6.6L, and 8.1L Engines)
Courtesy of GENERAL MOTORS CORP.
6. Raise the rear axle using the adjustable jack stands, if necessary.
7. Install the rear shock absorbers lower bolts and nuts, if necessary.
Tighten: Tighten the bolts to 95 N.m (70 lb ft).
2008 Chevrolet Silverado 1500
2008 ENGINE Engine Exhaust - Cab & Chassis Sierra, Cab & Chassis Silverado, Sierra & Silverado

Fig. 223: View Of Vent Hose Swivel Clip & Rear Brake Crossover Pipe
Courtesy of GENERAL MOTORS CORP.
8. Install the rear axle vent hose to the rear axle, if necessary.
9. Connect the vent hose swivel clip to the rear brake crossover pipe, if necessary.
10. Remove the adjustable jack stands from under the rear axle, if necessary.
11. Install the spare tire, if necessary.
12. Lower the vehicle.
FLOOR PANEL HEAT SHIELD REPLACEMENT
Removal Procedure
2008 Chevrolet Silverado 1500
2008 ENGINE Engine Exhaust - Cab & Chassis Sierra, Cab & Chassis Silverado, Sierra & Silverado
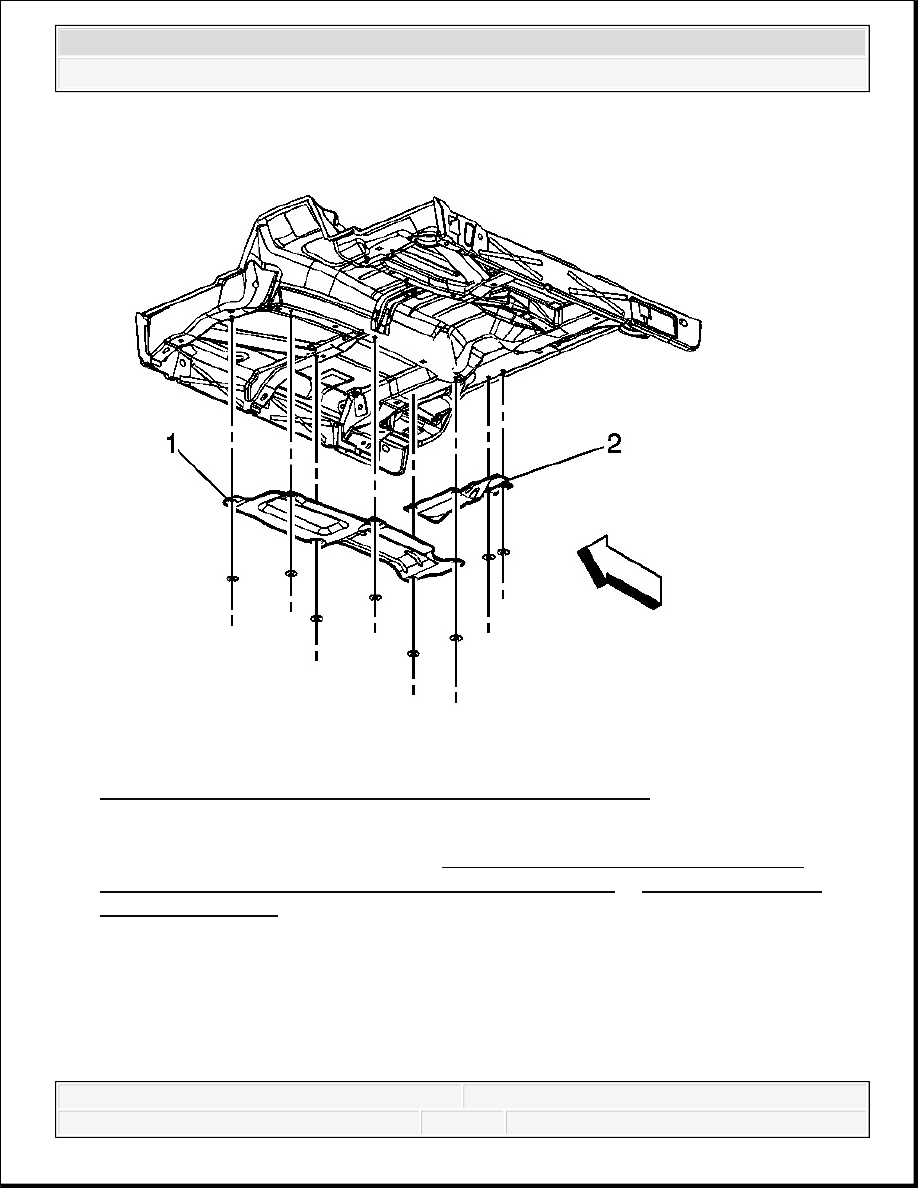
Fig. 224: View Of Front & Rear Exhaust Heat Shield & Nuts
Courtesy of GENERAL MOTORS CORP.
1. Remove the catalytic converter. Refer to Catalytic Converter Replacement (4.3L) or
Catalytic Converter Replacement (4.8L, 5.3L, 6.0L, 6.2L) or Catalytic Converter
Replacement (6.6L).
2. If vehicle has a regular cab, remove the exhaust heat shield nuts.
3. Remove the exhaust front heat shield (1) and/or the rear exhaust heat shield (2) from the
studs.
2008 Chevrolet Silverado 1500
2008 ENGINE Engine Exhaust - Cab & Chassis Sierra, Cab & Chassis Silverado, Sierra & Silverado
Content .. 1848 1849 1850 1851 ..