Content .. 1807 1808 1809 1810 ..
Chevrolet Silverado / GMC Sierra. Manual - part 1809
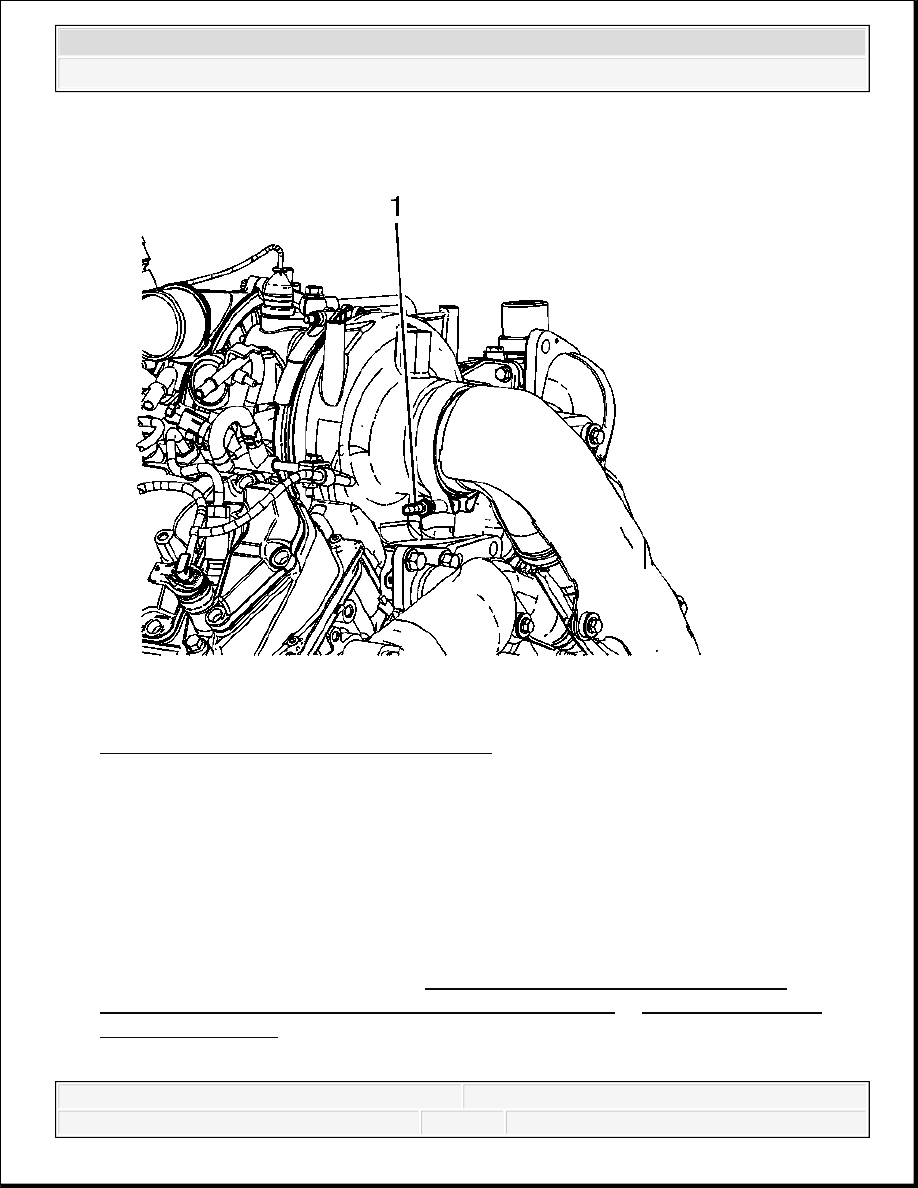
Fig. 64: View Of Turbocharger Clamp Bolt
Courtesy of GENERAL MOTORS CORP.
6. Tighten the turbocharger exhaust pipe to turbocharger clamp bolt (1).
Tighten: Tighten the bolt to 15 N.m (11 lb ft).
7. Install the catalytic converter. Refer to Catalytic Converter Replacement (4.3L) or
Catalytic Converter Replacement (4.8L, 5.3L, 6.0L, 6.2L) or Catalytic Converter
Replacement (6.6L).
8. Tighten the turbocharger exhaust pipe to bracket bolt.
IMPORTANT: Prior to tightening the turbocharger exhaust clamp, ensure
that the turbocharger exhaust pipe is inserted into the clamp.
2008 Chevrolet Silverado 1500
2008 ENGINE Engine Exhaust - Cab & Chassis Sierra, Cab & Chassis Silverado, Sierra & Silverado

Tighten: Tighten the bolt to 34 N.m (25 lb ft).
Fig. 65: View Of Upper Heat Shield & Bolts
Courtesy of GENERAL MOTORS CORP.
9. Install the turbocharger upper heat shield and bolts.
Tighten: Tighten the bolts to 10 N.m (89 lb in).
10. Install the EGR valve cooler. Refer to Exhaust Gas Recirculation Valve Cooler
Replacement .
11. Install the glow plug control module. Refer to Glow Plug Control Module Replacement .
2008 Chevrolet Silverado 1500
2008 ENGINE Engine Exhaust - Cab & Chassis Sierra, Cab & Chassis Silverado, Sierra & Silverado
EXHAUST MANIFOLD PIPE REPLACEMENT (6.0L - CAB/CHASSIS)
Removal Procedure
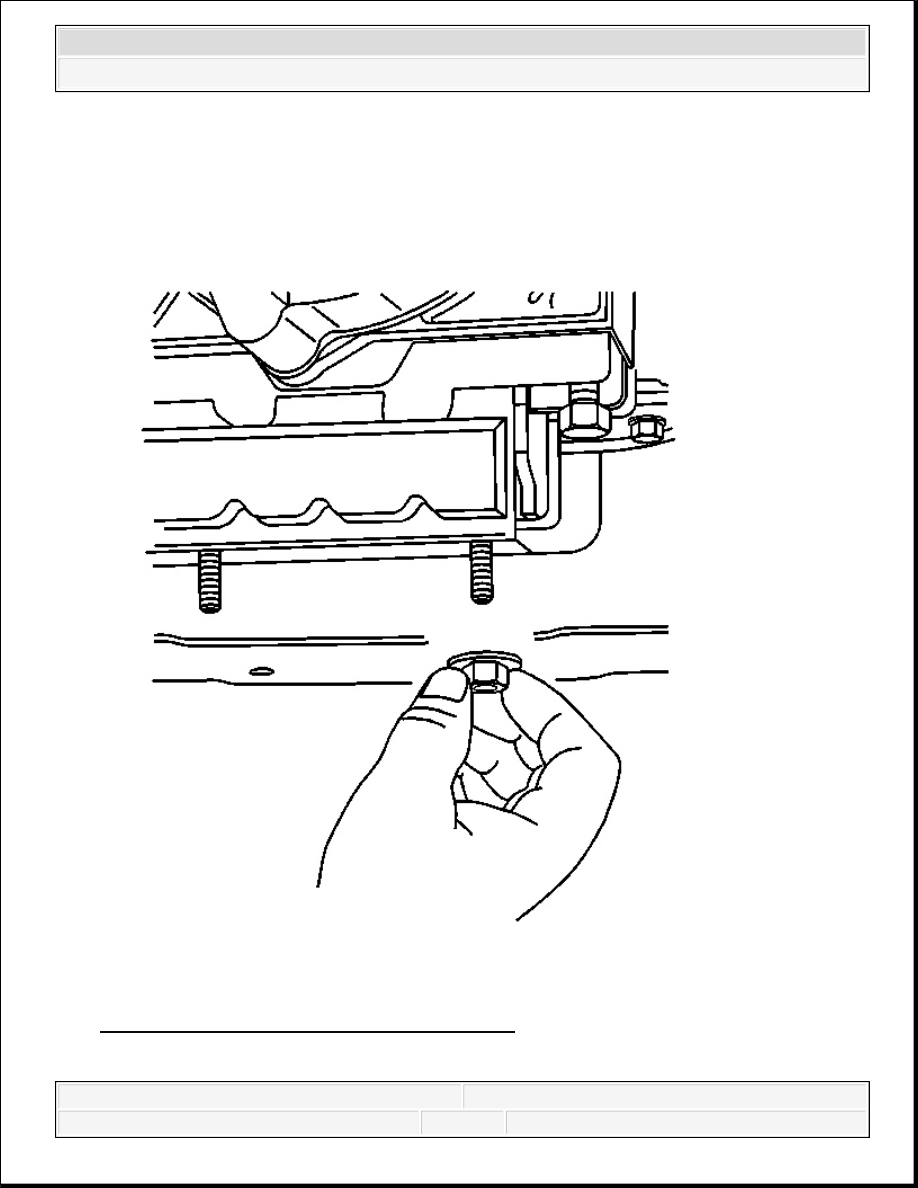
Fig. 66: Identifying Transmission Mount Nuts
Courtesy of GENERAL MOTORS CORP.
2008 Chevrolet Silverado 1500
2008 ENGINE Engine Exhaust - Cab & Chassis Sierra, Cab & Chassis Silverado, Sierra & Silverado

1. Remove the heated oxygen sensor (HO2S). Refer to Heated Oxygen Sensor Replacement
- Bank 2 Sensor 1 (1500 Series) or Heated Oxygen Sensor Replacement - Bank 2
Sensor 1 (2500 Series) or Heated Oxygen Sensor Replacement - Bank 2 Sensor 1
(2500 Series - Cab/Chassis) .
2. Support the transmission with a suitable transmission jack.
3. Remove the transmission mount to transmission support nuts.
4. Using the transmission jack, raise the transmission up off of the transmission support.
Fig. 67: View Of Transmission Support Crossmember & Bolts
2008 Chevrolet Silverado 1500
2008 ENGINE Engine Exhaust - Cab & Chassis Sierra, Cab & Chassis Silverado, Sierra & Silverado
Content .. 1807 1808 1809 1810 ..