Content .. 1209 1210 1211 1212 ..
Chevrolet Silverado / GMC Sierra. Manual - part 1211

Fig. 43: Taping Gently On Brass Drift With A Hammer In Order To Tilt Cage
Courtesy of GENERAL MOTORS CORP.
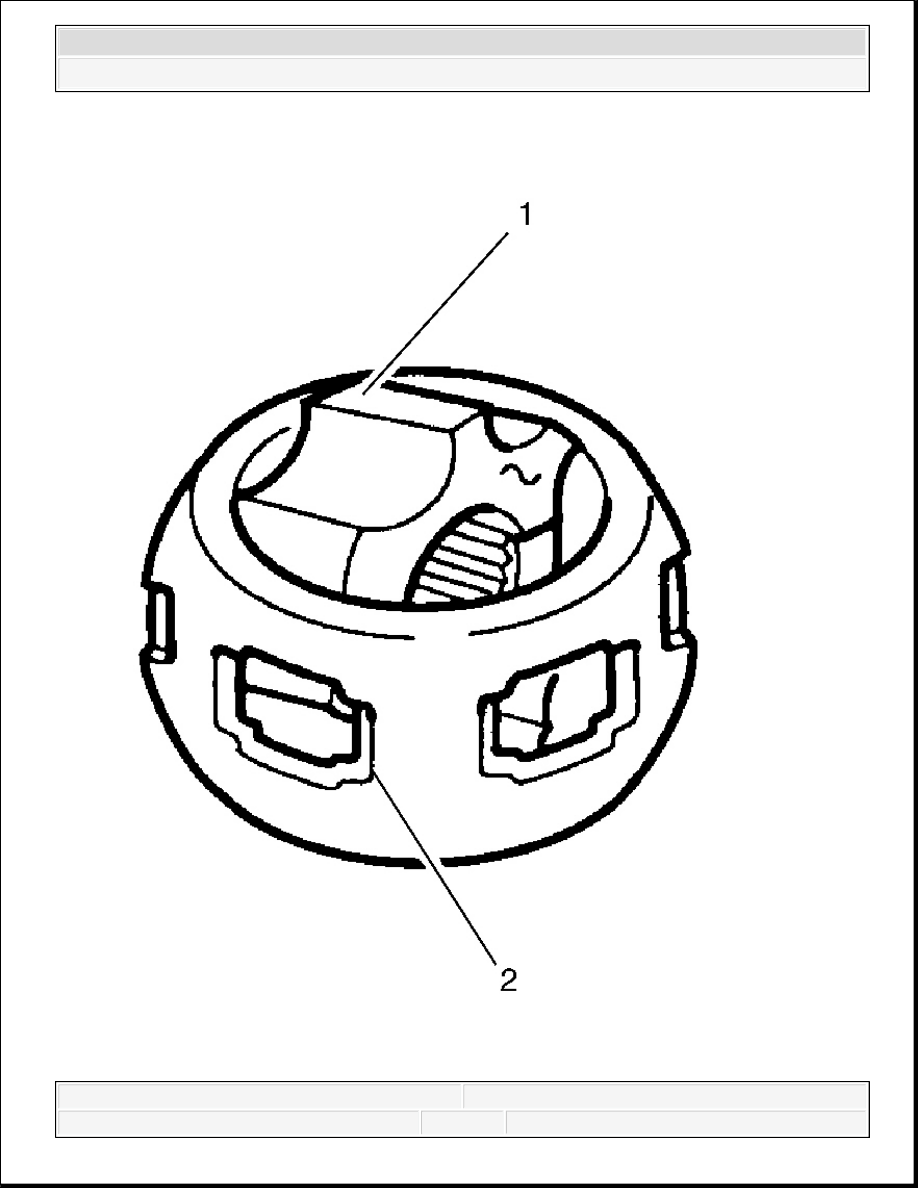
11. Place a brass drift against the CV joint cage (1).
12. Tap gently on the brass drift with a hammer in order to tilt the cage (1).
13. Remove the first chrome alloy ball (2) when the CV joint cage (1) tilts.
14. Tilt the CV joint cage (1) in the opposite direction to remove the opposing chrome alloy
ball (2).
15. Repeat this process to remove all six of the balls.
2008 Chevrolet Silverado 1500
2008 DRIVELINE/AXLE Wheel Drive Shafts - Cab & Chassis Sierra, Cab & Chassis Silverado, Sierra & Silverado

Fig. 44: View Of Outer Race, Inner Race, Cage Window & CV Joint Cage
Courtesy of GENERAL MOTORS CORP.
16. Pivot the CV joint cage (4) and the inner race 90 degrees to the center line of the outer race
(1). At the same time, align the cage windows (3) with the lands of the outer race (2).
17. Lift out the cage (4) and the inner race.
2008 Chevrolet Silverado 1500
2008 DRIVELINE/AXLE Wheel Drive Shafts - Cab & Chassis Sierra, Cab & Chassis Silverado, Sierra & Silverado
2008 Chevrolet Silverado 1500
2008 DRIVELINE/AXLE Wheel Drive Shafts - Cab & Chassis Sierra, Cab & Chassis Silverado, Sierra & Silverado

Fig. 45: View Of Inner Race & Cage
Courtesy of GENERAL MOTORS CORP.
18. Remove the inner race (1) from the cage (2) by rotating the inner race (1) upward.
19. Clean the following items thoroughly with cleaning solvent. Remove all traces of old grease
and any contaminates.
1. The inner and outer race assemblies
2. The CV joint cage
3. The chrome alloy balls
20. Dry all the parts.
21. Check the CV joint assembly for unusual wear, cracks, or other damage.
22. Replace any damaged parts.
23. Clean the halfshaft bar. Use a wire brush to remove any rust in the seal mounting area
(grooves).
Installation Procedure
2008 Chevrolet Silverado 1500
2008 DRIVELINE/AXLE Wheel Drive Shafts - Cab & Chassis Sierra, Cab & Chassis Silverado, Sierra & Silverado
Content .. 1209 1210 1211 1212 ..