Chery QQ6 (S21) / S12LHD. Manual - part 145


  Index      Chery     Chery QQ6 (S21) / S12LHD - service repair manual


Search            


Content   ..  143  144  145  146   ..


Chery QQ6 (S21) / S12LHD. Manual - part 145


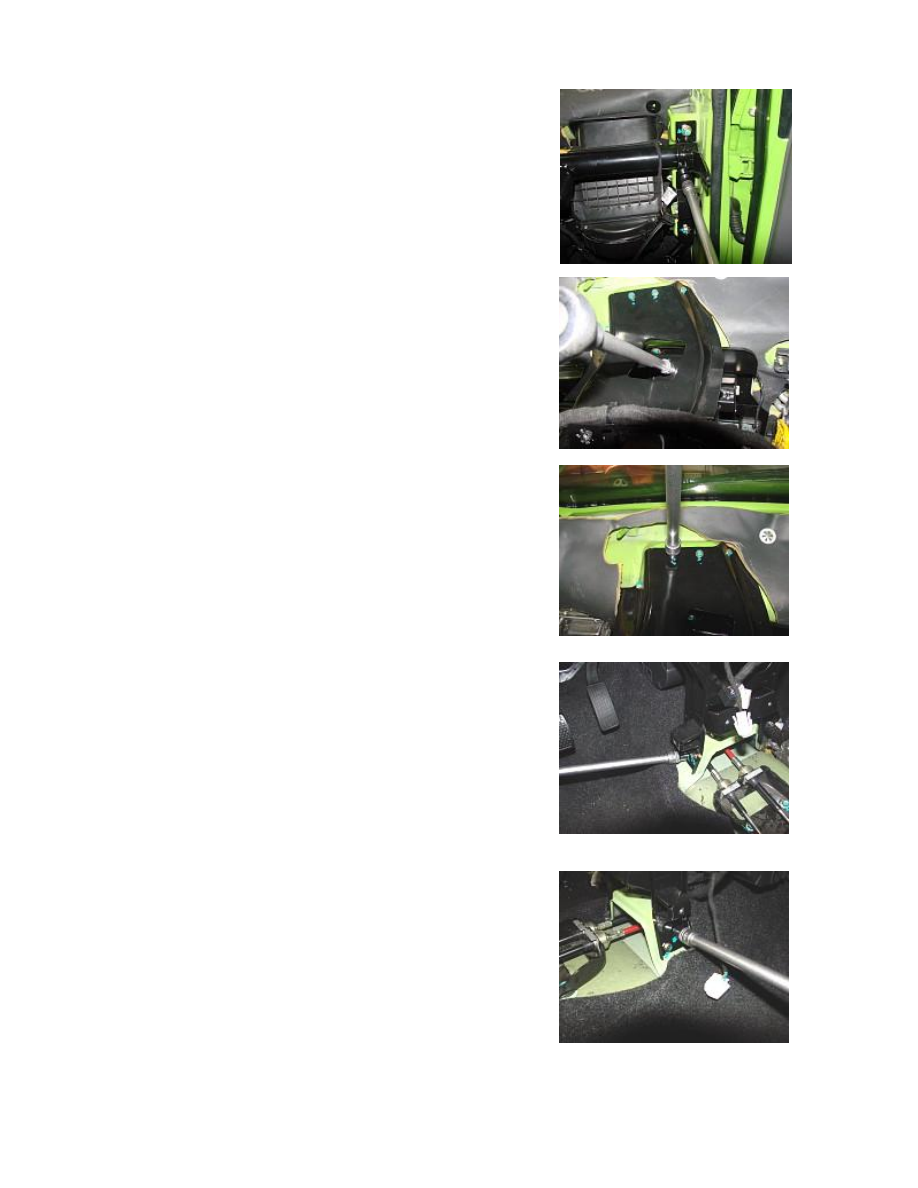
1.3. Use a 13# wrench to loosen off the bolts  at the place as shown 
in the figure.   


1.4.  Use  a  10#  wrench  to  loosen  off  the  four  bolts  at  the  places  as 
shown in the figure.   


1.5.  Use  a  10#  wrench  to  loosen  off  the  four  bolts  at  the  places  as 
shown in the figure.   


1.6.  Use  a  10#  wrench  to  disassemble  the  two  bolts  of  the  ground 
wire earth at the places as shown in the figure.   


1.7. Loosen  off the single bolt and four nuts on the side pillars (See 
Chassis  Maintenance  Manual:  side  pillars),  and  then  relase  the  side 
pillar.   
 
 
1.8.  Disassemble  all  harness  plugs  that  are  connected  with  the 
Instrument  Panel  crossbeam.  For  example,  the  harness  plug  of  the 
brake light switch.   
 
1.9. Take out the Instrument Panel crossbeam.   


2. Installation Steps


The installation steps are reverse to those for removal.   


Chapter VIII Air Conditioning System   

I. System Constitution   

Air adjustment and distributing system: HVAC air mixing and distributor part, inside/outside circulation air inlet, 

air outlet, outside circulation air filter. 

Control system: control panel assembly, micro motor, blower, speed regulating mode, high/low voltage switch, 

AC thermostat. 

Heating system: heating water tank, hot water pipe, and engine cooling water system. 

Cooling system: compressor, condenser, reservoir dryer, expansion valve, evaporator and pipe. 


II. Removal of Evaporator Assembly 

1. Preparations 

Tools: cross head screwdriver, vehiclep pliers, socket spanner 
Auxiliary material: refrigerant, antifreeze, sponge rubber strip 

2. Removal Steps   

2.1. Use coolant recycling machine to recycle the coolant. 
Note:   

(1)  Don’t deal with the coolant in any closed place or near 

flame.   

(2)  Do not splash the refrigerant into eyes and skin. 

2.2.  Disassemble  the  Instrument  Panel  assembly  and  the  front 
crossbeam,  and  unplug  the  related  electrical  equipment  connector. 
(See Removal and Installation of Instrument Panel) 


Condenser 

A/C Compressor 

Evaporator Ass’y 

A/C Control Panel 

Drying Bottle


Low pressure pipeline assembly 

High pressure pipeline assembly 

2.3.  Use  a  sleeve  wrench  to  loosen  off  the  fixing  bolts  of  the 
high/low pressure pipes.   


2.4.  Loosen  the  fastening  nuts  of  the  high/low  pressure  pipes,  and 
then pull them out. 


2.5. Loosen off the three nuts fixed on the plate work.   


Content   ..  143  144  145  146   ..