Chery QQ6 (S21) / S12LHD. Manual - part 4


  Index      Chery     Chery QQ6 (S21) / S12LHD - service repair manual


Search            


Content   ..  1  2  3  4  5  ..


Chery QQ6 (S21) / S12LHD. Manual - part 4


13 


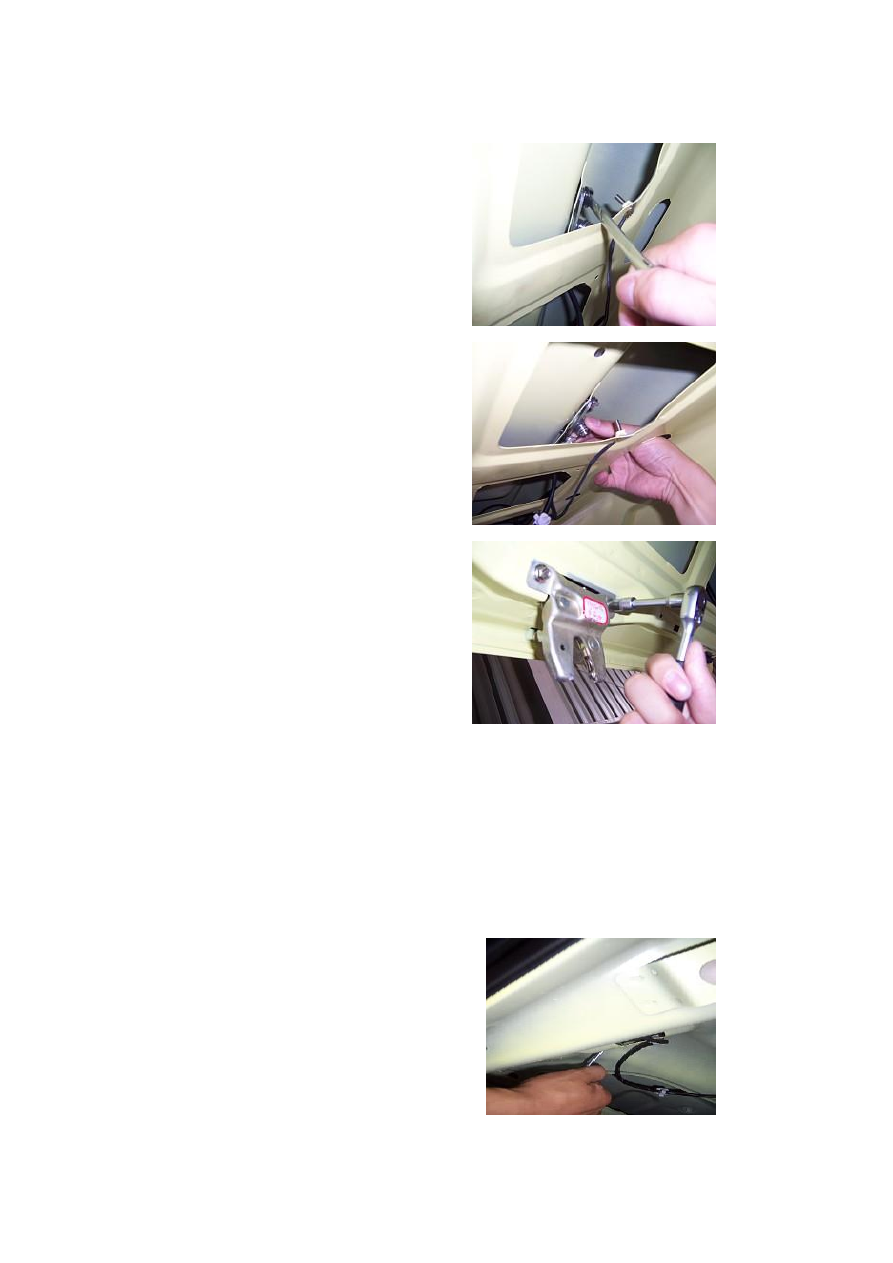
3.1.2.  Detach  two  locating  bolts  from  the 

luggage boot lock (the installation torque is 9±1 

Nm) 


3.1.3. Remove the luggage boot lock core.   


3.1.4.  Remove  two  fixing  bolts  from  the  trunk 

(i.e.  luggage  boot)  lock  body  with  a  socket 

wrench.   


3.1.5. Take off the trunk lock body. 

3.2. Installation Step 

The  installing  steps  are  reverse  to  those  for 

removal. 

Precautions  on  installation  of  luggage  boot 

lock:  check  whether  the  lock  column  is 

deformed,  whether  the  riveted  connections  are 

in  its  proper  positions,  and  whether  the  lock 

tongue can open or close flexibly, smoothly. 

4. Removal of license plate lamp 

Preparation  of  tool(s):  cross  screwdriver, 

open-end wrench. 

4.1. Removal Step 

4.1.1. Remove the trunk internal ornament plate 

(see Removal of trunk lid ornament plate

4.1.2. Remove two fixing bolts from the license 

plate lamp with an open-end wrench.   


14 


4.1.3.  Disconnet  the  connecting  plugs  from  the 

right  and  left  license  plate  lamps  and  then  take 

off the license plate lamp assy.   


4.1.4.  Remove  two  fix  screws  from  the  license 

plate lamp with a cross screwdriver.   


4.1.5. Take off the license plate lamp 


4.1.6.  Take  off  the  bulb  from  the  license  plate 

lamp.   


4.2. Installation Step 

The  installing  steps  are  reverse  to  those  for 

removal. 


15 

Chapter 2 Disassembly/Reassembly of Interior Decorations


I. 

Disassembly/Reassembly 

of 

Seat Belt 

1. Preparation 

Tools: flat head screwdriver, wrench, sleeve.   

Parts: disposable clips. 

2. Precautions 

Keep the seat belt clean, avoid the oil stain, and 

check whether the seat belt is damaged. 


3.  Removal  Step  (Driver’s  seat  belt  is 
taken as an example) 

Prize  the  front  threshold  pressing  plate 

carefully with a flat head screwdriver. 


3.2.  Remove  the  weatherproof  rubber  strip  of 

the front door opening. 


3.3. Remove the rear scuff plate. 


16 


3.4.  Remove  the  weatherproof  rubber  strip  of 

the rear door opening. 


3.5.  Remove  the  seat  belt  lower  ornament 

cover. 


3.6. Unscrew the fixing  nuts with a 17# sleeve, 

and detach the B pillar lower trim.   

Installation torque is 50±5Nm 


3.7.  Unclench  the  ornament  cover  on  the  seat 

belt regulator with a flat head screwdriver. 

CAUTION:  Pay  attention  to  the  breakage  of 

clip inside the regulator.   


3.8.  Loosen  the  fixing  nuts  with  a  17#  sleeve, 

and then take off the seat belt.   

Installation torque is 50±5Nm 


Content   ..  1  2  3  4  5  ..