Acura RLX Hybrid (2017 year). Manual - part 11
167
uu
Operating the Switches Around the Steering Wheel
u
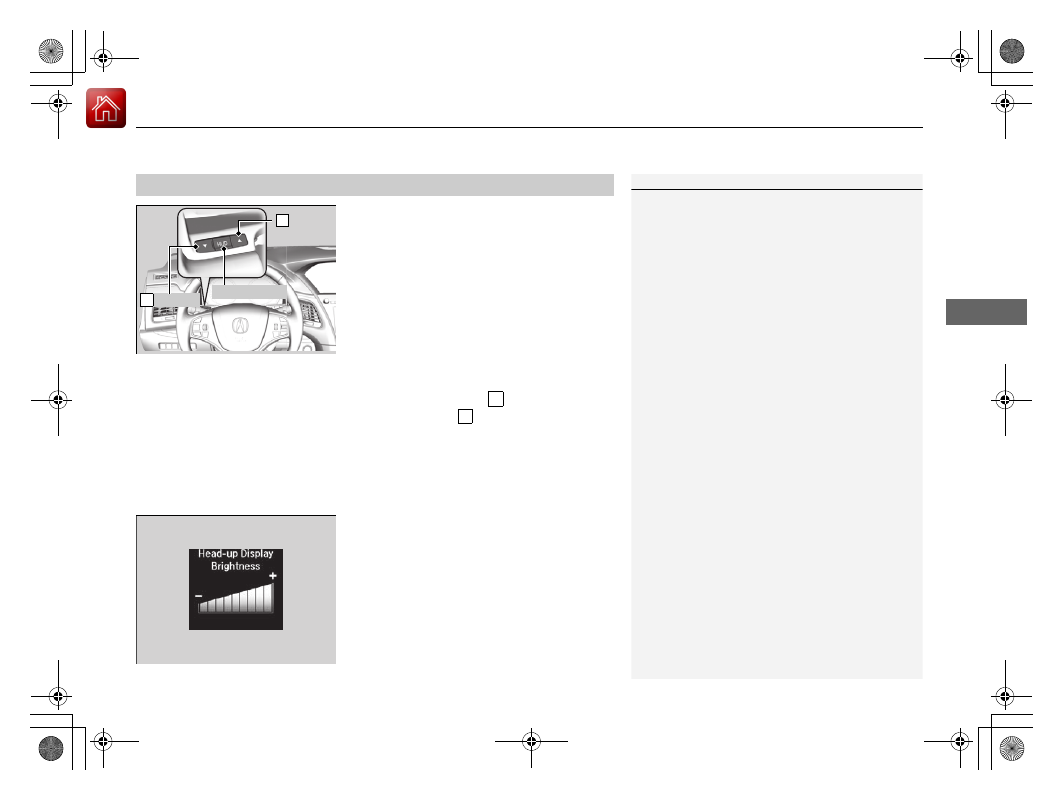
Brightness Control
Co
ntrols
When the head-up display is on, press and hold the HUD button until its brightness
level indicator on the multi-information display.
To brighten: Press the
button.
To dim: Press the
button.
The multi-information display will return to its
original state several seconds after you adjust
the brightness.
■
Brightness level indicator
The brightness level is shown on the multi-
information display while you are adjusting it.
■
Adjusting the Head-Up Display Brightness
1
Adjusting the Head-Up Display Brightness
Pushing or rolling the right selector wheel changes to
a different display.
Button
3
Button
4
HUD Button
3
4
17 ACURA RLX E-AWD-31TY36300.book 167 ページ 2016年6月17日 金曜日 午前8時29分