Acura RSX (2006 year). Manual - part 6
*
*
U.S. models only
:
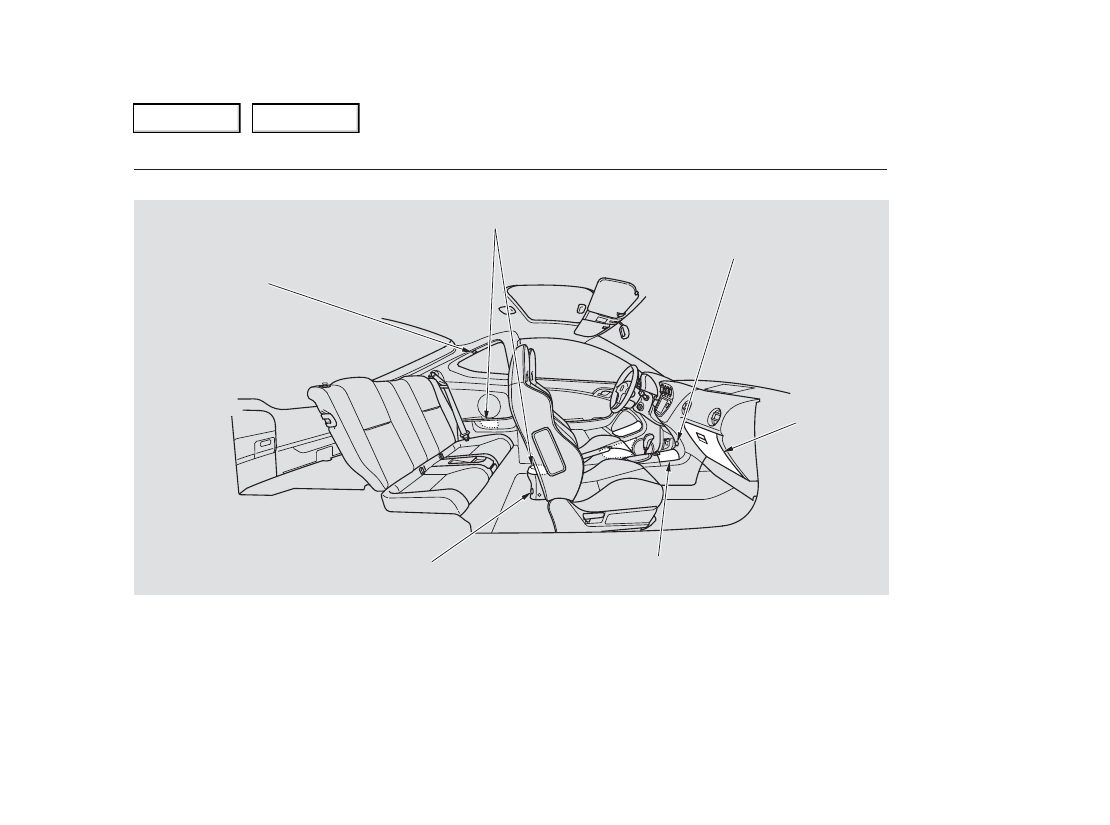
Interior Convenience Items
82
COAT HOOK
ACCESSORY POWER SOCKET
GLOVE BOX
BEVERAGE HOLDERS
CONSOLE COMPARTMENT/
BEVERAGE HOLDERS
ACCESSORY POWER SOCKET
Main Menu
Table of Contents
|
|
|
* * U.S. models only : Interior Convenience Items 82 COAT HOOK ACCESSORY POWER SOCKET GLOVE BOX BEVERAGE HOLDERS CONSOLE COMPARTMENT/ ACCESSORY POWER SOCKET Main Menu Table of Contents |