Kia Carens. Manual - part 177


  Главная      Kia     Kia Carens (2000-2002) - Service Repair Manual


поиск по сайту           правообладателям


содержание   ..  175  176  177  178   ..


Kia Carens. Manual - part 177
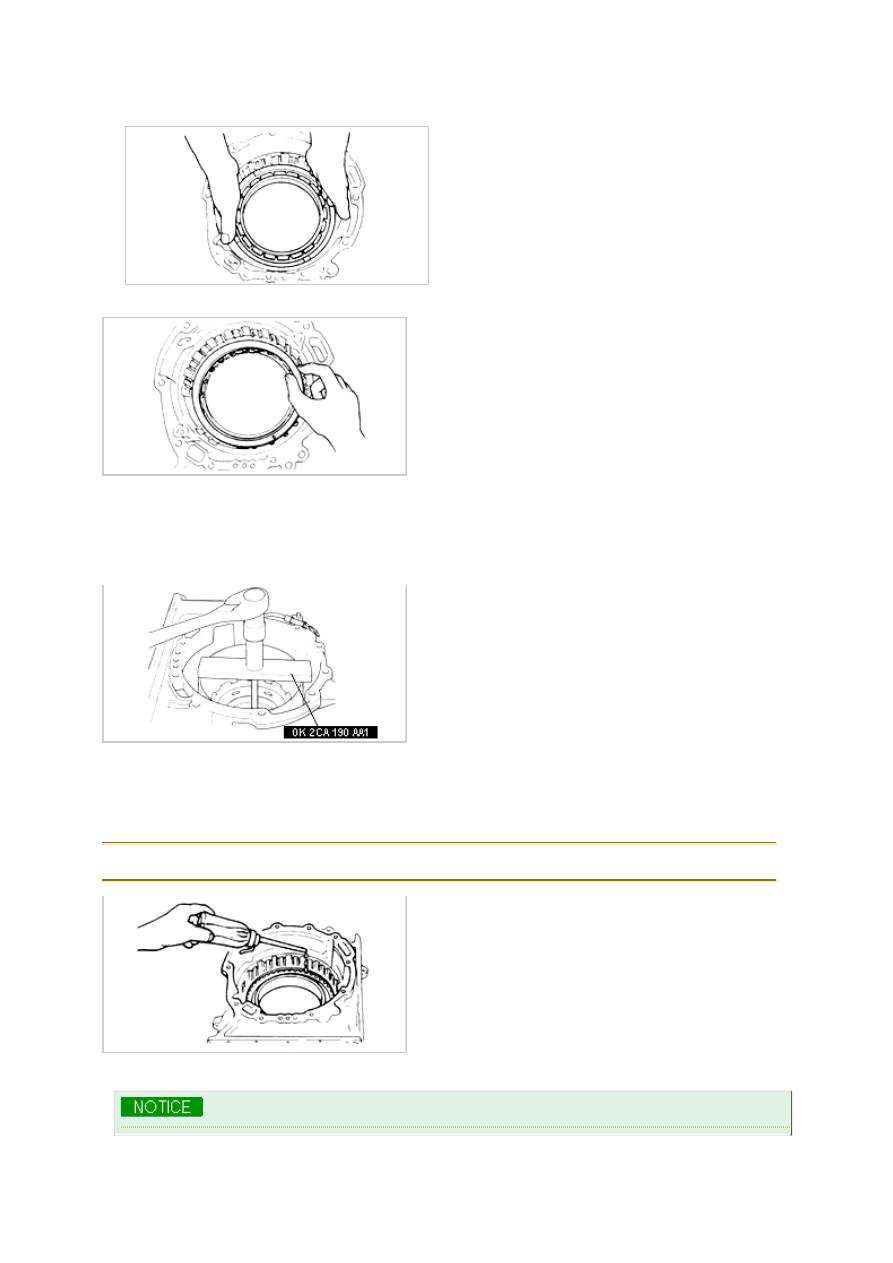


C. Install low and reverse brake piston by pushing evenly around circumference, being careful not to

damage outer seal.

2. Install spring and retainer assembly.

3. Install SST (0K2CA 190 AA1) in transaxle case.

4. Compress spring and retainer assembly.

5. Install snap ring with snap-ring pliers.

6. Remove SST (0K2CA 190 AA1).

7. Check low and reverse brake piston operation.

A. Pour in ATF until low and reverse brake piston is fully submerged.

8. Check that no bubbles come from between piston and seals when applying compressed air through fluid

passage.

Air pressure : 57 psi (392 kPa, 4.0 kg/cm²)

9. Install drive and driven plates. (each four)

Installation order : Driven-Drive-Driven-Drive-Driven-Drive

10. Install retaining plate.

11. Install snap ring.

12. Measure low and reverse brake clearance.

A. Measure clearance between snap ring and low and reverse brake retaining plate.

B. If clearance is not within specification, adjust it by selecting a proper snap ring.

Low and reverse brake clearance : 0.094~0.083 in (2.1~2.4 mm)

Snap ring size in (mm)

0.079 (2.0)

0.087 (2.2)

0.095 (2.4)

0.102 (2.6)

0.110 (2.8)

0.118 (3.0)

13. Check low and reverse brake operation by applying compressed air through fluid passage as shown in

figure.

Air pressure : 57 psi (392 kpa, 4.0 kg/cm²) maximum

14. Remove snap ring, retaining plate, drive and driven plates and set aside for later assembly.

Automatic Transaxle System

Clutch & Brake - The Other & Brake Component

Automatic Transaxle System


содержание   ..  175  176  177  178   ..