Pontiac Vibe (2006 year). Manual - part 6
To open the liftglass using the key, insert the key into
the keyhole and turn clockwise to the second position.
Use the handle in the center of the liftglass to help
in lifting the glass.
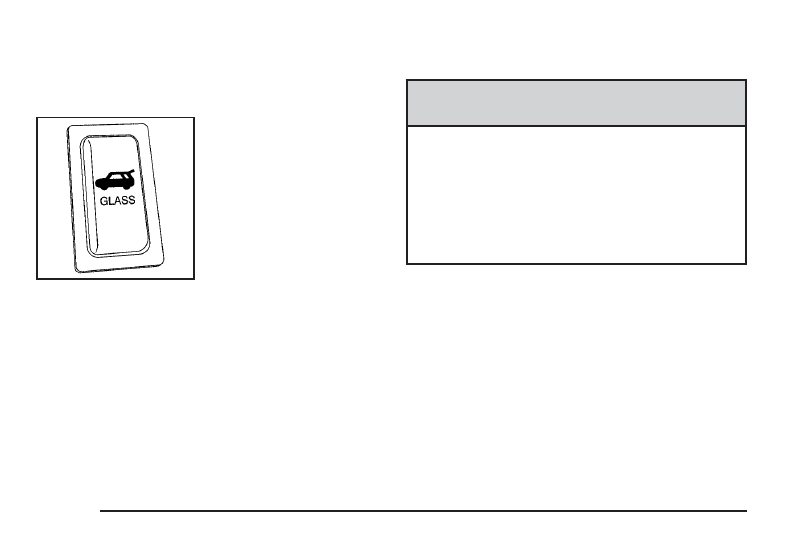
Your vehicle may have a
liftglass release button
which is located on
the instrument panel to the
left of the steering
wheel. Press this button to
release the liftglass.
Windows
{
CAUTION:
Leaving children, helpless adults, or pets in a
vehicle with the windows closed is dangerous.
They can be overcome by the extreme heat and
suffer permanent injuries or even death from
heat stroke. Never leave a child, a helpless
adult, or a pet alone in a vehicle, especially with
the windows closed in warm or hot weather.
2-10