Volkswagen Golf / Golf GTI / Jetta. Manual - part 702


  Index      Volkswagen     Volkswagen Golf / Golf GTI / Jetta - service repair manual 1999-2005 year


Search            copyright infringement  


Content   ..  700  701  702  703   ..


Volkswagen Golf / Golf GTI / Jetta. Manual - part 702


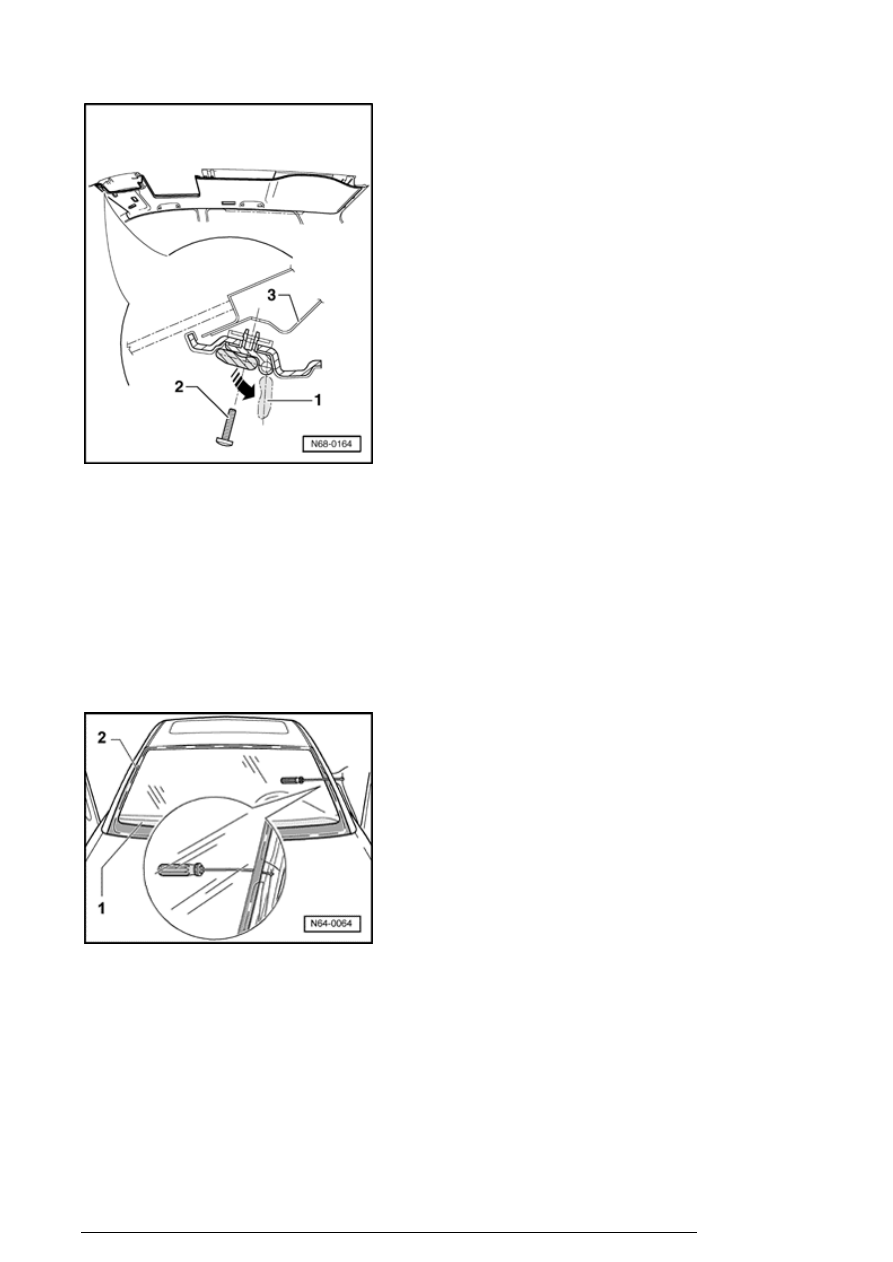
- Fold down - arrow - center sun visor - 1 - 

- Remove screw - 2 - out of roof sidemember - 3 - and 
remove sun visor. 

- Insert protective foil - 1 - V.A.G1474/8 between windshield 
and instrument panel. 

- Loosen sealing lip in upper area of windshield using a 
plastic wedge and spray in Cleaning solution D 009 401 04 
(as a substitute for lubricant). 

- Insert cutting cord - 2 - into window flange using small 
tube. 

- For very narrow gap dimensions, guide cutting cord from 
outside and press under lip using plastic wedge.  

- Push cutting cord end through adhesive sealant into 
vehicle interior using awl (from V.A.G1474A ). 

Note: 

Flush-bonded windows

13/2/2005


In side area of window, guide awl through adhesive sealant 
as close as possible to window flange on body, so as not to 
damage sealing lip.  
 

- Secure one cord end to Spooling tool V.A.G 1654 A . 

- Pull through second cord inward and attach grip from 
V.A.G1351 to counterhold. 

- Set Spooling tool V.A.G1654 into "Position I" . 

- Move spooling tool according to position required and cut 
windshield free. 

- While cutting free, press cutting cord against window 
using plastic wedge in order to have clearance from 
window flange and instrument cluster. 

Windshield, installing


Preparing undamaged window for glazing 


64-1, 

Preparing undamaged window for glazing

 . 

Preparing new window for glazing 


64-1, Preparing new 

window for glazing

 . 

Preparing window flange for glazing 


64-1, Preparing 

window flange for glazing

 . 

Installation notes 


64-1, Installation notes

 . 

Minimum curing time 


64-1, Minimum curing time

 . 

Side window (Golf), assembly overview


Flush-bonded windows

13/2/2005


1. Side window 

¡

Remove side window 


64-1, 

Undamaged side window, removing


¡

Installing side window 


64-1, Side 

window, installing


2. Ceramic coating  

3. Sealing lip (component part of 

pre-coating)  

4. PUR adhesive sealant 

¡

Bead cross section:  

Width = 7 mm  
 
Height = 11 mm (including pre-coating, 
residual material on window glass and 
window flange)  

Flush-bonded windows

13/2/2005

¡

Minimum curing time 


64-1, 

Minimum curing time


5. Gap dimension - a - = 56 mm 

¡

Gap dimension must be maintained 
since distance is necessary for 
securing roof base carrier  


Undamaged side window, removing


- Remove side trim 


Repair Manual, Body Interior, Repair Group 70, Pillar 

and side trim


- Remove B-pillar trim 


Repair Manual, Body Interior, Repair Group 70, Pillar 

and side trim


- Removing side support for luggage compartment cover 
and removing C-pillar trim 


Repair Manual, Body Interior, Repair Group 70, Pillar 

and side trim


- Insert plastic wedge between sealing lip and window 
flange. 

- Loosen sealing lip from window flange all around and 
spray in Cleaning solution D 009 401 04 (as a substitute for 
lubricant). 

Flush-bonded windows

13/2/2005


Content   ..  700  701  702  703   ..