Dacia Solenza (engine E7J). Manual - part 142


  Index      Dacia     Dacia Solenza (engine E7J) - service repair manual 2004 year


Search            


Content   ..  140  141  142  143   ..


Dacia Solenza (engine E7J). Manual - part 142


82

ACCOUSTIC WARNING - ANTI STARTING

82 - 25

Diagnostic

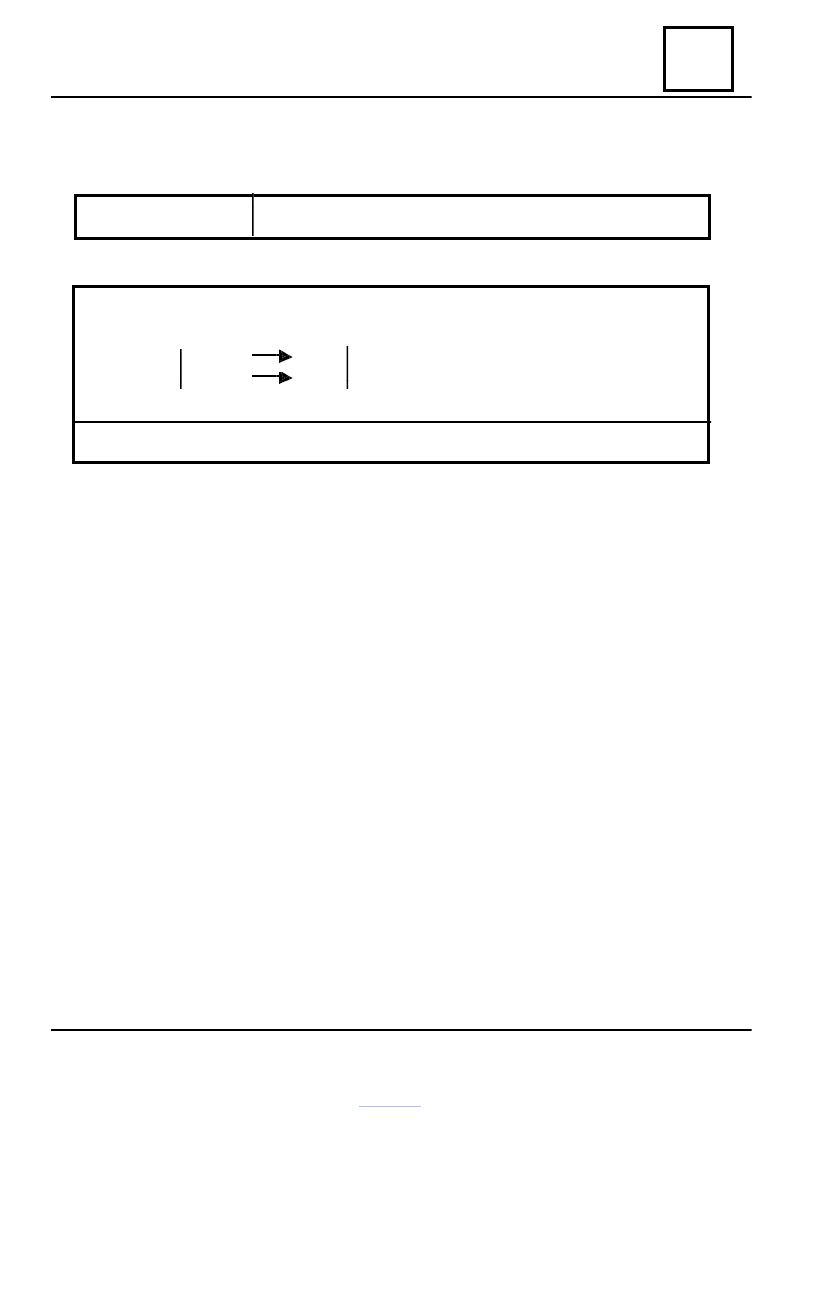
8. 14G STATE : DOORS BLOCKING/ UNLOCKING

RECOMMENDATION

The state 10G (anti starting) must be ACTIVE.

Check the continuity and the isolation related to the +12 V and to the mass of the electric
wiring on the line E.C.U. decoder

Pin B2              pole 1     door locking switch.
Pin B5              pole 5

Fix the electric wiring if necessary or replace the switch.

If the incident persists, replace the E.C.U. decoder.

82

ACCOUSTIC WARNING - ANTI STARTING

82 - 26

Diagnostic

FAILURES LOCATING BASED ON CLIENT CLAIM

(algorithm for damage locating)

ALP1.  MISSING COMMUNICATION CLIP TESTER / E.C.U DECODER

RECOMMENDATION Check if the lines K and L are not perturbed by another computer

of the vehicle.

Check the condition of the F03, F04 fuses from cockpit fuse box.

Be sure the CLIP tester is not the cause of the failure, by trying the communication with
another computer of the vehicle.
Check the tension of the battery (U>12,3V). If it is necessary, charge the battery.

Check the correct connection of the E.C.U. decoder to the wiring.
Check the supply of the E.C.U. decoder : - mass at pin A8;

- supply (+IC) at pin A9.

Be sure that the diagnostic socket is correctly supplied.
Check the continuity and the isolation of the electric wiring on the pins’ line corresponding to:
E.C.U. decoder     A3              7     diagnostic socket
                             A4             15

If the dialogue CLIP tester – E.C.U. decoder cannot be established, then replace the decoder.

When the communication with the tester is established, solve the

AFTER REPAIRING

failures displayed by CLIP.
Perform a conformity checking.

82

ACCOUSTIC WARNING - ANTI STARTING

82 - 27

Diagnostic

ALP2.  CONTACT SET ON  THE ANTI STARTING INDICATOR BLINKS
(THE ENGINE IS NOT STARTING)

RECOMMENDATION

-

Set the contact on.
Connect the  CLIP tester.
Is there any communication with the E.C.U.
decoder ?

See ALP1

.

Check the fuse F03 for anti starting bushing
supply.
Is it good?

Replace the fuse.

Set the contact on and check if the state 4D
becomes ACTIVE  ?

Is the state 19 D PASSIVE ?

Perform « Procedure for replacement
E.C.U. decoder and memorising anti
starting code » if the starter is new ;
if it’s not new, replace it.

Set the contact off. The anti starting indicator
will start to blink after 10 seconds.(ACTIVE
anti starting ).
Set again the contact and check: the failure
« Defective communication decoder bushing ».
Does exist such a failure ?

Study « DEFECTIVE

COMMUNICATION BUSHING

– DECODER » from the chapter

DIAGNOSTIC.

Study « STATE 4D : SUPPLY +12
V » from chapter DIAGNOSTIC.

Try the engine starting with the second key.
Is the engine starting ?

Replace the first key.

Yes

Yes

Yes

Yes

Yes

Yes

No

No

No

No

No

No

82

ACCOUSTIC WARNING - ANTI STARTING

82 - 28

Diagnostic

No

Is the anti starting bushing correctly fixed on
the steering column and is it correctly connected
?

Position the bushing and fix its

connection.

Check the continuity and the isolation related
to the mass and the +12 V wiring.

Pin2

 mass

Pin3

 supply +IC

Pin4

 pin A2 of the

E.C.U. decoder.
Is the wiring in good condition?

Fix the electric wiring.

Disconnect the E.C.U. decoder and check the
presence of +12 V at pin A2 of the wiring.
Is there any tension?

Replace the anti starting bushing.

Connect the E.C.U. decoder. Perform the
impulse detection test with the tester  CLIP
branched to the pin A2 of the E.C.U. decoder.
Set the contact on and check the presence of
an impulse. Is there any impulse?

Replace the E.C.U. decoder.

Replace the key.

No

No

No

No

Yes

Yes

Yes

No


Content   ..  140  141  142  143   ..