Nissan Qashqai J11. Manual - part 140
LU-20
< SYSTEM DESCRIPTION >
[MR20DD]
DESCRIPTION
SYSTEM DESCRIPTION
DESCRIPTION
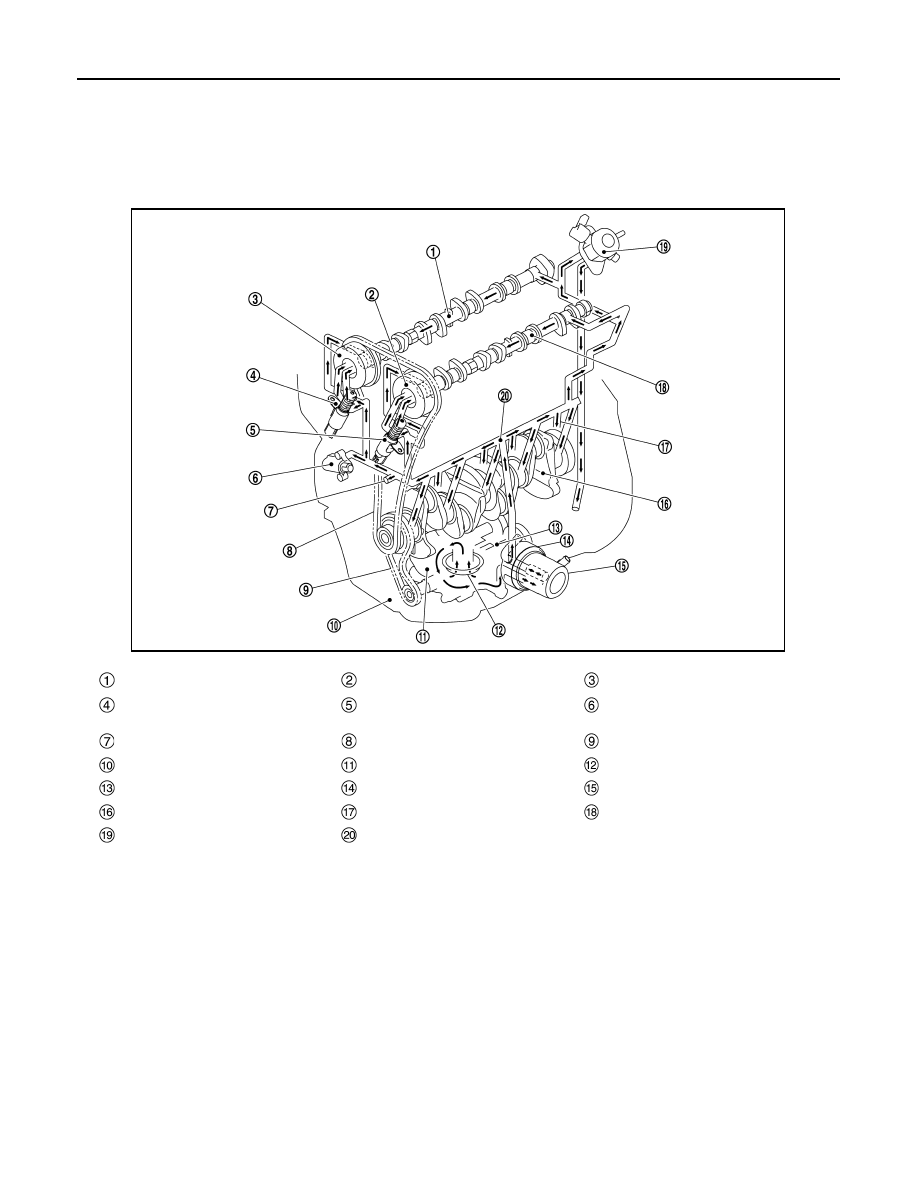
Engine Lubrication System
INFOID:0000000010624152
Camshaft (EXH)
Intake valve timing controller
Exhaust valve timing controller
Exhaust valve timing control sole-
noid valve
Intake valve timing control solenoid
valve
Timing chain tensioner
Timing chain oil jet
Timing chain
Oil pump drive chain
Oil pan
Oil pump
Oil strainer
Balancer unit
Oil cooler
Oil filter
Crankshaft
Piston oil jet
Camshaft (INT)
High pressure fuel pump
Main gallery
JPBIA6905ZZ