Mitsubishi Lancer Evolution 8 MR. Manual - part 11
3-6
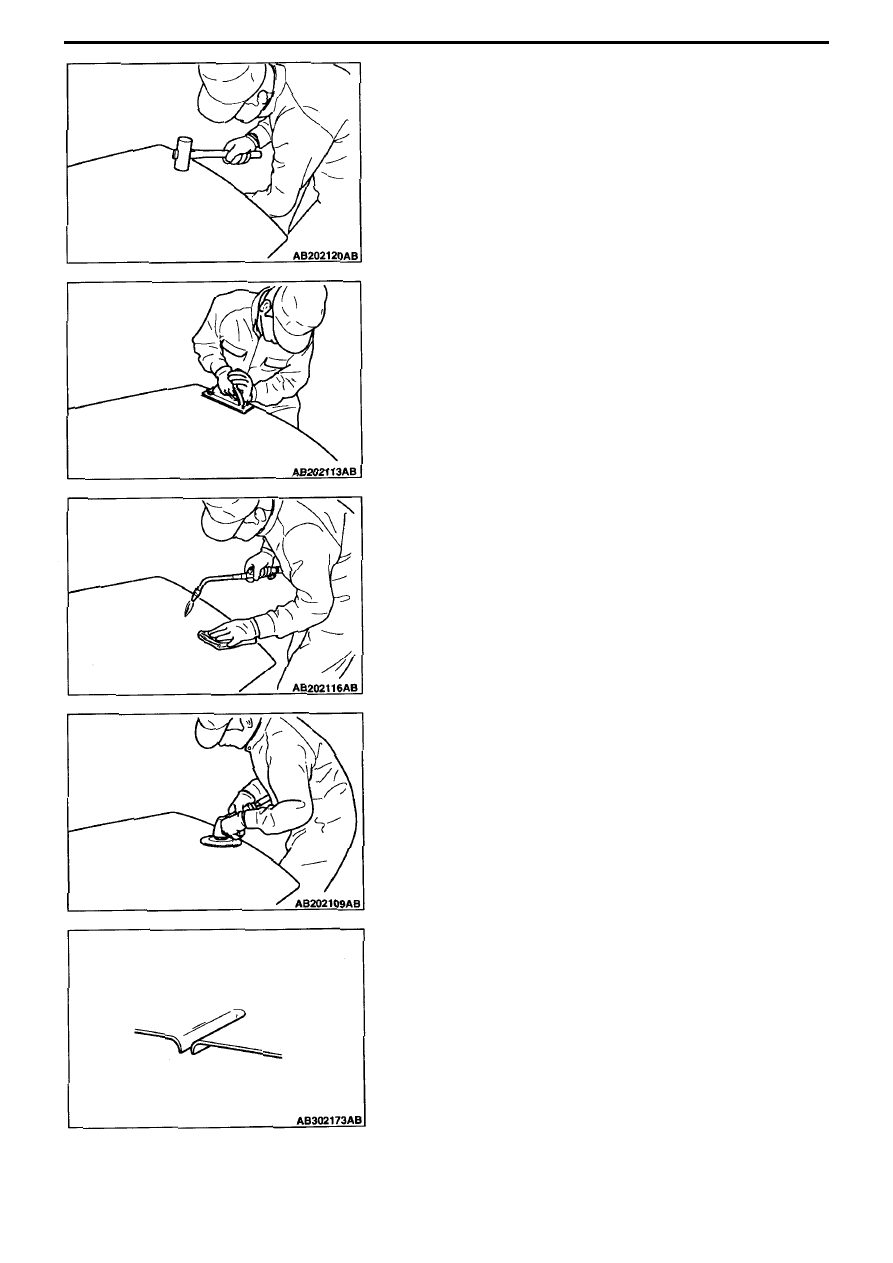
CHANGING WELDED PANELS – ALUMINIUM ALLOY PANELS
(2) When hammering, note that the panels stretch easily, so use a
wooden or plastic hammer.
Note
Reduce stretching and process hardening, and do not
leave hammer marks.
2. Check for distortion
Polish with #80 ~ #120 grade sandpaper, checking for any
distortion.
3. Removing distortions
Remove any distortions Using a levelling hammer and a torch,
correct any distortions.
Note
(1) Heat to about 250˚C to do this work.
(2) Be careful when heating so as not to cause
discolouration when welding.
(3) Use a damp cloth to prevent heat increases which
could result in heat affecting heated area (distortion
etc.)
(4) Do not use drawing hammers which are used for
sheet steel, as this could result in cracking.
4. Polishing
Polish with a disk or a double action sander.
• Disk sander: #100 ~ #120
• Double action sander: #150 ~ #180
Note
Since the material is softer than sheet steel, choose a
polishing material that does not scour the surface deeply.
Repairing cuts and tears
When sheet steel panels are cut, torn, or have holes, repair using
CO
2
MIG welding. However, with aluminium alloy panels, use MIG
or TIG welder and use argon gas (inert gas) as shield gas.
Extent of distortion from welding
Gas welding (large distortion) > TIG welding > MIG welding (little
distortion).
Here we explain the MIG welding process, where distortion
resulting from welding is small.