Mitsubishi Lancer Evolution 7. Manual - part 348
EXTERIOR -
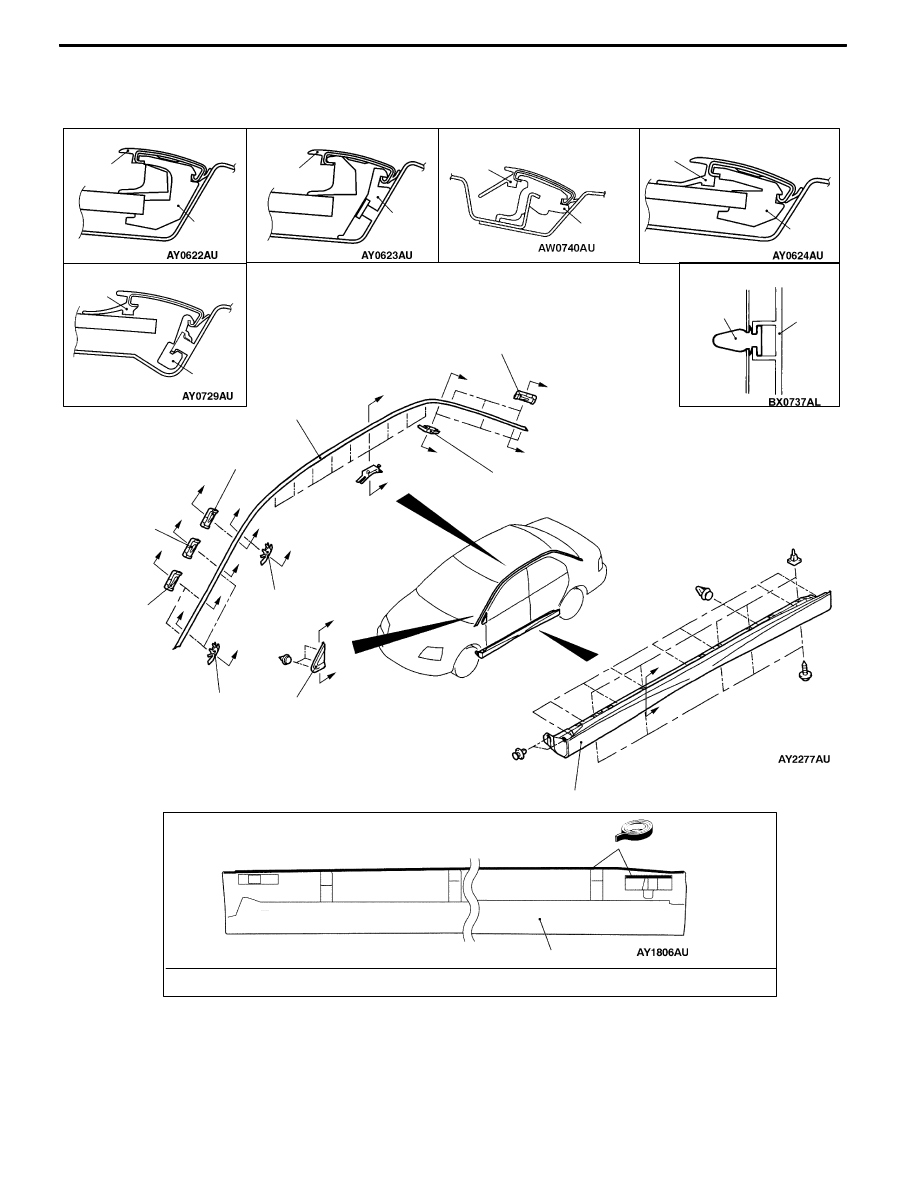
Side Air Dam, Molding and Garnish
51-9
SIDE AIR DAM, MOLDING AND GARNISH
REMOVAL AND INSTALLATION
1
1
Clip
Clip
Clip
1
Section A – A
Section B – B
Section C – C
Section F – F
Clip
2,3
1
Clip
Section D – D
1
2
3
1
Clip
Section E – E
NOTE: Refer to P.51-14 for more information regarding removal and
installation of front deck garnish.
F
F
A
A
B
B
C
C
D
D
E
E
F
F
B
B
B
B
A
A
<Gray>
<Milky white>
<Blue>
<Purple>
<Orange>
<Blue>
<Yellow>
Double-sided tape: Generic products: 5mm width, 1.2mm thickness
3
A
A"
1. Roof drip molding
2. Delta outer garnish
A
B" "AA 3. Side air dam