Range Rover. Manual - part 267
PANEL REPAIRS
13
REPAIR
REAR FLOOR EXTENSION PANEL
Remove
1. Disconnect both battery leads, negative lead
first.
2. Raise rear of vehicle.
WARNING: Support on safety stands.
3. Disconnect all ECUs.
4. Disconnect airbags and sensor system.
5. Disconnect alternator.
6. Remove tailgate - lower.
See CHASSIS AND
BODY, Repair.
7. Remove rear bumper valance.
See CHASSIS
AND BODY, Repair.
Refit
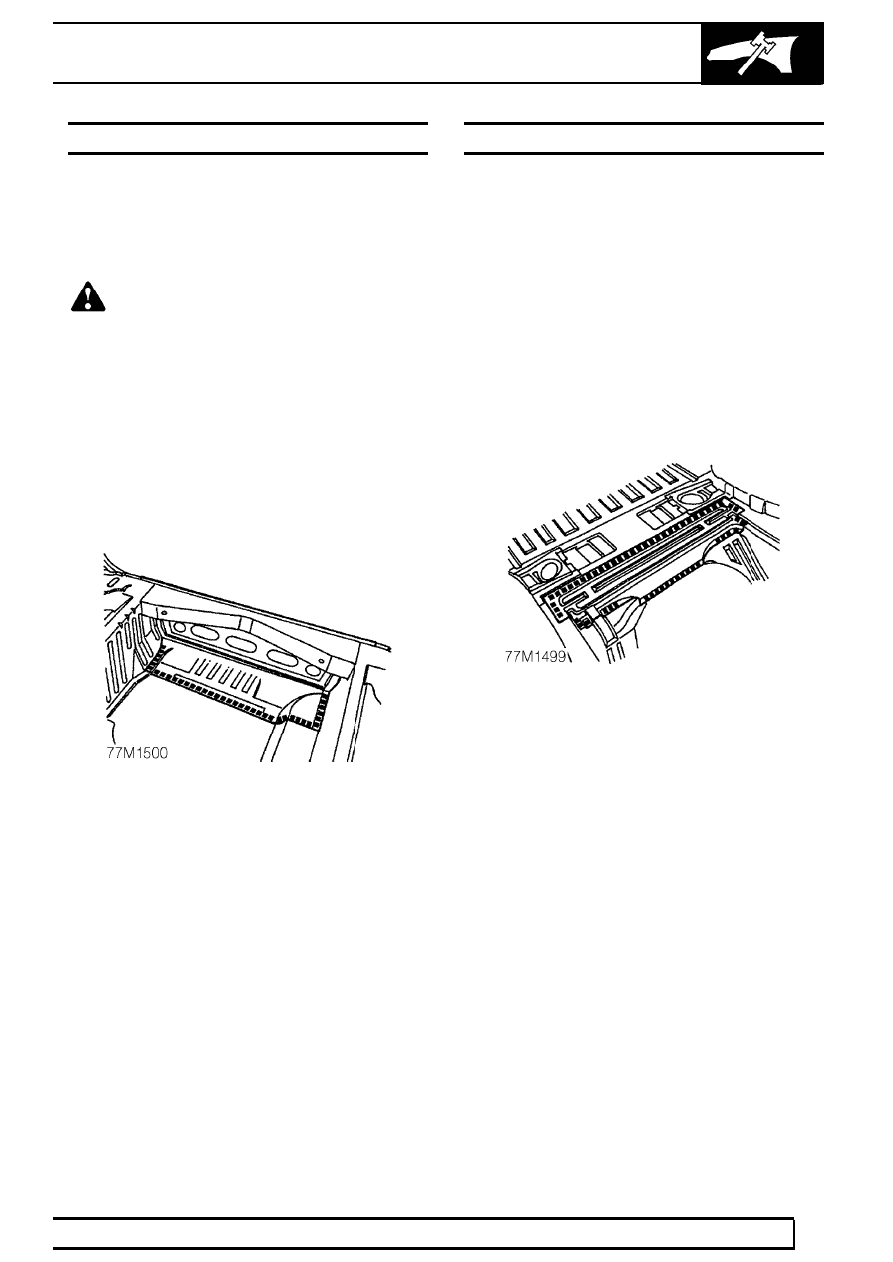
8. Prepare and clean panel joint faces. Punch or
drill holes in new rear crossmember extension
panel for plug welding as shown.
9. Reverse removal procedure.
10. Remove stands and lower vehicle.
SPARE WHEEL CLOSING PANEL
Remove
1. Disconnect both battery leads, negative lead
first.
2. Disconnect all ECUs.
3. Disconnect airbags and sensor system.
4. Disconnect alternator.
5. Remove rear seat belt - left hand.
See
CHASSIS AND BODY, Repair.
6. Remove rear seat belt - right hand.
See
CHASSIS AND BODY, Repair.
7. Remove rear seatbelt - centre.
See CHASSIS
AND BODY, Repair.
Refit
8. Prepare and clean panel joint faces. Punch or
drill holes in new spare wheel closing panel for
plug welding as shown.
9. Reverse removal procedure.