Freelander 1. Manual - part 202
DOORS
ADJUSTMENTS
76-1-1
DOORS
ADJUSTMENTS
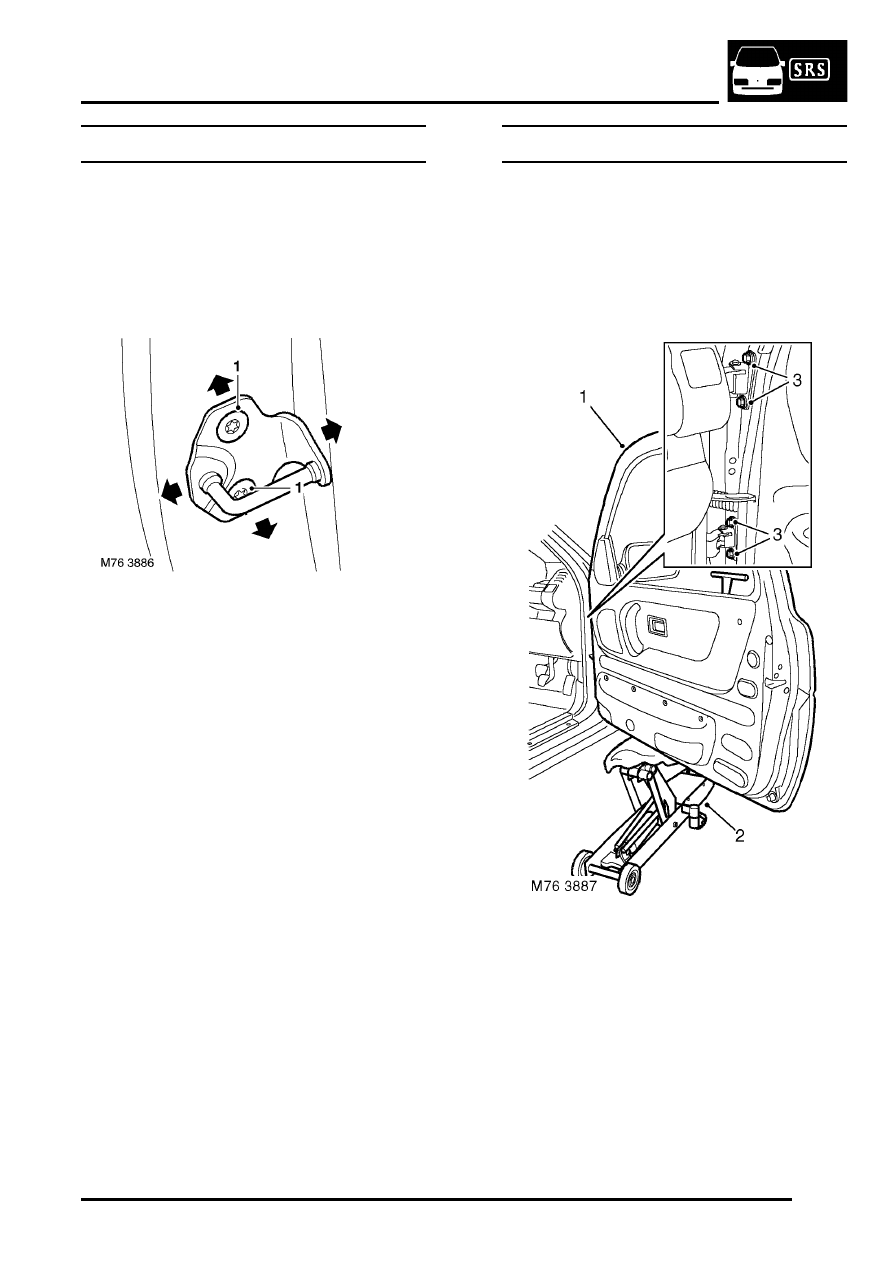
Door - front or rear - adjust on striker
$% 76.28.05
Check
1. A closed door should be flush with adjacent
panels and edges have equal gaps.
Adjust
1. Loosen 2 Torx bolts securing door latch striker.
2. Adjust striker to obtain required door to panel fit
and open and close operation.
3. Tighten Torx screws to 10 Nm (7.5 lbf.ft).
Door - front - align on hinges
$% 76.28.07
Check
1. Check door for flush fit to adjacent panels and
edges for equal gaps.
Adjust
1. Open front door.
2. Place wooden block on jack and position jack to
support door under lower edge.
3. Loosen 4 bolts securing hinges to door.