Isuzu Amigo / Axiom / Trooper / Rodeo / VehiCross. Manual - part 911
7A–70
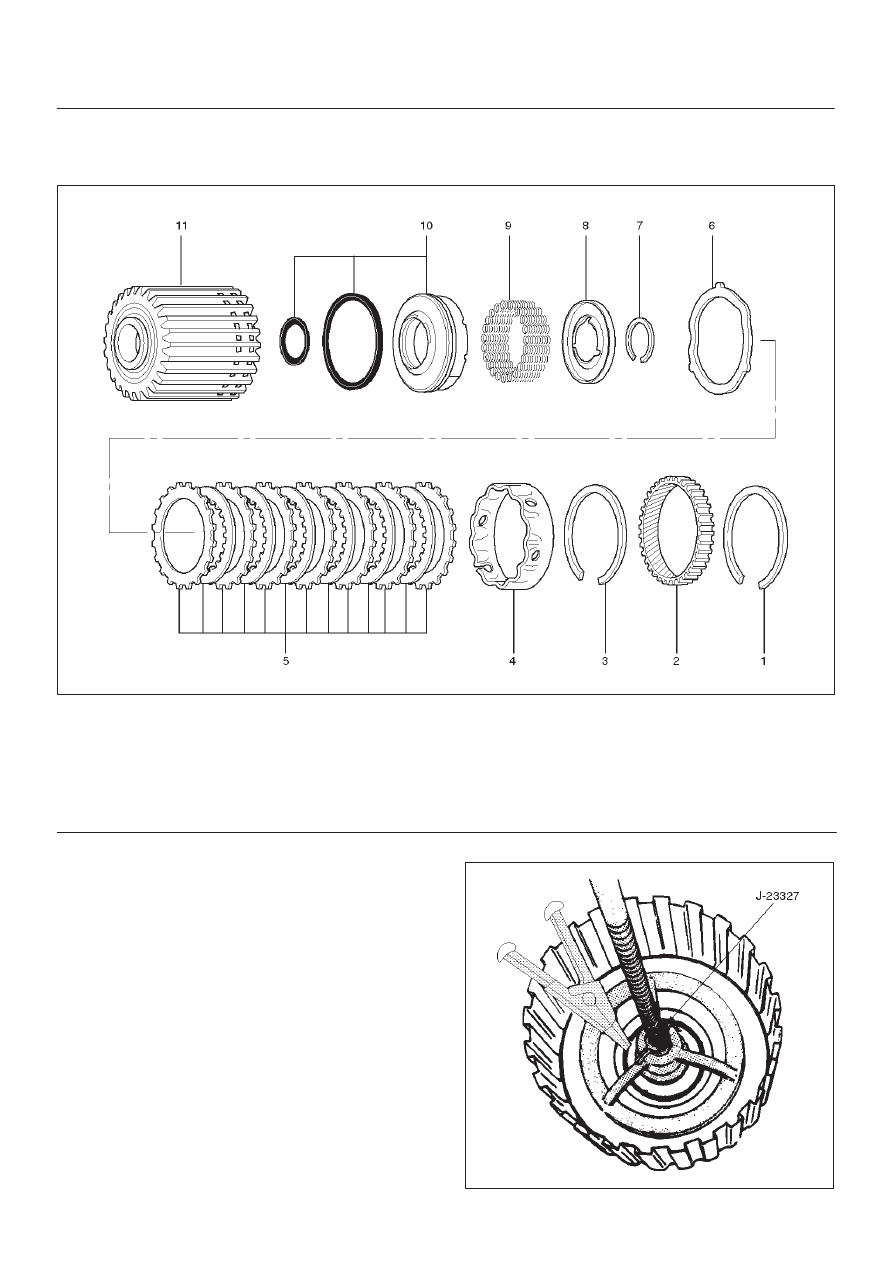
AUTOMATIC TRANSMISSION (4L30–E)
Second Clutch
Disassembled View
247RW001
Legend
(1) Retaining Ring
(2) Ring Gear
(3) Retaining Ring
(4) Spacer
(5) Clutch Plates
(6) Waved Washer
(7) Retaining Ring
(8) Spring Seat
(9) Springs
(10) Piston Assembly
(11) Second Clutch Drum
Disassembly
1. Remove retaining ring (1) from second clutch drum
(11).
2. Remove ring gear (2), retaining ring (3), and spacer
(4).
3. Remove clutch plates (5) and waved washer (6).
4. Remove retaining ring (7) using J–23327 compressor
to compress the spring seat (8).
5. Remove spring seat (8), springs (9) and piston
assembly (10) from second clutch drum (11).
247RS006