Isuzu Amigo / Axiom / Trooper / Rodeo / VehiCross. Manual - part 483
8F–53
BODY STRUCTURE
3. Stir the primer for a minute or more before use.
607RW003
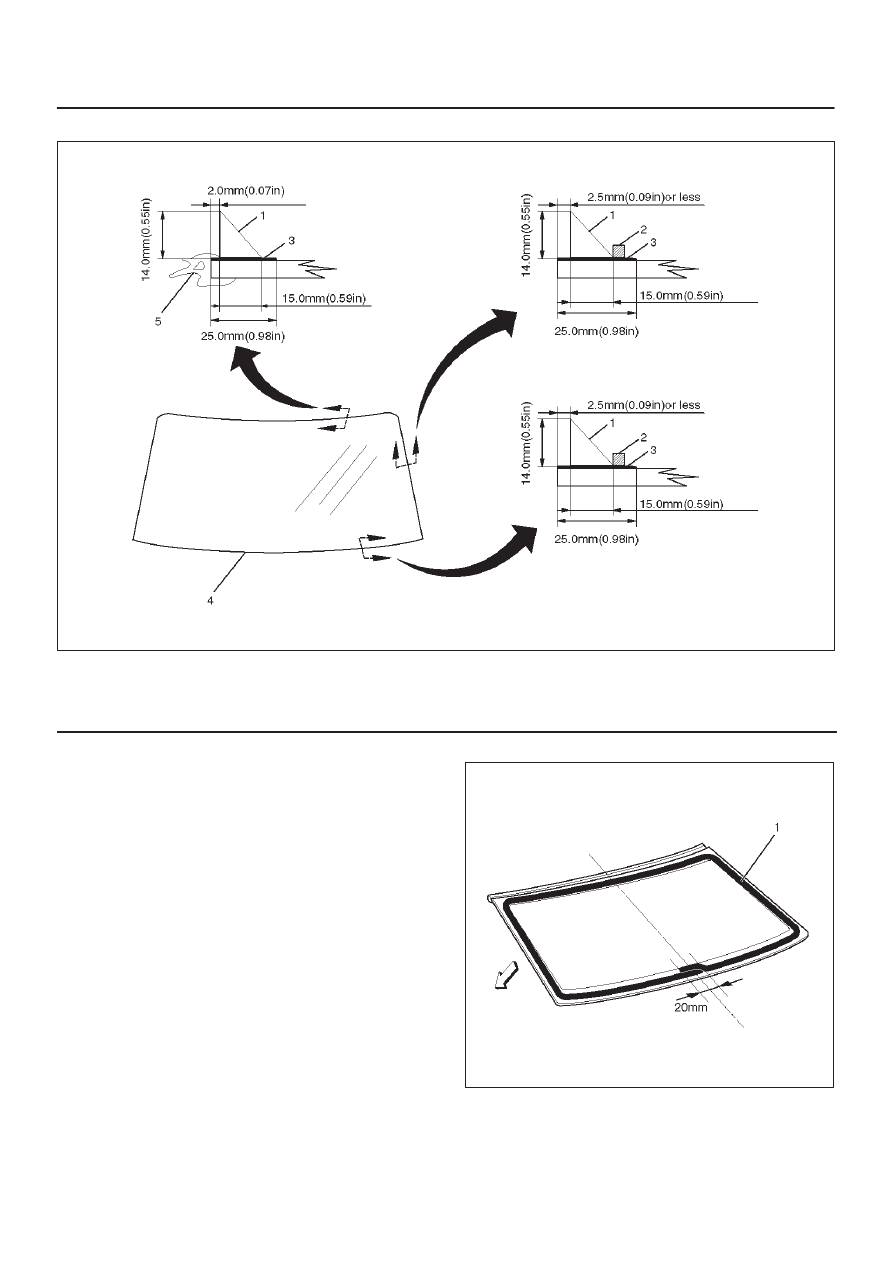
Legend
(1) Adhesive
(2) Sealing Dam
(3) Primer Coating Area
(4) Windshield
(5) Upper Molding
6. Apply the adhesive (1) to the windshield.
D
After drying primer completely, apply a sealing
adhesive (Sun star # 555 or equivalent) along the
edge of the glass so that the sealing adhesive has a
20 mm (0.79 in) junction at middle of the base of the
glass.
607RW015