Isuzu Amigo / Axiom / Trooper / Rodeo / VehiCross. Manual - part 1149


  Index      Isuzu     Isuzu Amigo / Axiom / Trooper / Rodeo / VehiCross - service repair manual 1999-2002 year


Search            


Content   ..  1147  1148  1149  1150   ..


Isuzu Amigo / Axiom / Trooper / Rodeo / VehiCross. Manual - part 1149


4C–8

DRIVE SHAFT SYSTEM

Reassembly

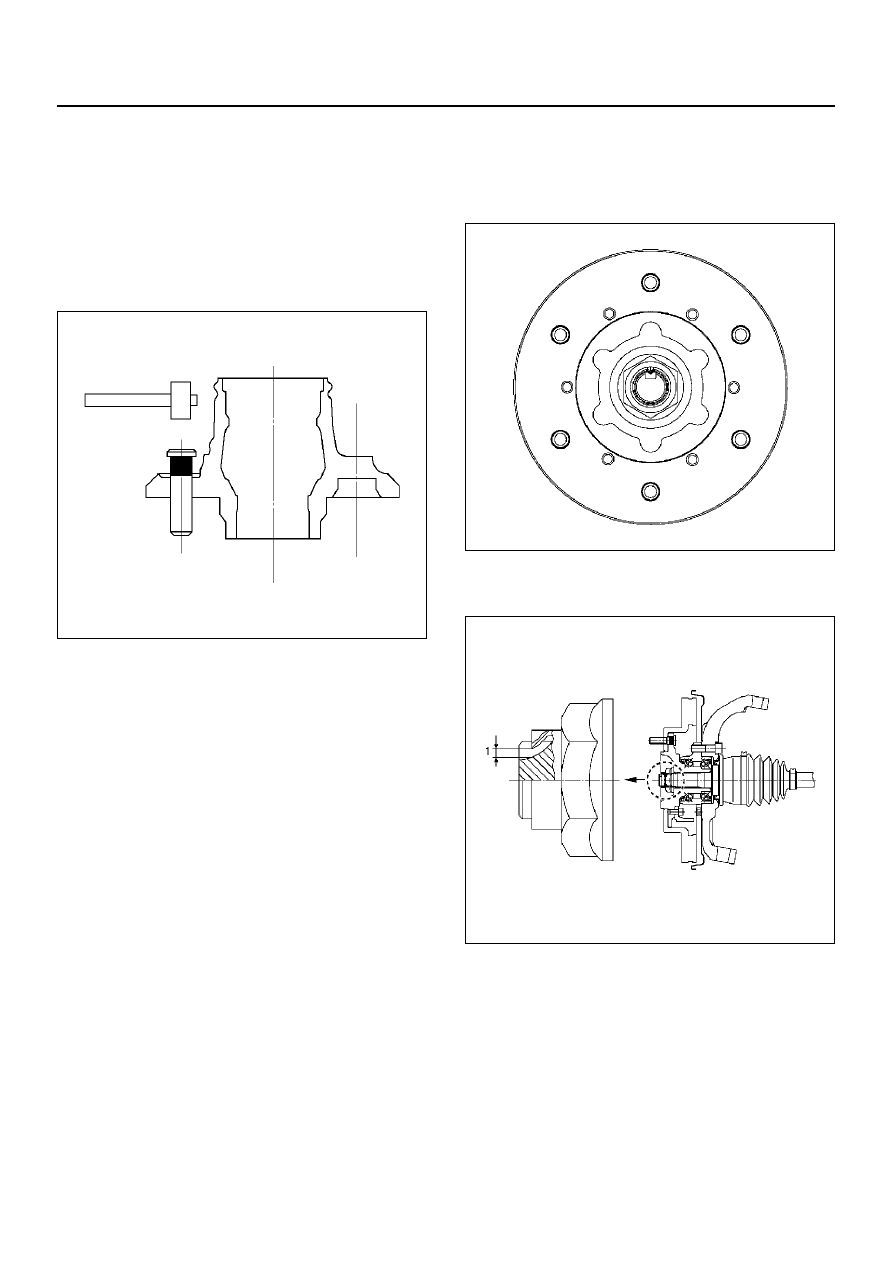
1. Install the wheel pin.

• Place hub on a wood workbench or a block of

wood approx. 6" by 6" to protect the wheel stud
ends and thresds.

• Install wheel stud, using a hammer.

NOTE:  Be sure wheel stud is started squarely and
seats completely.

411RS005

2. Install the ABS rotor sensor to the hub unit bearing.

Tighten the bolts to the specified torque.

A BS rotor sensor bolt

Torque: 18.7

±5 N·m (1.9±0.8 kg·m)

3. Install the hub unit bearing to the knuckle. Tighten

the bolts to the specified torque.

Hub unit bearing bolt

Torque: 103

±10 N·m (10.5±1 kg·m)

If there is rust on the bearing and knuckle contact
surfaces, use sandpaper to remove it before installation.
Take care not to push the front drive shaft and oil seal
out of position.

4. Hand tighten the front drive shaft nuts.

Use new nuts.

5. Install the disc rotor.

6. Install the brake caliper to the bracket.

Refer to Front disc caliper assembly in Section 5C of
this Manual.

7. Tighten the front drive shaft nuts to the specified

torque.

Front drive shaft nut

Torque: 245

±19.6 N·m (25±2 kg·m)

411R200005

8. Caulk the front drive shaft nuts.

The caulking must be free of cracks.

411R200006

DRIVE SHAFT SYSTEM

4C–9

Front Drive Shaft Joint

Front Drive Shaft Joints
Replacement

• Refer to Front Drive Axle Assembly Replacement in

this section, and refer to Front Hub and Disc
Overhaul in Suspension section.

Front Hub Bearing Preload Check

Check the hub bearing preload at the wheel pin.

New bearing and New oil seal:

24.5 N (4.4 – 5.5 lb)

Used bearing and New oil seal:

11.8– 17.7 N(2.6 – 4.0lb)

Inspection Of Shift On The Fly System Gear
Oil

412RY00008

1. Open filler plug and make sure that the oil is up to

the plug port.
If the oil is short, replenish with gear oil GL–5 grade.

2. Tighten the filler plug to specified torque.

Torque:78 N·m (58lb in)

4C–10

DRIVE SHAFT SYSTEM

Front Axle Drive Shaft

Front Axle Drive Shaft and Associated Parts

412R200009

EndOFCallout

Legend

(1) Axle Case and  Differential
(2) Snap Ring
(3) Bearing
(4) Snap Ring
(5) Oil Seal
(6) Bracket
(7) DOJ Case
(8) Circlip
(9) Bolt

(10) Drive Shaft Joint Assembly

(11) Ball

(12) Snap Ring
(13) Ball Retainer
(14) Ball Guide
(15) Band
(16) Bellows
(17) Band
(18) Band
(19) Bellows
(20) Band
(21) BJ Shaft
(22) Dust Seal

DRIVE SHAFT SYSTEM

4C–11

Disassembly

NOTE:  For the left side, follow the same steps as right
side.

1. Raise the hooked end of the band with a

screwdriver or equivalent.

412RS009

2. Remove band(1).

3. Pry off circlip (1) with a screwdriver or equivalent.

412RS010

4. Remove drive shaft joint assembly.

5. Remove the six balls (1) with a screwdriver or

equivalent.

412RS012

6. Using snap ring pliers, remove the snap ring (1)

fastening the ball retainer to the center shaft.

412RS013


Content   ..  1147  1148  1149  1150   ..