Infiniti EX35. Manual - part 523
DLN-42
< PREPARATION >
[TRANSFER: ETX13B]
PREPARATION
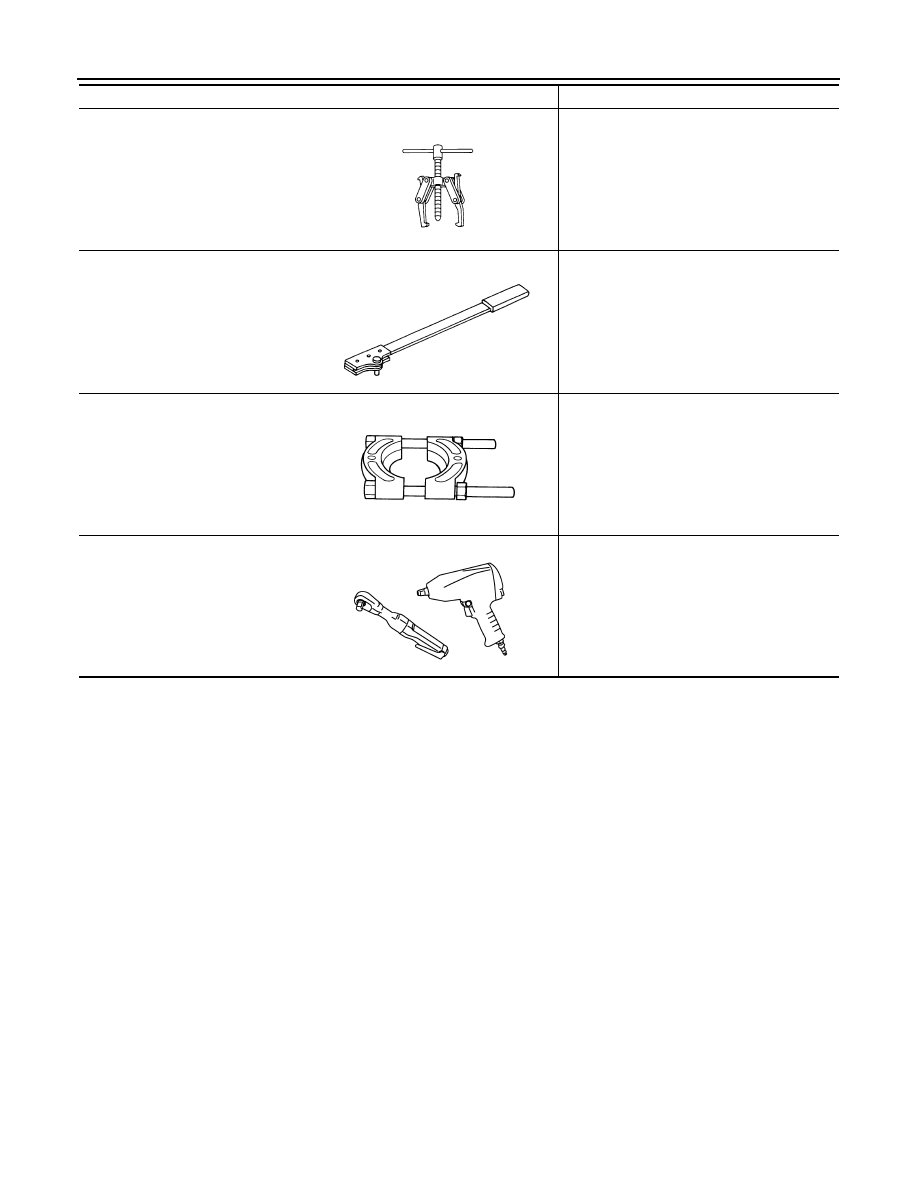
Tool name
Description
Puller
Removing companion flange
Flange wrench
Removing and installing self-lock nut
Puller
• Removing front drive shaft front bearing
• Removing front drive shaft rear bearing
Power tool
Loosening bolts and nuts
NT077
NT771
ZZB0823D
PBIC0190E