Honda Ridgeline. Manual - part 378
02
03
20-150
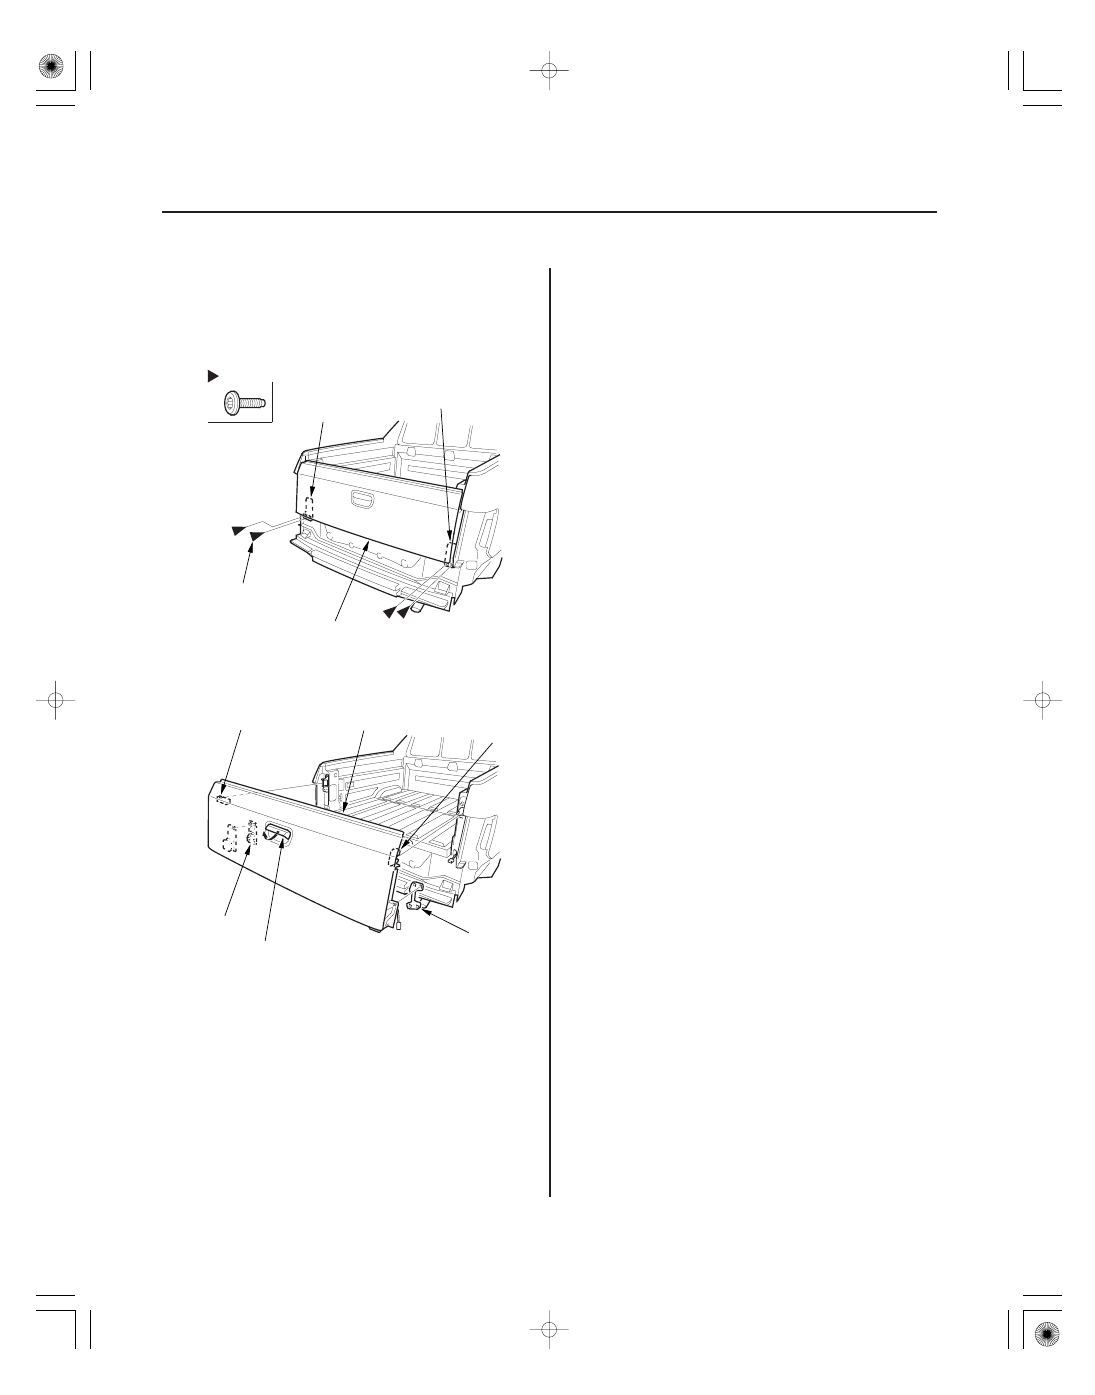
Tailgate
Tailgate Removal (cont’d)
Fastener Locations
: Bolt, 4
B
C
8 x 1.25 mm
A
C
D
B
E
A
F
5. While holding the tailgate (A), using a TORX T50 bit,
remove remaining four bolts securing the left
tailgate lower hinge (B) and right tailgate lower
striker (C).
6. Pull on the upper handle (A) to unlock the left
tailgate upper latch (B) and right tailgate upper
latch (C) while holding the tailgate (D).
7. Pull out the tailgate. Remove the shims (E, F) from
under the left tailgate lower hinge and right tailgate
lower striker.
8. Place the tailgate on a padded surface to prevent
damage.
9. To install the tailgate (see page 20-151) for
inatallation and adjustment procedures.