Content .. 1372 1373 1374 1375 ..
Dodge Durango (HB). Manual - part 1374
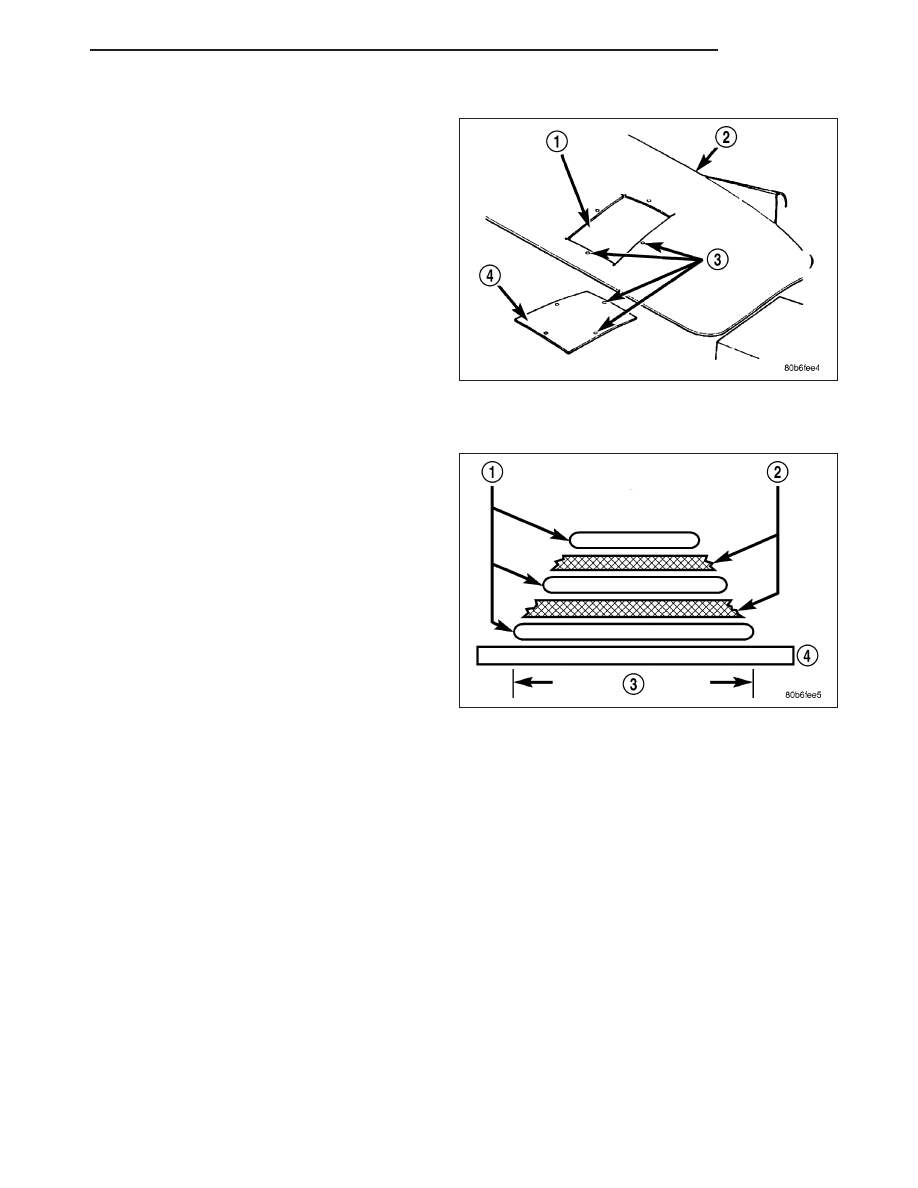
PATCHING PANELS
An panel that has extensive puncture type damage
can be repaired by cutting out the damaged material.
Use a suitable reciprocating saw or cut off wheel to
remove the section of the panel that is damaged. The
piece cut out can be used as a template to shape the
new patch. It is not necessary to have access to the
back of the panel to install a patch. Bevel edges of
cutout at 20 degrees to expose a larger bonding area
on the outer side. This will allow for an increased rein-
forcement areas.
PANEL PATCH FABRICATIONS
A patch can be fabricated from any rigid fiberglass
panel that has comparable contour with the repair
area. Lift gates and fenders can be used to supply
patch material. If existing material is not available or
compatible, a patch can be constructed with adhesive
and reinforcement mesh (dry wall tape). Perform the
following operation if required:
1. Cover waxed paper or plastic with adhesive backed
nylon mesh (dry wall tape) larger than the patch
required.
2. Tape waxed paper or plastic sheet with mesh to a
surface that has a compatible contour to the repair
area.
3. Apply a liberal coat of adhesive over the reinforce-
ment mesh. If necessary apply a second or third
coat of adhesive and mesh after first coat has cured. The thickness of the patch should be the same as the
repair area.
4. After patch has cured, peel waxed paper or plastic from the back of the patch.
5. If desired, a thin film coat of adhesive can be applied to the back of the patch to cover mesh for added strength.
HB
BODY
23 - 9