Content .. 1368 1369 1370 1371 ..
Dodge Durango (HB). Manual - part 1370
Use the following Vehicle Lead Diagnosis And Correction Chart to diagnose and correct a vehicle lead or drift
problem.
STANDARD PROCEDURE
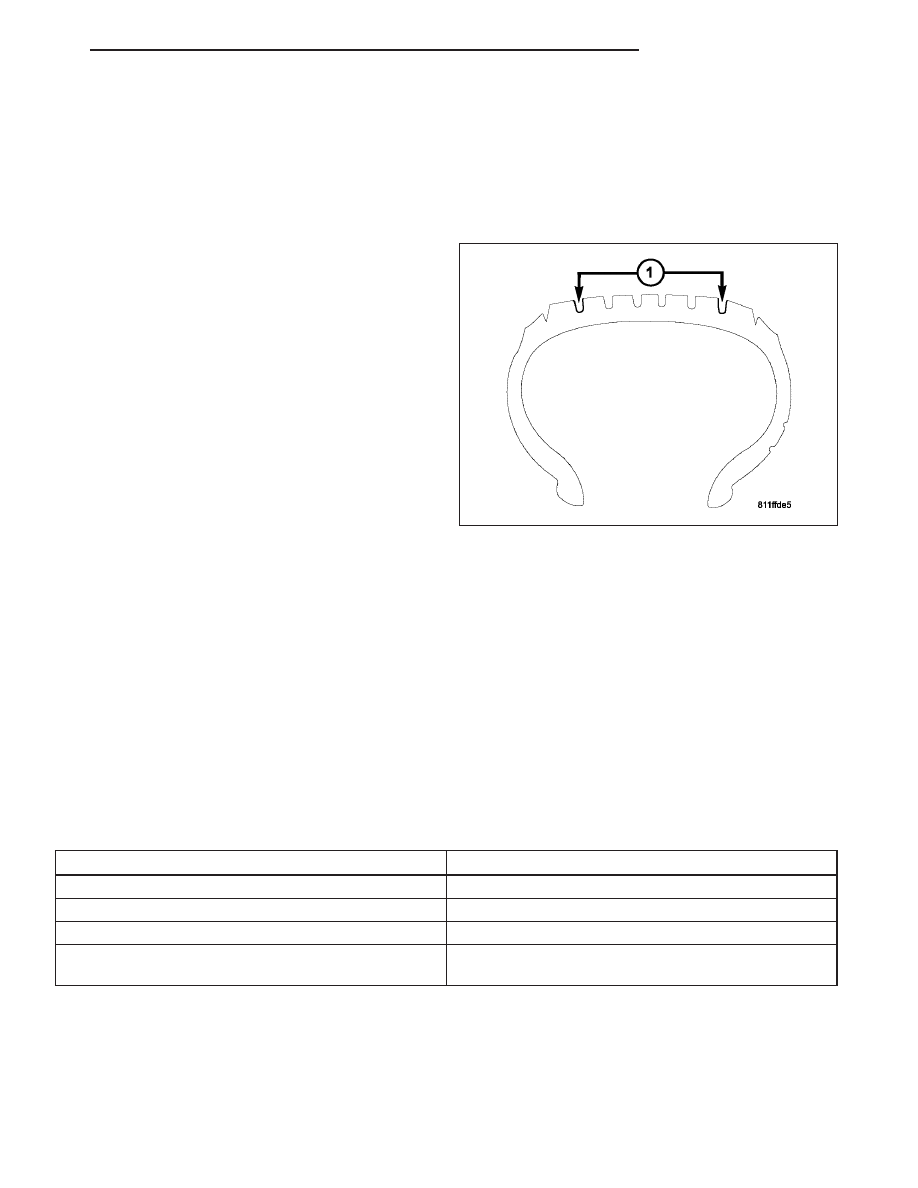
TIRE REPAIR AREA
For proper repairing, a radial tire must be removed
from the wheel. Repairs should only be made if the
defect, or puncture, is in the tread area (1). The tire
should be replaced if the puncture is located in the
sidewall.
Deflate tire completely before removing the tire from
the wheel. Use lubrication such as a mild soap solu-
tion when dismounting or mounting tire. Use tools free
of burrs or sharp edges which could damage the tire
or wheel rim.
Before mounting tire on wheel, make sure all rust is
removed from the rim bead and repaint if necessary.
Install wheel on vehicle, and tighten to proper torque
specification.
CLEANING
TIRES
Remove the protective coating on the tires before delivery of a vehicle. This coating may cause deterioration of the
tires.
To remove the protective coating, apply warm water and let it soak for a few minutes. Afterwards, scrub the coating
away with a soft bristle brush. Steam cleaning may also be used to remove the coating.
Note: DO NOT use gasoline, mineral oil, oil-based solvent or a wire brush for cleaning.
SPECIFICATIONS
TIRE REVOLUTIONS PER MILE
DESCRIPTION
SPECIFICATION
TIRE SIZE
REVOLUTIONS PER MILE
P245/70R17
686
P265/65R17
684
P275/60R17
BUX
695
HB
TIRES/WHEELS
22 - 11