Daewoo Nubira. Manual - part 12
9S – 6
I
BODY REAR END
DAEWOO V–121 BL4
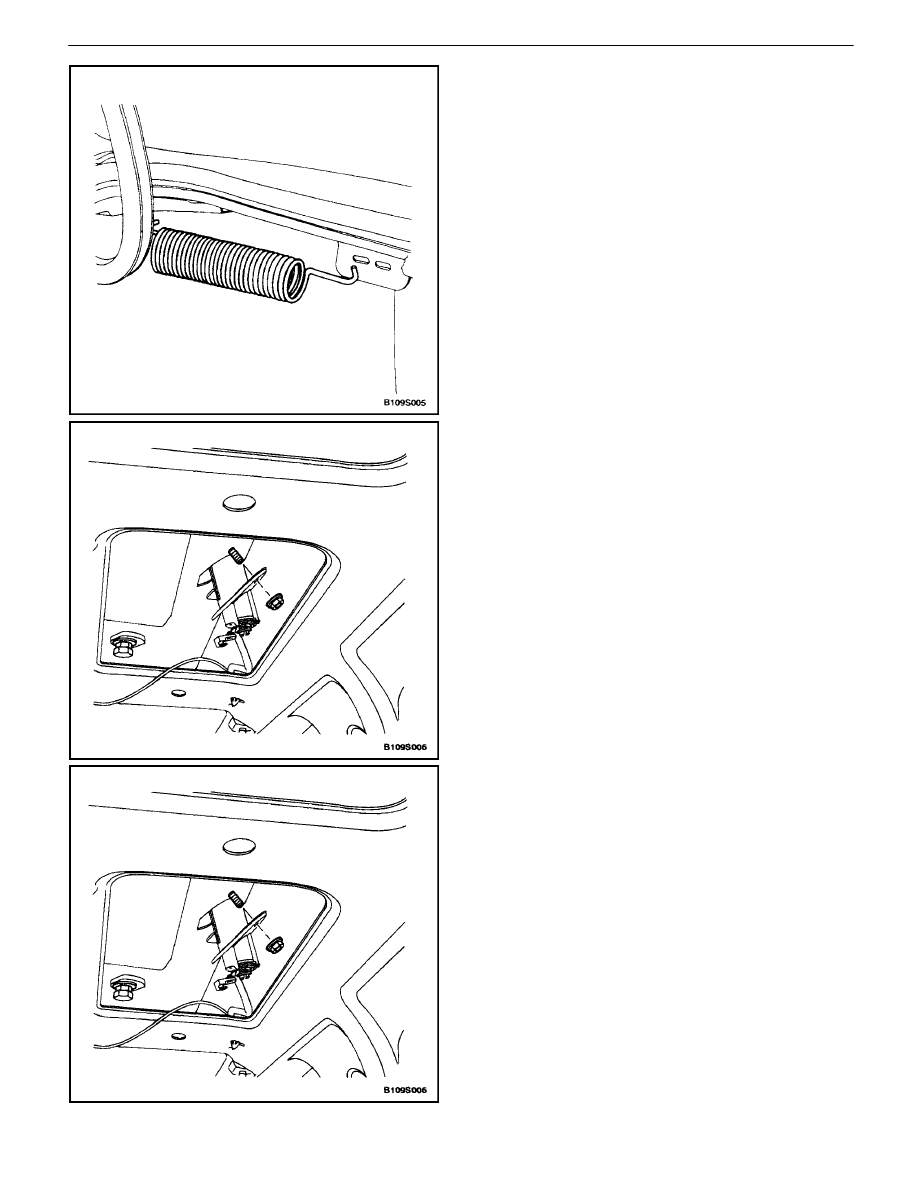
Installation Procedure
1. Install the spring into the hinge mount.
2. Extend the spring to mount it in the rear mounting
hole.
LUGGAGE COMPARTMENT LOCK
CYLINDER
(Notchback Shown, Hatchback and
Wagon Similar)
Removal Procedure
1. Remove the lower garnish molding (hatchback and
wagon only).
2. Remove the nuts that secure the lock cylinder.
3. Disconnect the lock rod.
4. Remove the luggage compartment lock cylinder.
Installation Procedure
1. Install the luggage compartment lock cylinder.
2. Connect the lock rod.
Notice : Dissimilar metals in direct contact with each other
may corrode rapidly. Make sure to use the correct fasten-
ers to prevent premature corrosion.
3. Secure the luggage compartment lock cylinder with
the nuts.
Tighten
Tighten the luggage compartment lock cylinder nuts
to 4 N
S
m (35 lb–in).
4. Install the lower garnish molding (hatchback and
wagon only).