DAF LF45, LF55 Series. Manual - part 650
©
200515
3-29
Inspection and adjustment
EXPLANATORY NOTES ON THE MAINTENANCE ACTIVITIES
ΛΦ45/55 series
5
3.36 CHECKING AUTOMATIC GEARBOX OIL LEVEL
Checking cold oil level
1.
Place the vehicle on a flat and level surface.
2.
Make sure that the gearbox is in neutral and
allow the engine to run for several minutes.
3.
Apply the service brake, switch the gearbox
to D, then to N and finally switch the gearbox
to R. The purpose of this is to fill the hydraulic
system.
4.
Switch the gearbox to the parking position
and release the service brake.
5.
Remove the dipstick when the engine is
idling and wipe it clean with a lint-free cloth.
Note:
To take the dipstick out of the holder, the
sealing cap must be held while the dipstick is
turned anti-clockwise.
6.
Put the dipstick back.
7.
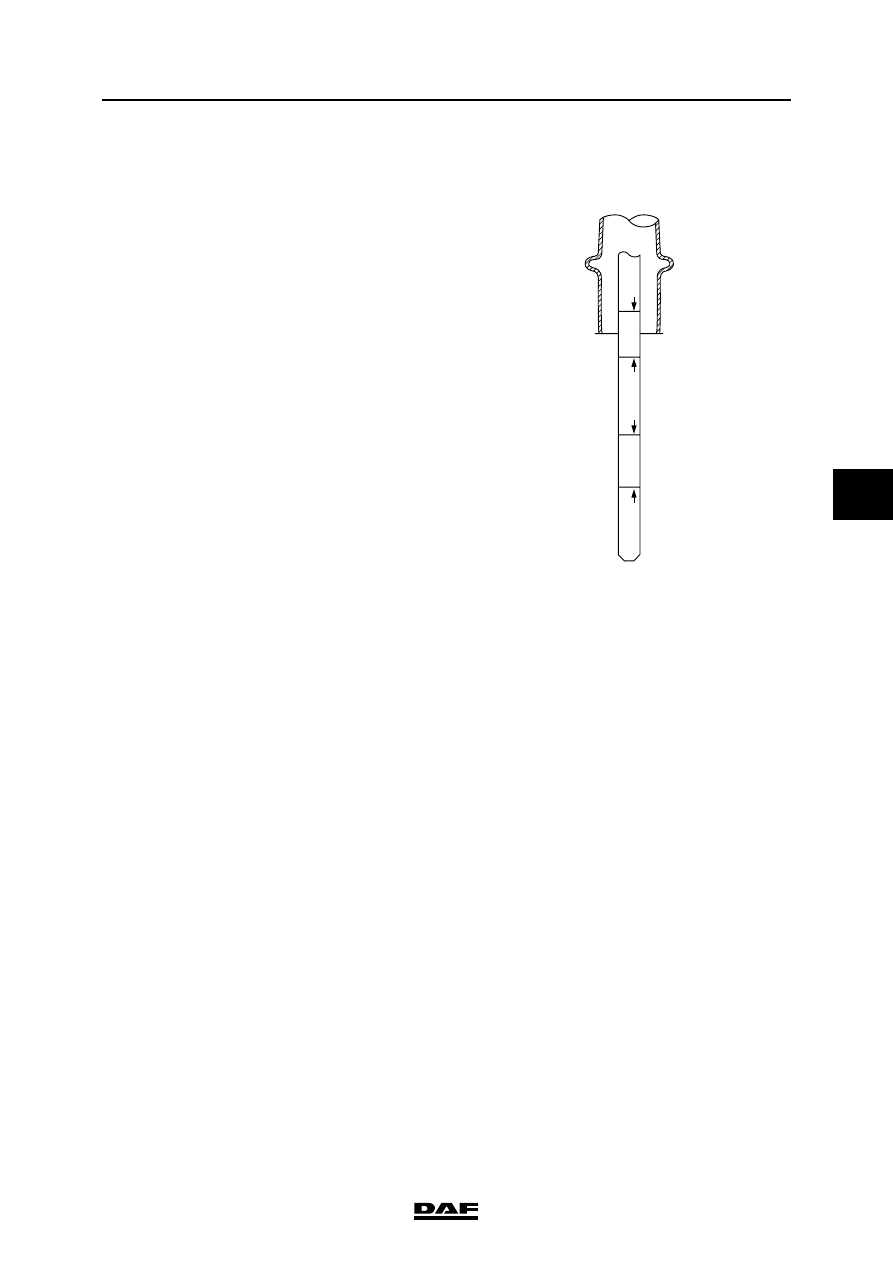
Remove the dipstick and check the oil level.
The oil level should be between the "Cold
add" and "Cold full" marks.
8.
Clean the dipstick with a lint-free cloth and
put it back.
9.
Remove the dipstick and check the oil level
again.
10. Oil needs to be added when the oil level is
below the "Cold add" mark.
11. Check the oil level in the gearbox at
operating temperature.
HOT
FULL
COLD
FULL
HOT
ADD
COLD
ADD
W 3 03 099