DAF LF45, LF55 Series. Manual - part 137
1
LF45/55 series
Removal and installation
SEATS
4-1
4. REMOVAL AND INSTALLATION
4.1 REMOVAL AND INSTALLATION, SEAT ASSEMBLY
-
If the seat is equipped with seat belt
tensioners, turn the ignition off and
disconnect the batteries before
disconnecting the plug of the seat belt
tensioner in the seat.
-
If the vehicle is equipped with an airbag, the
seat automatically has a seat belt tensioner.
You can identify the presence of an airbag
by the text on the steering wheel and a
sticker on the windscreen stating ”airbag”.
Removing seat assembly
1.
Remove the air pipe while pressing the
circlip of the quick-release coupling and
pulling the pipe from the coupling.
2.
Detach the electric seat heating connector.
3.
If applicable, unplug the seat belt tensioner
connector.
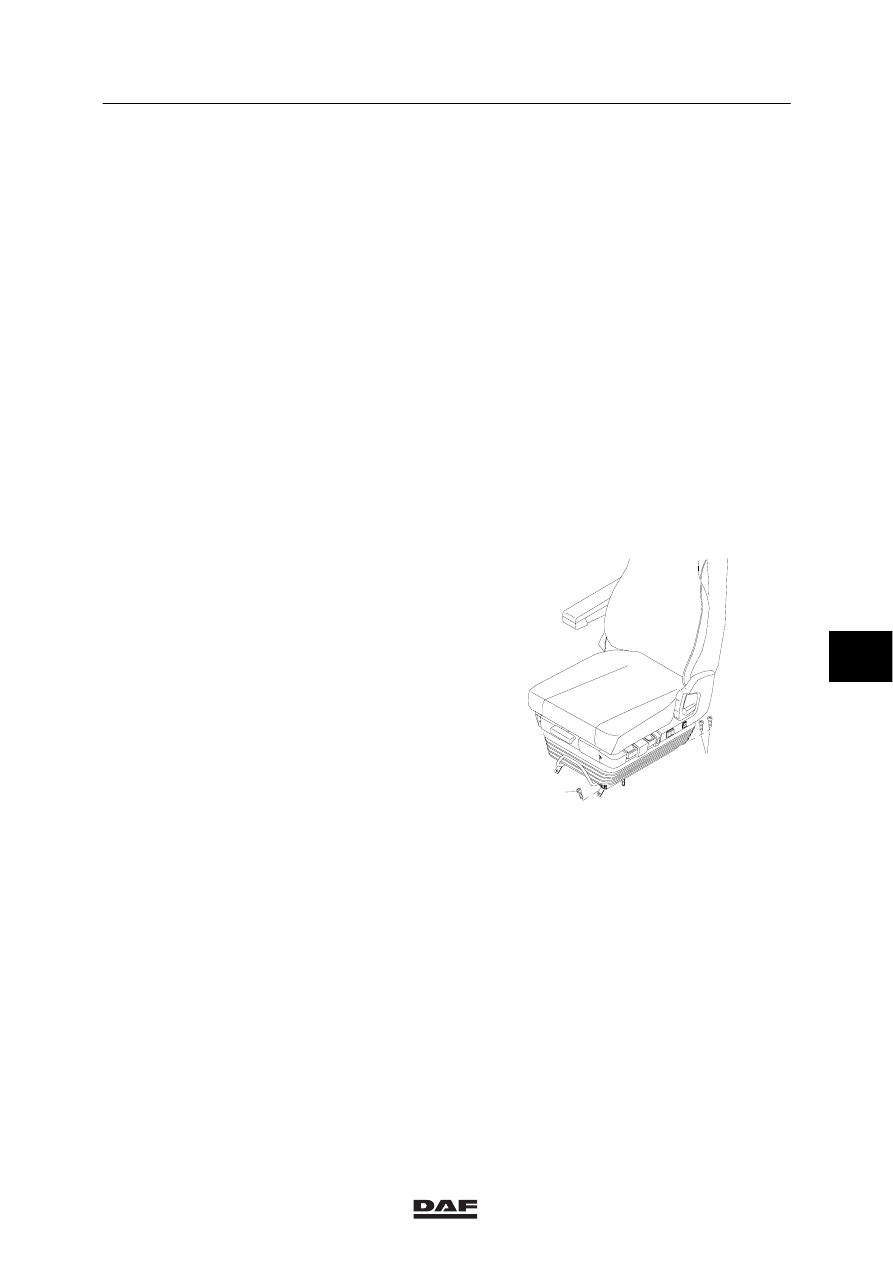
4.
Slide the seat backwards and remove the
front attachment screws (1) of the seat
slide.
5.
Slide the seat forwards and remove the rear
attachment screws (2) of the seat slide.
6.
Remove the seat from the cab.
Installing seat assembly
1.
Position the seat on the seat rails with the
centring pins in the centring holes in the
cab. Make sure that the air pipes and power
supply cables do not get pinched off.
2.
Slide the seat backwards and tighten the
front attachment screws (1).
3.
Slide the seat forwards and tighten the rear
attachment screws (2).
4.
Connect the air pipe.
5.
Install the seat heating connector.
2
1
K1 01 378
7
ǹ 0210