DAF 95XF. Manual - part 596
8
TANDEM REAR AXLE 1355 T
Removal and installation
3-18
3.11 REMOVAL AND INSTALLATION, DIFFERENTIAL
Removal of the differential
1.
Drain the oil from the differential and the
hubs, see Chapter “Draining and filling”.
2.
Remove the drive shaft from the drive
flange.
3.
Remove the axle shafts.
4.
Remove the air connection for the
differential lock.
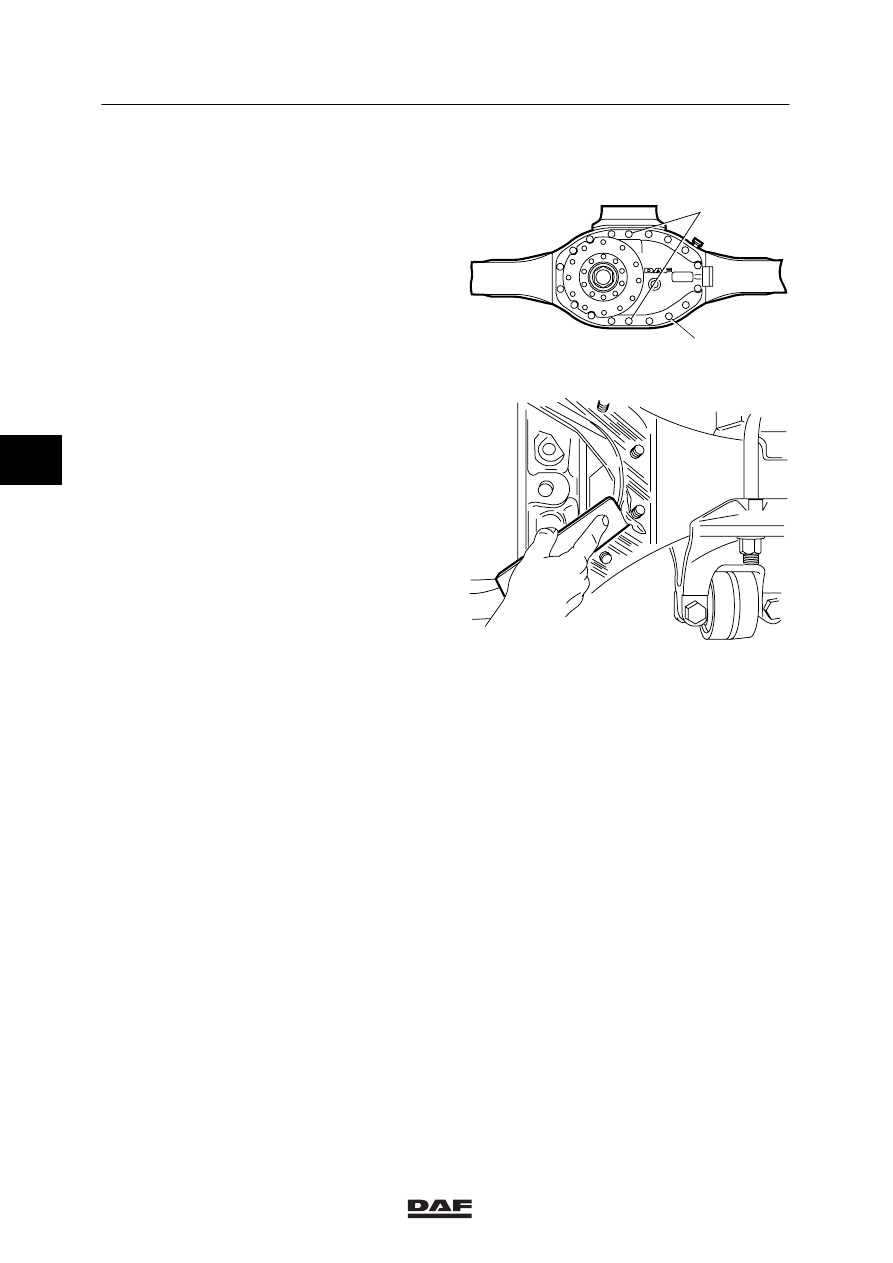
5.
Remove the nuts from the attachment bolts
(type B). These long bolts run through the
rear-axle housing.
Remove these two attachment bolts from
the differential.
6.
Remove the differential from the axle
housing.
Installation of the differential
1.
THOROUGHLY clean the mating surfaces
of the banjo housing and the differential
housing. Remove sealant residues using a
putty knife and degrease these surfaces
using some white spirit.
2.
Remove all sealant residues from the
bolt-head flanges of the through bolts
(type B). Degrease these flanges.
3.
Remove all sealant residues from the
flange-nut flanges from the bolts (type B)
and degrease these flanges.
A800047
A
B
A800048
ǹ 0001
4