Chery Tiggo 5 (T21). Manual - part 230
18–
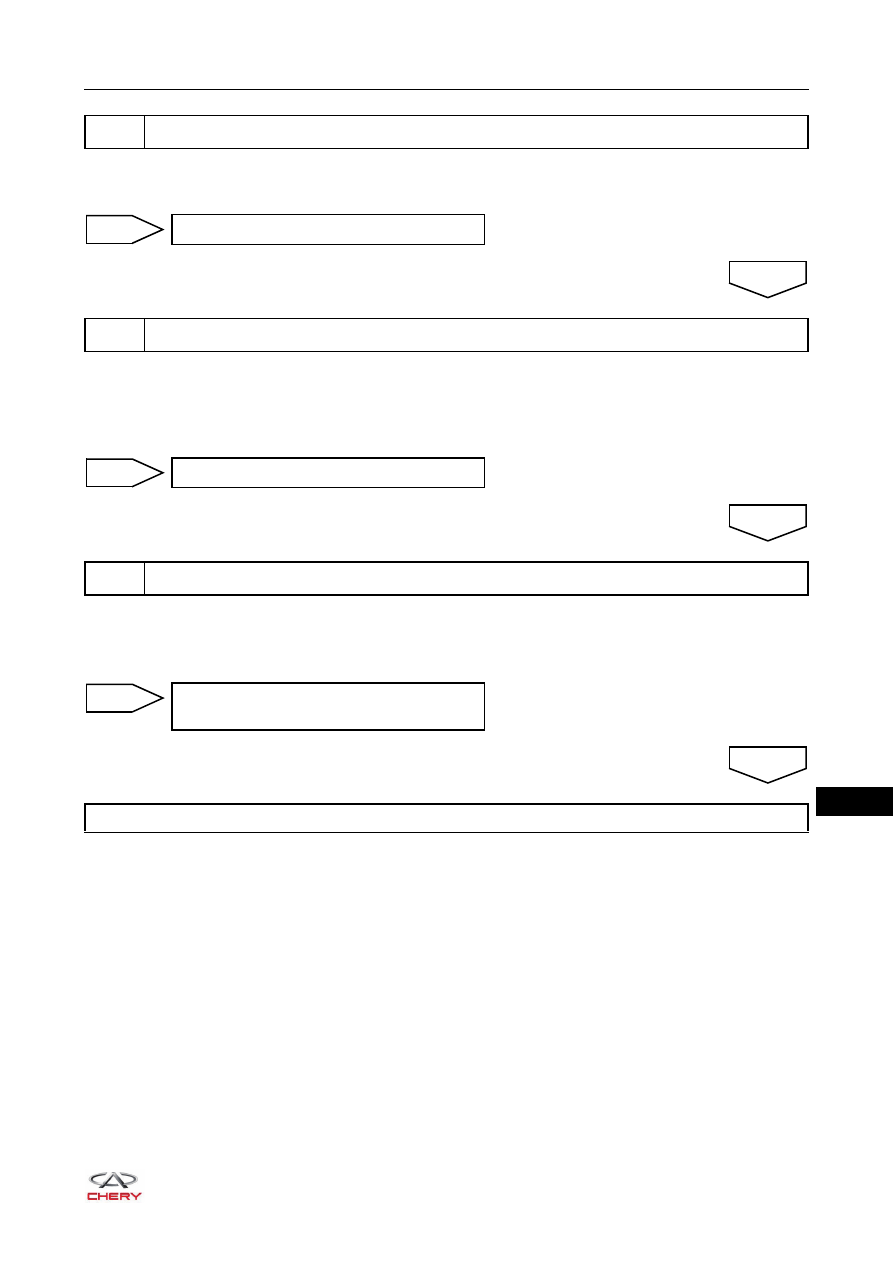
109
18
a. Check the transmission system using the diagnostic tester.
b. Is there any DTC except for P2797 and P2798?
a. Use diagnostic tester to read the data flow related to transmission system oil pressure sensor for
abnormality.
b. Transmission system should be normal.
c. Is the check result normal?
a. Using X-431 3G diagnostic tester, select Read Code.
b. Refer to "DTC Confirmation Procedure".
c. Is DTC P2797 or P2798 still present?
2
Check transmission system
Repair these DTCs fault
NG
3
Read data flow
OK
Repair fault
NG
4
Check for DTC
OK
Replace solenoid and wire harness
assembly
NG
System is normal
OK