Chery Fora (Elara A520). Manual - part 37


  Index      Chery     Chery Fora (Elara A520) - service repair manual


Search            


Content   ..  35  36  37  38   ..


Chery Fora (Elara A520). Manual - part 37


Even if no outer damage is confirmed, you should also replace the belt when any of the 
following conditions occurs. 

(1)  If the water in the coolant pump is leaked and more water should be filled continuously.   

(2)  If  the  belt  is  spotted  with  much  oil  stains,  and  the  rubber  may  be  damaged  due  to 

expansion, you should replace the belt. 

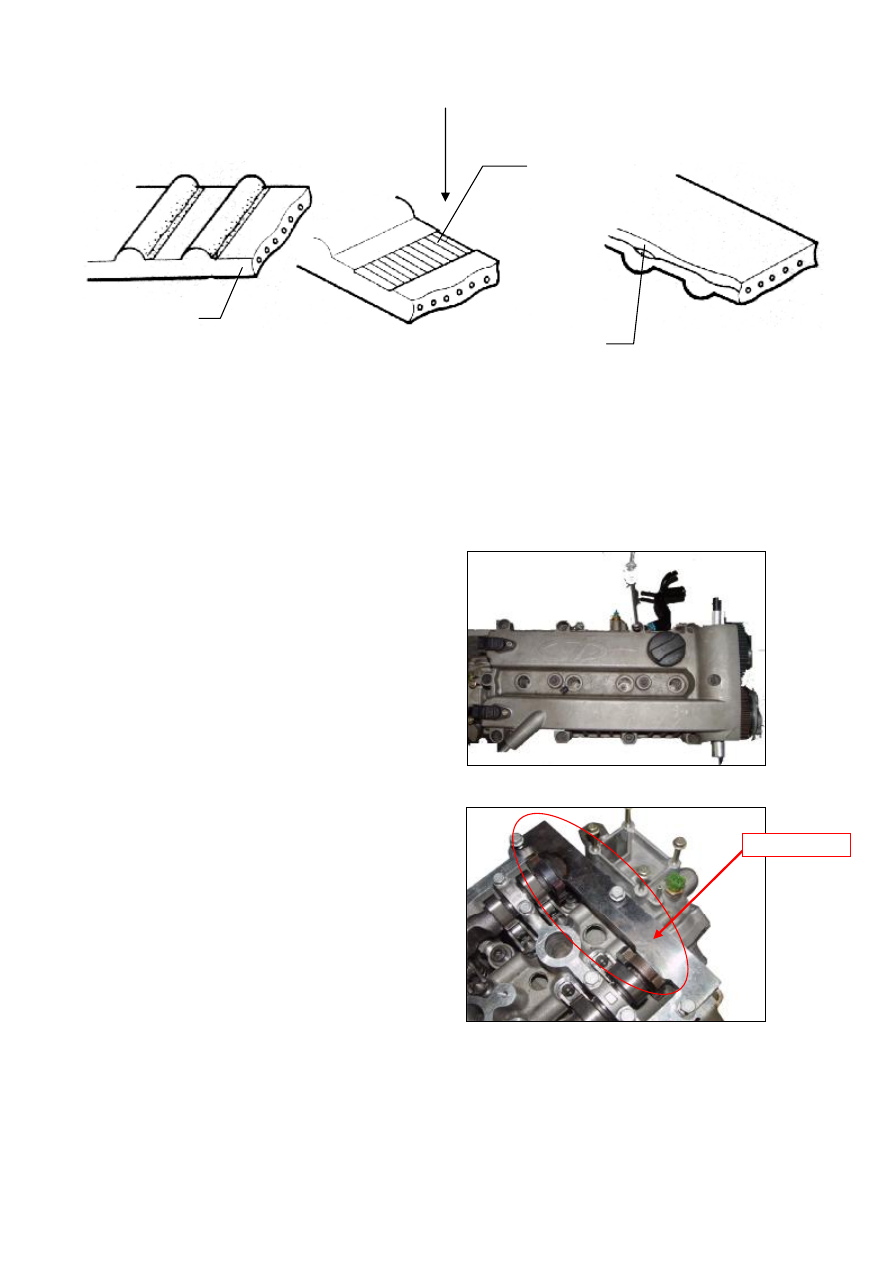
5.  Dismantle the valve chamber cover 

Loosen  the  fixed  bolt  of  valve  chamber 
cover, and lift down the valve chamber cover. 


6.  Camshaft phase alignment 

Rotate  the  camshaft  and  clamp  the  camshaft 
tool  into  the  eccentric  groove  of  camshaft 
sensor signal pulley. 


Abnormal Wearing 

Gear Missing 

Belt Core Desquamation


Camshaft Tool


7.


Crankshaft phase alignment 

Screw  off  the  bulkhead  of  cylinder  block, 
screw  the  crankshaft  tool  into  it,  rotate  the 
crankshaft 

until 

the 

crankshaft 

tool 

completely  clamps  the  crankshaft.  At  this 
time,  the  crankshaft  cannot  rotate  clockwise 
and counterclockwise. 


8.


Mount and strain the timing belt 

Mount  the  timing  belt  in  the  position  shown 
in  the  figure,  use  allen  wrench  to  rotate  the 
tension  pulley  in  order  to  strain  the  belt, 
fasten the tension pulley  bolt. And  fasten the 
fixed  bolt of  air  intake  and  exhaust  camshaft 
pulleys and the camshafts. 

Torque:120±5Nm. 


9.


Lift  down  the  special  timing  calibration 
tools, and then fasten the valve chamber 
cover, timing belt cover, the right engine 
mounting  bracket  of  engine,  and 
dynamo belt. 


Crankshaft Tool 


10 

SECTION II LIFTING AND INSTALLATION OF ENGINE 

1.  When  the  ignition  switch  is  shut off,  you 

can  pull  out  the  battery  earth  cable, 
loosen  the  fastening  screw,and  dismantle 
the battery. 


2.  Loosen  the  condenser  drainpipe,  screw 

off the expanded pot lid, and discharge all 
the anti-freezing solution. 


3.  Dismantle  the  airflow  lines  between  the 

throttle valve case and the air flow meter, 
dismantle  the  (a)  lead  connector  of  air 
flow  meter, (b) lead connector of  ignition 
coil,(c)  lead  connector  of  canister 
solenoid valve. 


4.  Remove  the  (d)  the  wire  harness  plug  of 

water  temperature  sensor,  and  (e)  wire 
harness  plug  of  air  intake  and  exhaust 
camshaft position sensor. 


Content   ..  35  36  37  38   ..