Acura CSX. Manual - part 34
10
01
02
SNR9A00A18224024904KBAT00
5-32
5-32
Engine Assembly
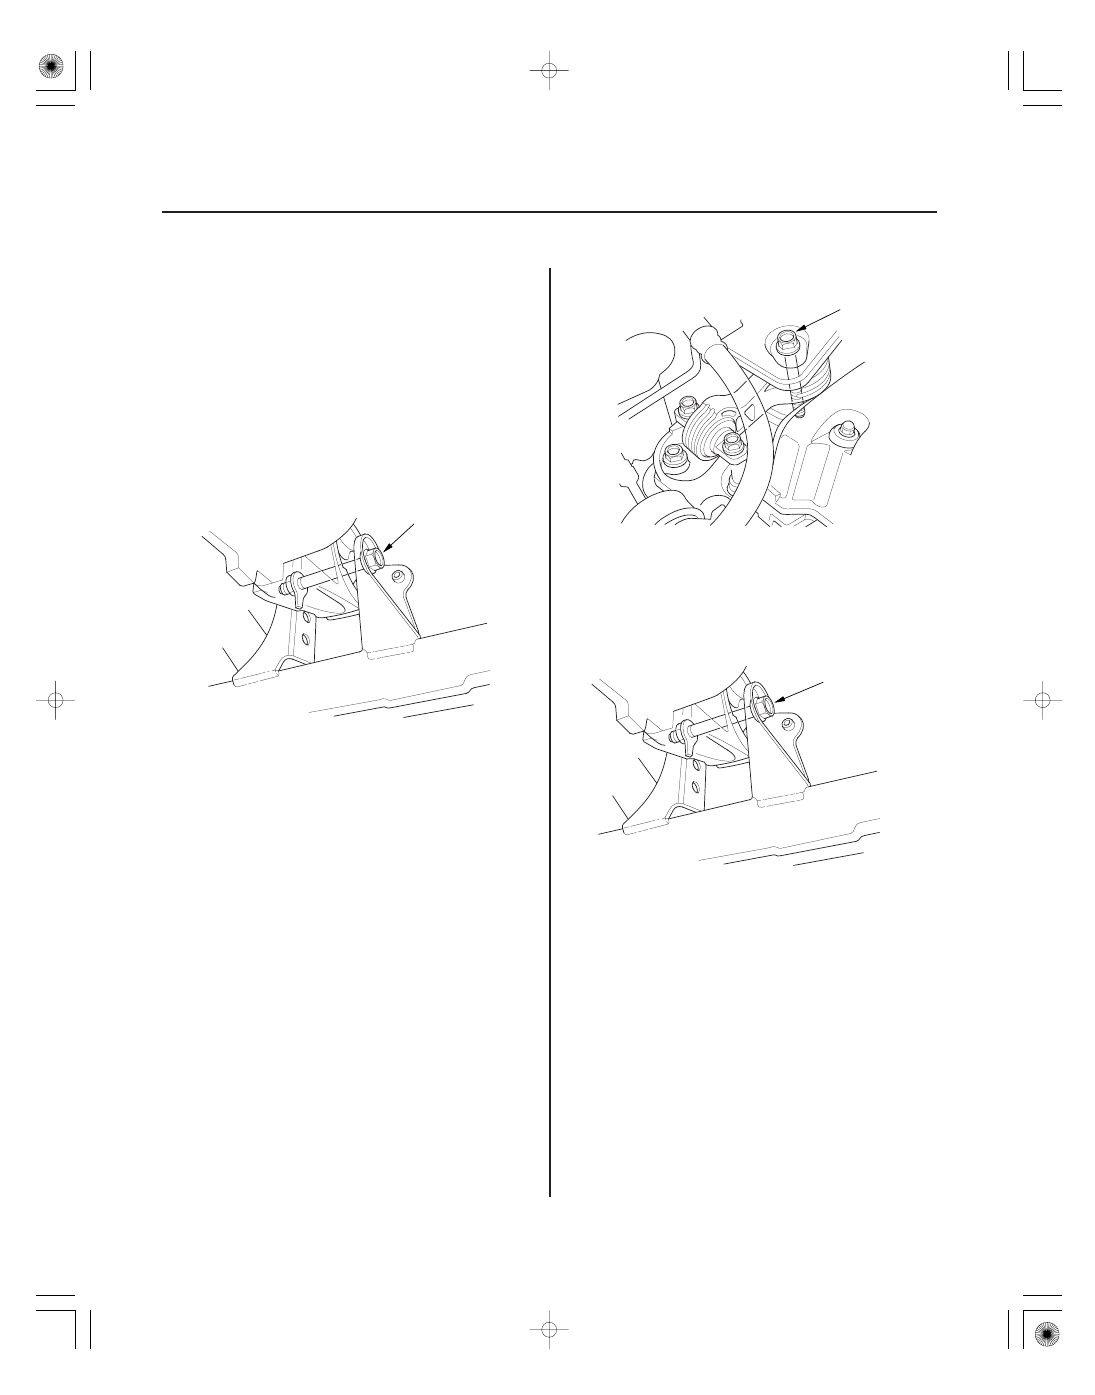
Lower Torque Rod Replacement
12 x 1.25 mm
64 N·m
(6.5 kgf·m, 47 lbf·ft)
A
A
22. Install the ECM/PCM bracket, then install the under-
hood fuse/relay box to the ECM/PCM bracket (see
step 52 on page 5-22).
23. Install the ECM/PCM, then install the ECM/PCM
cover (see step 56 on page 5-23)
24. Install the air cleaner assembly (see page 11-345).
25. Raise the vehicle on the lift.
26. M/T model: Tighten the front mount mounting bolt.
27. Install the splash shield (see step 40 on page 5-20).
1. Loosen the upper torque rod mounting bolt (A).
2. Raise the vehicle on the lift.
3. Remove the splash shield (see step 25 on page 5-5).
4. M/T model: Loosen the front mount mounting
bolt (A).