Snowmobile Yamaha FX10X, FX10RTX, FX10RTRX, FX10RTRAX, FX10MTX, FX10MTRX, FX10MTRAX. Manual - part 31
4-13
POWR
TR
DISASSEMBLY
WARNING
• Use extreme CAUTION when disassembling
the secondary sheave since serious injury
can occur due to the sudden release of spring
tension. Use the sheave compressor to con-
tain the spring tension before removing the
spring seat nuts.
• Do not attempt this procedure unless you
have the proper tools and understand the
instructions thoroughly.
INSPECTION
1. Inspect:
• Sliding sheave
• Fixed sheave
• Spring seat
Cracks/damage
→ Replace.
• Stopper
Wear/damage
→ Replace.
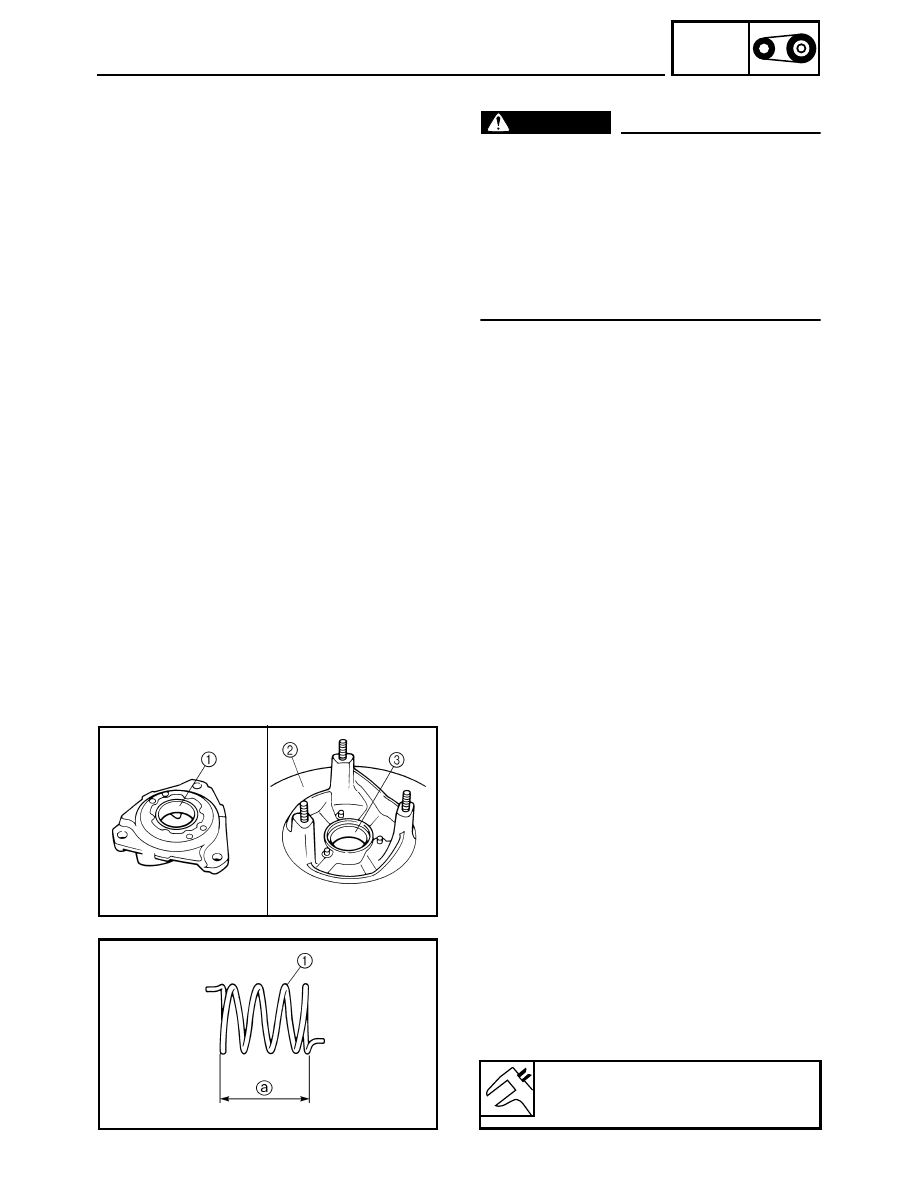
2. Inspect:
• Bushing (spring seat) 1
• Sliding sheave (V-belt contact surface) 2
Scratches/wear/damage
→ Replace.
• Sliding bushing 3
Unsymmetrical wear/damage
→ Replace.
3. Inspect:
• Secondary sheave spring 1
Cracks/damage
→ Replace.
4. Measure:
• Secondary sheave spring (standard) free
length
a
Below specification
→ Replace the secondary
sheave spring.
Secondary sheave spring (standard)
free length:
75.0 mm (2.95 in)