Volkswagen Golf / Golf GTI / Golf Variant. Manual - part 902
2
Generator
⇒ “2.1 Overview - Generator”, page 13
⇒ “2.2 Generator, Removing and Installing”, page 15
⇒ “2.3 Generator, Checking”, page 22
⇒ “2.4 Ribbed Belt Pulley, Removing and Installing”, page 22
⇒ “2.5 Voltage Regulator, Removing and Installing”, page 27
2.1
Overview - Generator
⇒ “2.1.1 Overview - Generator without Bushings”, page 13
⇒ “2.1.2 Overview - Generator with Bushings”, page 14
2.1.1
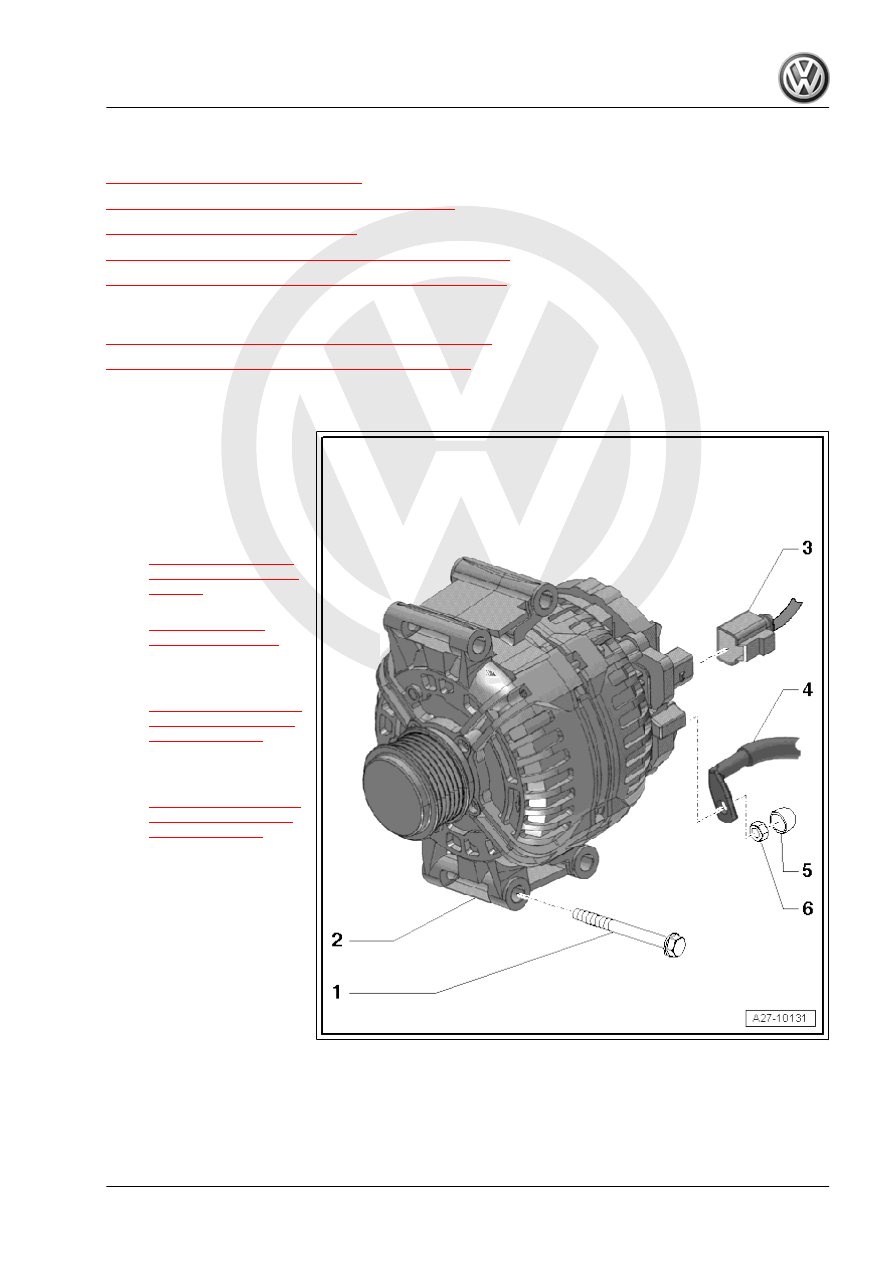
Overview - Generator without Bushings
1 - Bolt
❑ 23 Nm
❑ Quantity: 4
2 - Generator - C-
❑ Removing and instal‐
ling. Refer to
.
❑ Checking. Refer to
❑ Ribbed belt pulley, re‐
moving and installing.
Refer to
.
❑ Voltage Regulator -
C1- , removing and in‐
stalling. Refer to
.
3 - Connector
4 - Terminal 30/B+
5 - Cap
6 - Nut
❑ 20 Nm