Volkswagen Golf / Golf GTI / Golf Variant. Manual - part 355
5.2
Interior Rearview Mirror, Removing and
Installing
⇒ “5.2.1 Manual Dimming Interior Rearview Mirror, Removing and
Installing, without Rain/Light Recognition Sensor G397 and Driv‐
er Assistance Systems Front Camera R242 ”, page 68
⇒ “5.2.2 Manual or Automatic Dimming Interior Rearview Mirror,
Removing and Installing, with Rain/Light Recognition Sensor
G397 and without Driver Assistance Systems Front Camera R242
”, page 69
⇒ “5.2.3 Automatic Dimming Interior Rearview Mirror, Removing
and Installing, with Rain/Light Recognition Sensor G397 and Driv‐
er Assistance Systems Front Camera R242 ”, page 70
5.2.1
Manual Dimming Interior Rearview Mirror, Removing and Installing, without
Rain/Light Recognition Sensor - G397- and Driver Assistance Systems
Front Camera - R242-
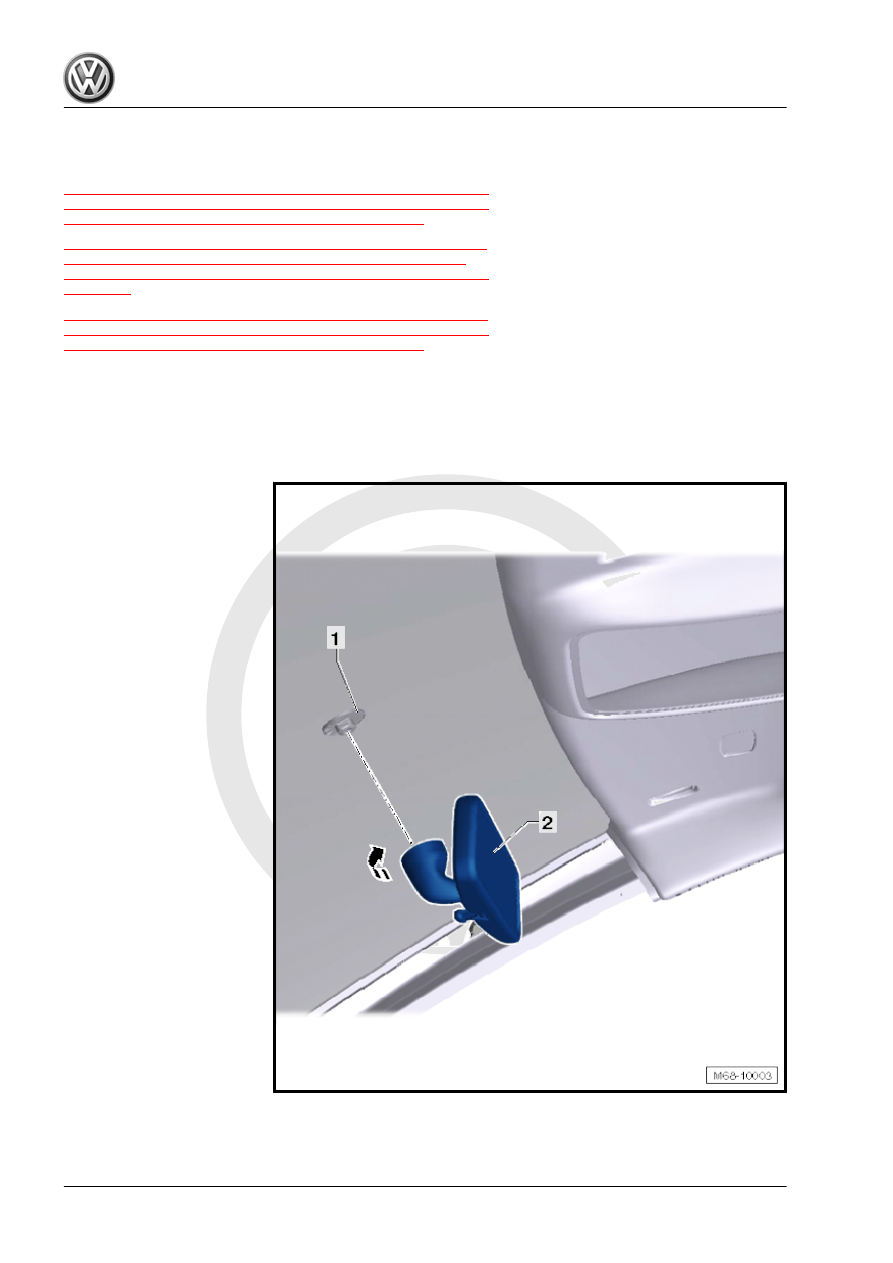
Removing
– Turn the interior rearview mirror -2- 90° (
1
/4 rotation) counter-
clockwise in direction of -arrow-.