Volkswagen Golf / Golf GTI / Golf Variant. Manual - part 232
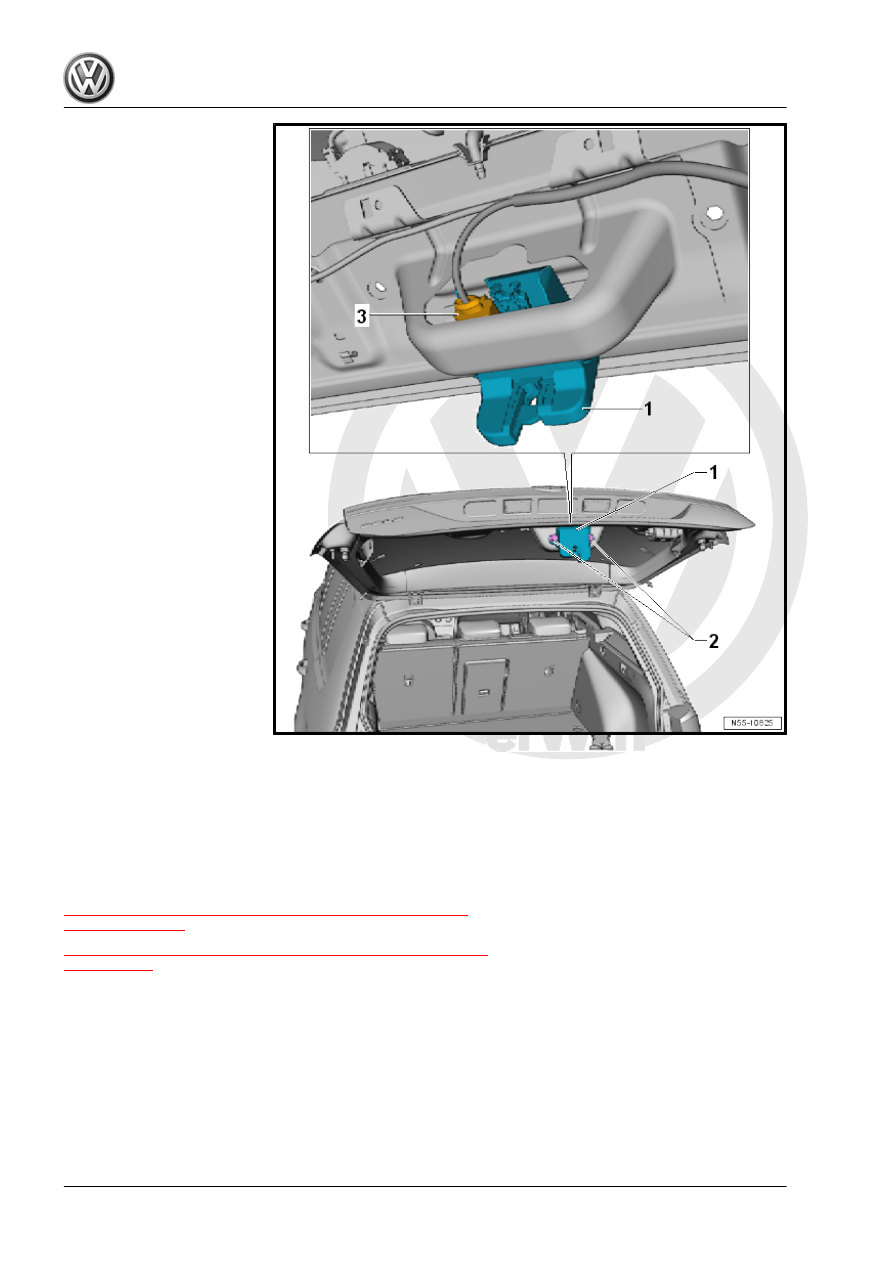
Installing
– Insert the latch -1- into the rear lid and tighten the bolts -2-.
– Connect the connector -3- to the latch -1-.
Tightening Specifications
2.7
Actuator, Removing and Installing
⇒ “2.7.1 Actuator, Removing and Installing, without Rearview
Camera”, page 60
⇒ “2.7.2 Actuator, Removing and Installing, with Rearview Cam‐
2.7.1
Actuator, Removing and Installing, with‐
out Rearview Camera
Special tools and workshop equipment required
♦ Torque Wrench 1331 5-50Nm - VAG1331-