Volkswagen Golf / Golf GTI / Jetta. Manual - part 667
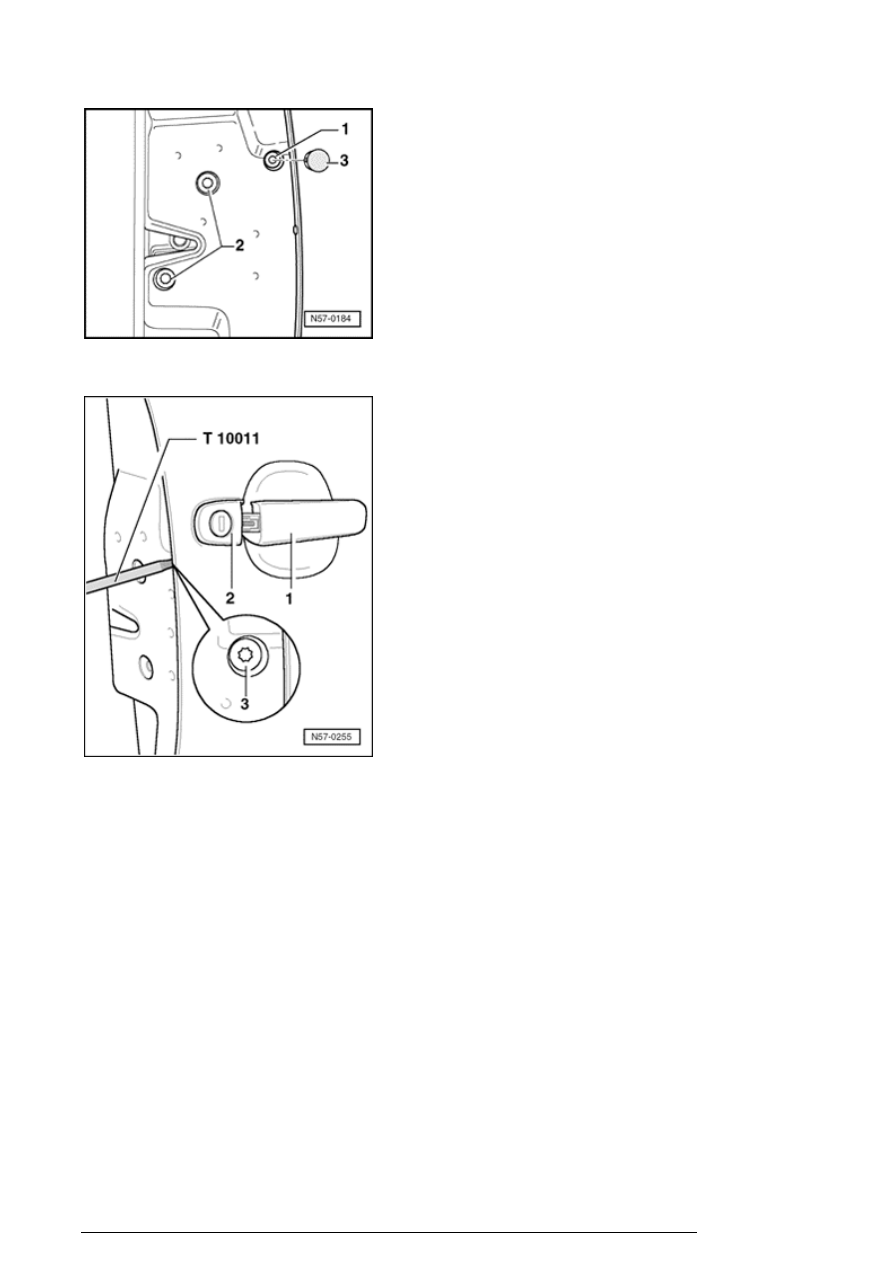
- Pry out cap - 3 - .
- Pull door handle - 1 - and hold in this position. Remove
bolt - 3 - using torque wrench T10011 ( socket wrench
T10072 introduced as running change) until stop. Lock
cylinder housing is loosened by doing so.
Note:
If bolt has been loosened too far, this may cause lock
mechanism ring to loosen from mounting bracket and fall
into door.
- Remove lock cylinder housing - 2 - at right angle to door
from door handle mounting bracket.
Installing
- Insert lock cylinder housing at right angle into door handle
mounting bracket.
Front door
13/2/2005