Content .. 1221 1222 1223 1224 ..
Volkswagen Golf / Golf GTI / Jetta. Manual - part 1223
Torque wrench V.A.G 1331/ (5 - 50 Nm)
Oil filter wrench (commercially available)
or
Oil filter strap wrench
Perform following work sequence:
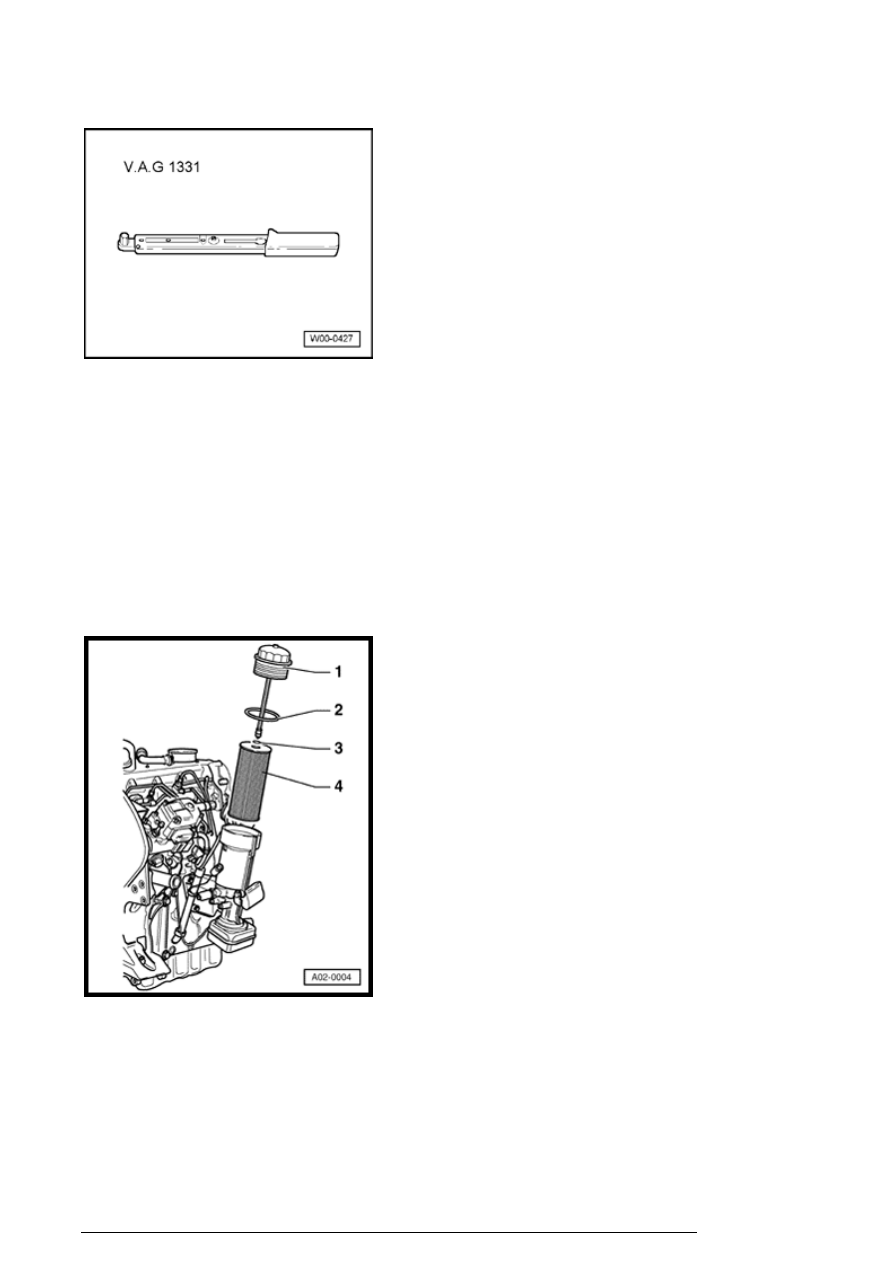
Engine code ALH
- Loosen cap - 1 - with Oil filter wrench VAS 3417 .
- Replace O-rings - 2 - and - 3 - along with oil filter - 4 - .
Note:
Observe waste disposal regulations!
Description of work (part 1 of 2)
13/2/2005