Toyota Sequoia (2018 year). Instruction - part 27
417
6-3. Do-it-yourself maintenance
6
Mainten
SEQUOIA_OM_USA_OM0C011U
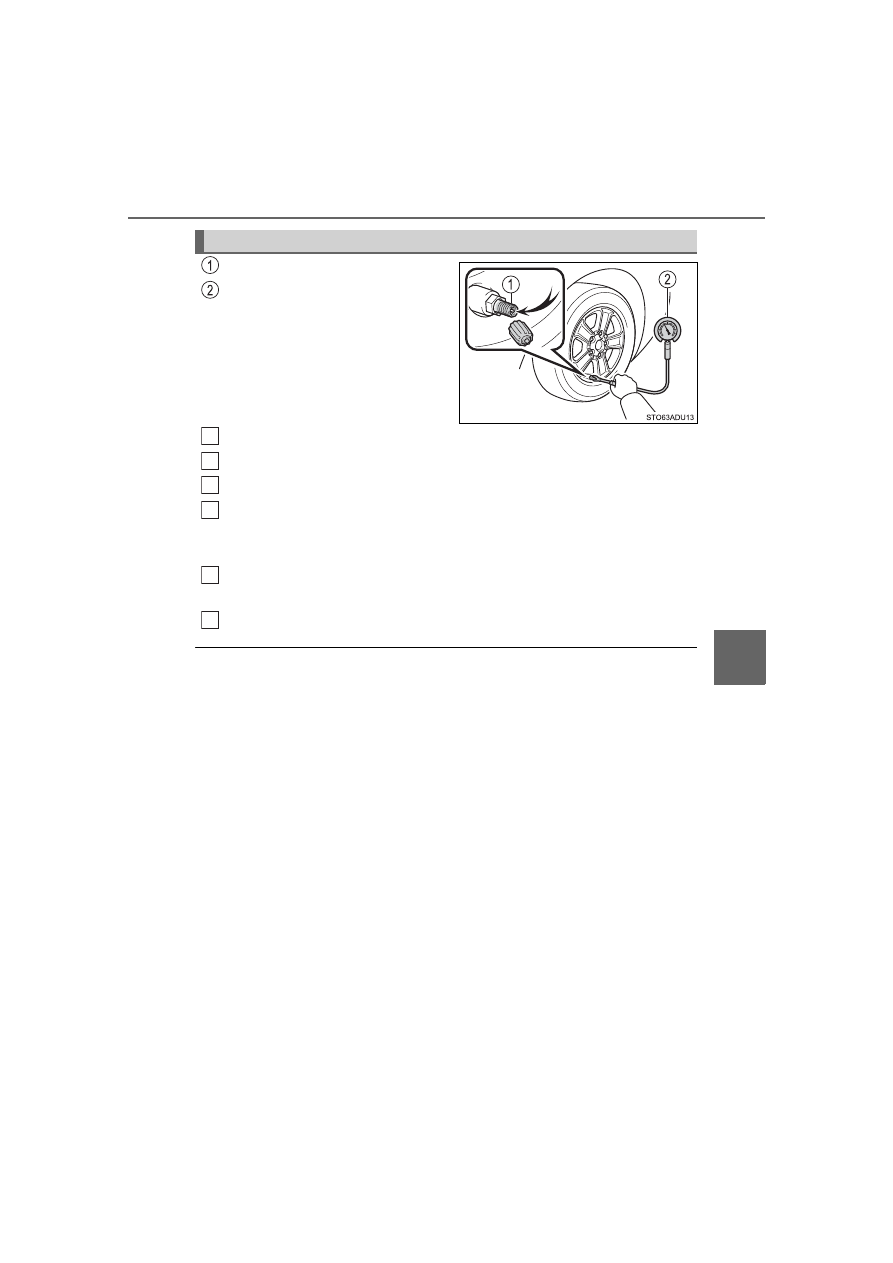
Tire valve
Tire pressure gauge
Remove the tire valve cap.
Press the tip of the tire pressure gauge onto the tire valve.
Read the pressure using the gauge gradations.
If the tire inflation pressure is not at the recommended level, adjust
the pressure.
If you add too much air, press the center of the valve to deflate.
After completing the tire inflation pressure measurement and
adjustment, apply soapy water to the valve and check for leakage.
Put the tire valve cap back on.
■
Tire inflation pressure check interval
You should check tire inflation pressure every two weeks, or at least once
a month.
Do not forget to check the spare.
■
Effects of incorrect tire inflation pressure
Driving with incorrect tire inflation pressure may result in the following:
●
Reduced fuel economy
●
Reduced driving comfort and poor handling
●
Reduced tire life due to wear
●
Reduced safety
●
Damage to the drive train
If a tire needs frequent inflating, have it checked by your Toyota dealer.
Inspection and adjustment procedure
1
2
3
4
5
6