Toyota Tundra (2015 year). Manual - part 597


  Index      Toyota     Toyota Tundra (2015 year) - Service and Repair Manual


Search            copyright infringement  


Content   ..  595  596  597  598   ..


Toyota Tundra (2015 year). Manual - part 597


OK

09992-00231

09992-00271

(b) Connect the Techstream to the DLC3.

(c) Start the engine and warm it up.

(d) Measure the line pressure with SST.

(e) Turn the Techstream on.

(f) Enter the following menus: Powertrain / Engine and ECT / Active Test.

(g) According to the display on the Techstream, perform the Active Test.

(h) Measure the line pressure.
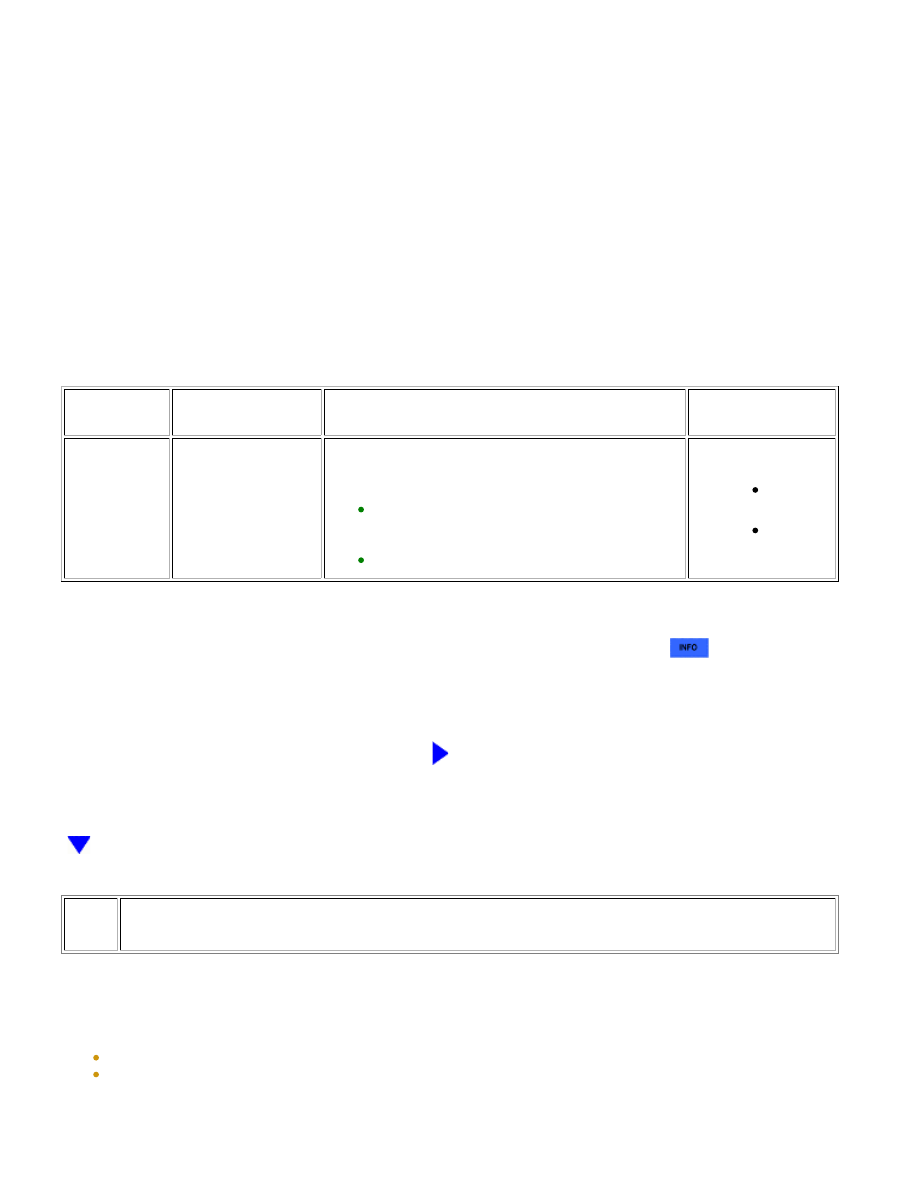
Engine and ECT:

TESTER

DISPLAY

TEST PART

CONTROL RANGE

DIAGNOSTIC NOTE

Activate the

Solenoid

(SLT)*

Operate shift

solenoid SLT and

raise line pressure

ON or OFF

HINT:

OFF: Line pressure up (when Active Test
"Activate the Solenoid (SLT)" is performed,
ECM commands SLT solenoid to turn OFF)
ON: No action (normal operation)

[Vehicle Condition]

Vehicle

stopped

Engine

idling

HINT:

*: Activate the Solenoid (SLT) in the Active Test is performed to check the line pressure changes by

connecting SST to the automatic transmission, which is used in the Hydraulic Test 


as well. Note that

the pressure values in the Active Test and Hydraulic Test are different.

OK:

The line pressure changes as specified when performing the Active Test.

NG

GO TO STEP 9

3.

PERFORM ACTIVE TEST USING TECHSTREAM (RUNNING TEST)

CAUTION:

This test should always be performed with at least 2 people.

NOTICE:

Perform the test at the normal operating ATF temperature: 50 to 80°C (122 to 176°F).
Perform the test with the A/C turned off.

(a) Connect the Techstream to the DLC3.

AB60E AUTOMATIC TRANSMISSION: AUTOMATIC TRANSMIS...

(b) Clear the DTC 


.

(c) Warm up the engine.

(d) Enter the following menus: Powertrain / Engine and ECT / Active Test.

(e) According to the display on the Techstream, perform the Active Test.

HINT:

While driving, the shift position can be forcibly changed with the Techstream.

Engine and ECT:

TESTER

DISPLAY

TEST PART

CONTROL RANGE

DIAGNOSTIC NOTE

Control the Shift

Position

Operate shift solenoid valve

and set each shift position

Press "→" button:

Shift up

Press "←" button:

Shift down

Possible to check operation of

shift solenoid valves

[Vehicle Condition]

50 km/h (30 mph) or less

HINT:

This test can be conducted when the vehicle speed is 50 km/h (30 mph) or less.
The 4th to 5th and 5th to 6th up-shifts must be performed with the accelerator pedal released.
The 6th to 5th and 5th to 4th down-shifts must be performed with the accelerator pedal released.
Do not operate the accelerator pedal for at least 2 seconds after shifting and do not shift successively.
The shift position commanded by the ECM is shown in the Data List display on the Techstream.

(f) Compare the ECM gear shift command and the actual gear position.

OK:

Gear position changes in accordance with the Techstream command.

Result

SYSTEM CONDITION

ECM GEAR SHIFT COMMAND

PROCEED TO

1ST

2ND

3RD

4TH

5TH

6TH

Malfunction

Shift solenoid S1

Stuck ON*1

2nd

2nd

3rd

4th

5th

6th

A

Stuck OFF

1st

1st

3rd

4th

5th

N*2

Shift solenoid S2

Stuck ON

1st

2nd

2nd

4th

6th

6th

B

Stuck OFF

3rd

3rd

3rd

4th

5th

5th

Shift solenoid S3

Stuck ON

1st

2nd

3rd

3rd

N*2

N*2

C

Stuck OFF

3rd

4th

4th

4th

5th

6th

Shift solenoid S4

Stuck ON*3

1st

2nd

3rd

4th

5th

6th

D

Stuck OFF

1st

2nd

3rd

4th

4th

4th

Normal

1st

2nd

3rd

4th

5th

6th

E

HINT:

*1: When shift solenoid S1 is stuck ON, the vehicle cannot drive in reverse.
*2: Neutral
*3: When shift solenoid S4 is stuck ON, gear shifting is normal.

AB60E AUTOMATIC TRANSMISSION: AUTOMATIC TRANSMIS...

A

B

GO TO STEP 5

C

GO TO STEP 6

D

GO TO STEP 7

E

GO TO STEP 9

4.

INSPECT SHIFT SOLENOID VALVE S1

(a) Remove shift solenoid valve S1.

(b) Measure the resistance according to the value(s) in the table below.

Standard resistance:

TESTER CONNECTION

CONDITION SPECIFIED CONDITION

Shift solenoid valve S1 connector terminal - Shift solenoid valve S1 body

20°C (68°F)

11 to 15 Ω

OK:

Valve moves and makes an operating noise.

Result

RESULT

PROCEED TO

NG

A

OK

B

AB60E AUTOMATIC TRANSMISSION: AUTOMATIC TRANSMIS...

B

GO TO STEP 10

A

REPLACE SHIFT SOLENOID VALVE S1

5.

INSPECT SHIFT SOLENOID VALVE S2

(a) Remove shift solenoid valve S2.

(b) Measure the resistance according to the value(s) in the table below.

Standard resistance:

TESTER CONNECTION

CONDITION SPECIFIED CONDITION

Shift solenoid valve S2 connector terminal - Shift solenoid valve S2 body

20°C (68°F)

11 to 15 Ω

OK:

Valve moves and makes an operating noise.

Result

RESULT

PROCEED TO

NG

A

OK

B

B

GO TO STEP 10

A

REPLACE SHIFT SOLENOID VALVE S2

6.

INSPECT SHIFT SOLENOID VALVE S3

AB60E AUTOMATIC TRANSMISSION: AUTOMATIC TRANSMIS...


Content   ..  595  596  597  598   ..