Subaru Forester (2019). Manual - part 27
(221,1)
!
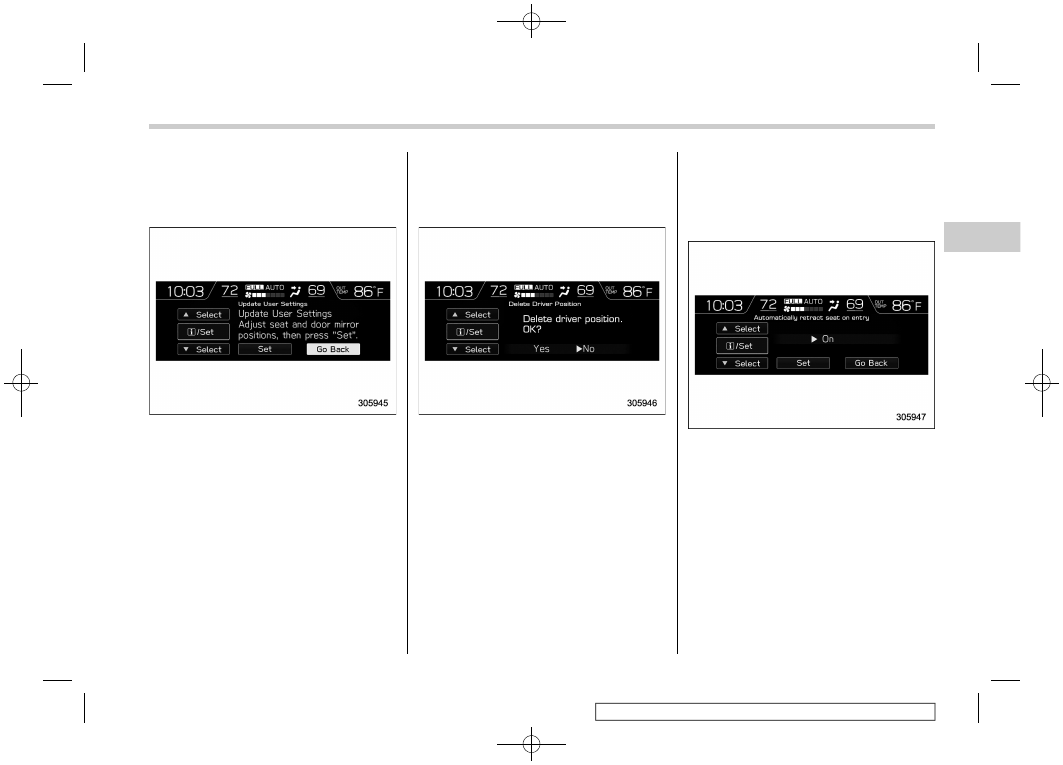
Update User Settings
1. Select “Update User Settings” from the
2nd menu in the settings screen. Refer to
“Setting screen” FP212.
2. Select “Set” to re-register the driver
position. Select “Go Back” to return to the
previous screen.
!
Delete Driver Position
1. Select “Delete Driver Position” from the
2nd menu in the settings screen. Refer to
“Setting screen” FP212.
2. Select “Yes” to delete the driver posi-
tion. Select “No” to return to the previous
screen.
!
Automatically retract seat on
entry setting
1. Select “Automatically retract seat on
entry” from the 2nd menu in the settings
screen. Refer to “Setting screen” FP212.
2. Select “On” or “Off” to turn the auto
entry/exit function on or off by using the
control switches.
3. Select “Set” to exit settings. Select “Go
Back” to return to the previous screen.
– CONTINUED –
Multi-function display (color LCD)
219
3
Instruments
and
controls