Content .. 1131 1132 1133 1134 ..
Subaru Legacy IV (2008 year). Manual - part 1133
EI-31
Front Bumper
EXTERIOR/INTERIOR TRIM
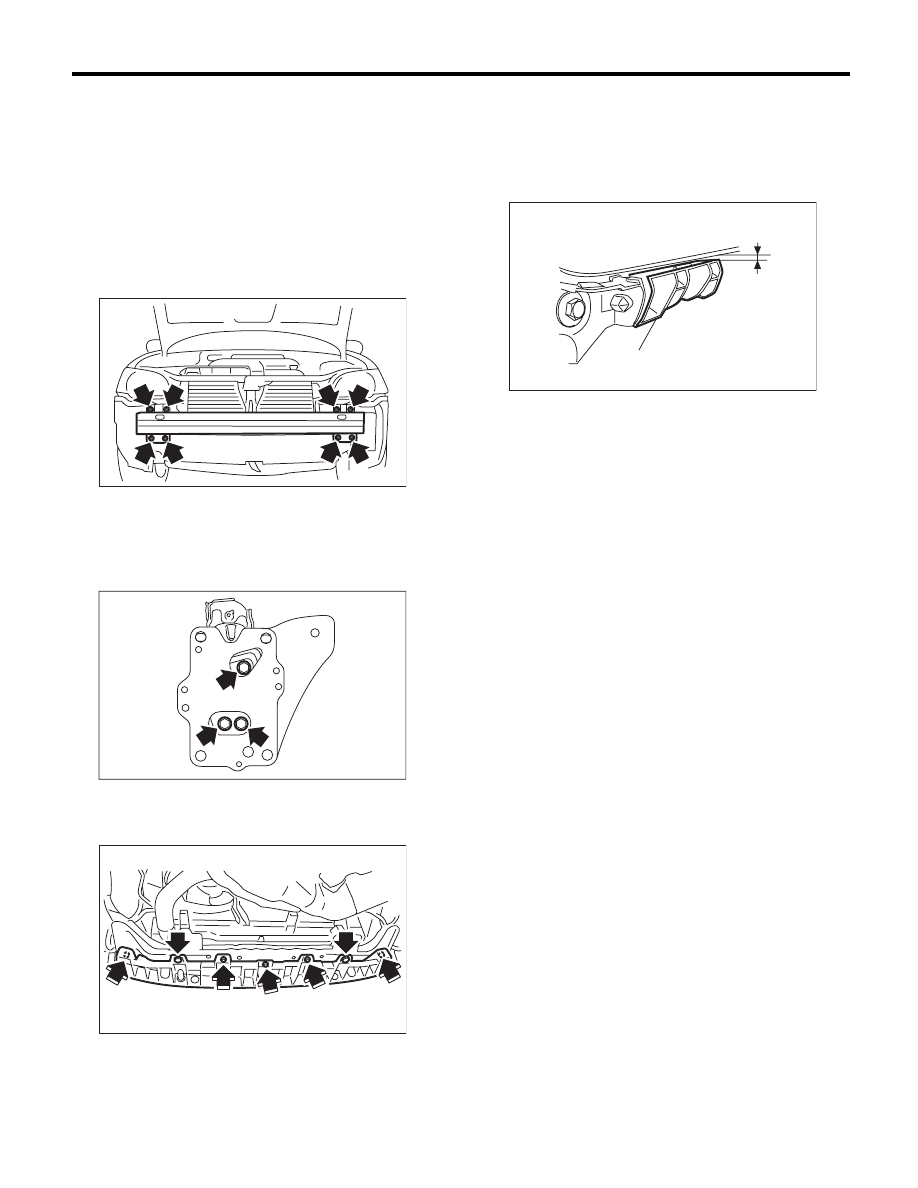
2. FRONT BUMPER BEAM ASSEMBLY
1) Disconnect the ground cable from the battery.
2) Remove the front bumper face. <Ref. to EI-30,
FRONT BUMPER FACE, REMOVAL, Front
Bumper.>
3) Remove the energy absorber foam from bumper
beam.
4) Remove the headlight assembly. <Ref. to LI-13,
REMOVAL, Headlight Assembly.>
5) Remove the bolts, and remove the bumper
beam assembly from vehicle body.
NOTE:
After all bolts are removed, raise the whole bumper
beam a little to remove it from vehicle body.
6) Remove the bolts and nuts, and disassemble the
bumper beam.
7) Remove the under cover.
8) Remove the bolts and clips, and remove the ra-
diator guide.
B: INSTALLATION
1. FRONT BUMPER FACE
1) Install in the reverse order of removal.
2) Fit the bumper face to the gap (B) between the
guide bracket (A) and fender securely.
3) Replace the double-sided tape with new one,
and install it to the side garnish.
2. FRONT BUMPER BEAM ASSEMBLY
Install in the reverse order of removal.
Tightening torque:
Refer to “COMPONENT” of “General Descrip-
tion”. <Ref. to EI-5, FRONT BUMPER, COM-
PONENT, General Description.>
EI-01724
EI-01023
EI-00578
EI-01725
(A)
(B)