Subaru Legacy III (2000-2003 year). Manual - part 964
 

  Index      Subaru     Subaru Legacy III - service repair manual 2000-2003 year


Search            


Content   ..  962  963  964  965   ..


Subaru Legacy III (2000-2003 year). Manual - part 964


SL-12

SECURITY AND LOCKS

KEYLESS ENTRY SYSTEM

C: INSPECTION

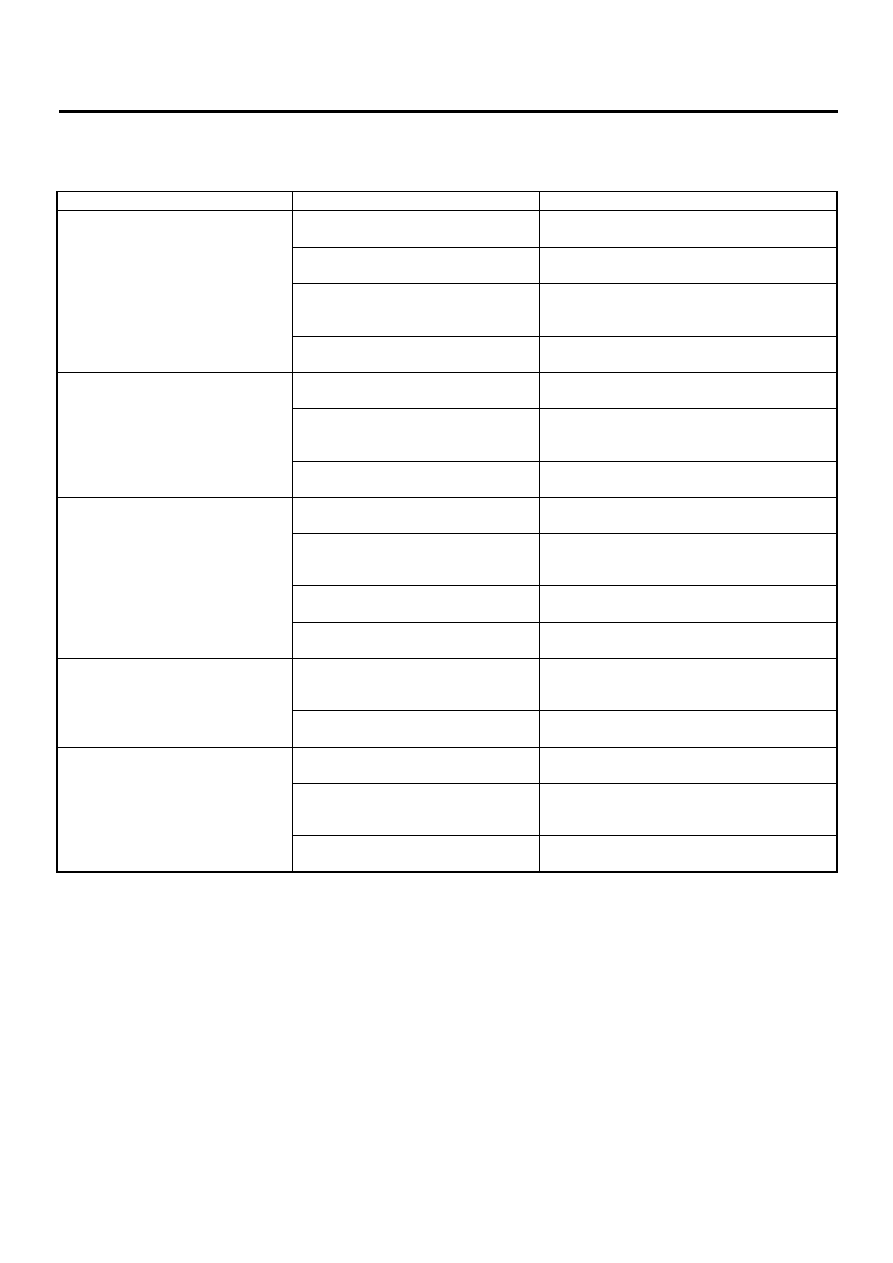
1. SYMPTOM CHART

Symptom

Repair order

Reference

None of the functions of the keyless 
entry system operate.

1. Check the transmitter battery.

<Ref. to SL-13, CHECK TRANSMITTER BAT-
TERY, INSPECTION, Keyless Entry System.> 

2. Check the fuse.

<Ref. to SL-13, CHECK FUSE, INSPECTION, 
Keyless Entry System.> 

3. Check the keyless entry control mod-
ule power supply and ground circuit.

<Ref. to SL-13, CHECK POWER SUPPLY AND 
GROUND CIRCUIT, INSPECTION, Keyless 
Entry System.> 

4. Replace the keyless entry control 
module.

<Ref. to SL-38, Keyless Entry Control Module.> 

Transmitter cannot be registered.

1. Check the transmitter battery.

<Ref. to SL-13, CHECK TRANSMITTER BAT-
TERY, INSPECTION, Keyless Entry System.> 

2. Check the registration connector cir-
cuit.

<Ref. to SL-14, CHECK REGISTRATION CON-
NECTOR CIRCUIT, INSPECTION, Keyless 
Entry System.> 

3. Replace the keyless entry control 
module.

<Ref. to SL-38, Keyless Entry Control Module.> 

Door lock or unlock does not operate.
NOTE:
If the door lock control system does
not operate when using the door lock
switch, check the door lock control
system. <Ref. to SL-8, INSPECTION,
Door Lock Control System.>

1. Check the transmitter battery.

<Ref. to SL-13, CHECK TRANSMITTER BAT-
TERY, INSPECTION, Keyless Entry System.> 

2. Check the key warning switch.

<Ref. to SL-16, CHECK KEY WARNING 
SWITCH, INSPECTION, Keyless Entry Sys-
tem.>
 

3. Check the door switch.

<Ref. to SL-15, CHECK DOOR SWITCH, 
INSPECTION, Keyless Entry System.> 

4. Replace the keyless entry control 
module.

<Ref. to SL-38, Keyless Entry Control Module.> 

Hazard light does not operate.

1. Check the hazard light operation.

<Ref. to SL-17, CHECK HAZARD LIGHT 
OPERATION, INSPECTION, Keyless Entry 
System.> 

2. Replace the keyless entry control 
module.

<Ref. to SL-38, Keyless Entry Control Module.> 

Room light and ignition switch illumi-
nation operation does not activate.

1. Check the room light operation.

<Ref. to SL-17, CHECK ROOM LIGHT OPERA-
TION, INSPECTION, Keyless Entry System.> 

2. Check the ignition switch illumination 
circuit.

<Ref. to SL-18, CHECK IGNITION SWITCH 
ILLUMINATION CIRCUIT, INSPECTION, Key-
less Entry System.>

3. Replace the keyless entry control 
module.

<Ref. to SL-38, Keyless Entry Control Module.> 

SL-13

SECURITY AND LOCKS

KEYLESS ENTRY SYSTEM

2. CHECK TRANSMITTER BATTERY

3. CHECK FUSE

4. CHECK POWER SUPPLY AND GROUND CIRCUIT

Step

Value

Yes

No

1

CHECK TRANSMITTER BATTERY.
1) Remove the battery from the transmitter. 

<Ref. to SL-39, REMOVAL, Keyless Trans-
mitter.>  

2) Check the battery voltage. <Ref. to SL-39, 

INSPECTION, Keyless Transmitter.>  
Does the measured value exceed the spec-
ified value?

2 V

The transmitter 
battery is OK. Fur-
ther inspection is 
necessary, refer to 
“SYMPTOM 
CHART”. <Ref. to 
SL-12, SYMP-
TOM CHART, 
INSPECTION, 
Keyless Entry Sys-
tem.>

Replace the trans-
mitter battery.

Step

Value

Yes

No

1

CHECK FUSE.
Remove and visually check fuse No. 2 (in the 
main fuse box), No. 3 (in the fuse and relay 
box) and SBF-6 (in the main fuse box)
Is the fuse blown?

The fuse is not blown.

Check power sup-
ply and ground cir-
cuit. <Ref. to SL-
13, CHECK 
POWER SUPPLY 
AND GROUND 
CIRCUIT, 
INSPECTION, 
Keyless Entry Sys-
tem.>

Replace the fuse 
with a new one.

Step

Value

Yes

No

1

CHECK POWER SUPPLY.
1) Disconnect the keyless entry control mod-

ule harness connector.

2) Measure the voltage between the harness 

connector terminal and chassis ground.

Connector & terminal

(B176) No. 5, No. 16 (+) — Chassis 
ground (–):

Does the measured value exceed the spec-
ified value?

10 V

Go to step 2.

Check the harness 
for open circuits or 
shorts between 
the keyless entry 
control module 
and fuse.

2

CHECK GROUND CIRCUIT.
Measure the resistance between the harness 
connector terminal and chassis ground.

Connector & terminal

(B176) No. 6, No. 14 — Chassis ground:

Is the measured value less than the specified 
value?

10 

Ω

The power supply 
and ground circuit 
are OK.

Repair the har-
ness.

SL-14

SECURITY AND LOCKS

KEYLESS ENTRY SYSTEM

5. CHECK REGISTRATION CONNECTOR CIRCUIT

Step

Value

Yes

No

1

REGISTRATION CONNECTOR INPUT VOLT-
AGE INSPECTION
1) Turn ignition switch ON.
2) Disconnect registration connector.
3) Measure voltage between keyless entry 

control module harness connector and 
chassis ground.

Connector & terminal

(B176) No. 2 (+) — Chassis ground (

−

):

Does the measured value exceed the spec-
ified value?

10 V

Go to step 2.

Repair harness, 
and (or) connec-
tor.

2

REGISTRATION CONNECTOR INPUT VOLT-
AGE INSPECTION
1) Connect registration connector.
2) Measure voltage between keyless entry 

control module harness connector and 
chassis ground.

Connector & terminal

(B176) No. 2 (+) — Chassis ground (

−

):

Is the measured value same as the speci-
fied value?

0 V

Registration con-
nector circuit is 
OK.

Repair harness, 
and (or) connec-
tor.

SL-15

SECURITY AND LOCKS

KEYLESS ENTRY SYSTEM

6. CHECK DOOR SWITCH

Step

Value

Yes

No

1

CHECK DOOR SWITCH CIRCUIT.
Measure the voltage between the keyless 
entry control module harness connector termi-
nal and chassis ground.

Connector & terminal

Front and rear door:

(B176) No. 3 (+) — Chassis ground (–):

Rear gate:

(B176) No. 4 (+) — Chassis ground (–):

Is the measured value same as the specified 
value when opening either door or rear gate?

0 V

Go to step 2.

Go to step 3.

2

CHECK DOOR SWITCH CIRCUIT.
Measure the voltage between the keyless 
entry control module harness connector termi-
nal and chassis ground.

Connector & terminal

Front and rear door:

(B176) No. 3 (+) — chassis ground (–):

Rear gate:

(B176) No. 4 (+) — chassis ground (–):

Is the measured value less than the specified 
value when all doors and rear gate are closed?

10 V

The door switch is 
OK.

Go to step 3.

3

CHECK DOOR SWITCH.
1) Disconnect the door switch harness con-

nector.

2) Measure the resistance between the door 

switch terminals.

Terminal

Door switch No. 1 — No. 3:
Rear gate latch switch No. 1 — No. 2:

Does the measured value exceed the spec-
ified value when door switch is pressed?

1 M

Ω

Go to step 4.

Replace the door 
switch.

4

CHECK DOOR SWITCH.
Measure the resistance between the door 
switch terminals.

Terminal

Door switch No. 1 — No. 3:
Rear gate latch switch No. 1 — No. 2:

Is the measured value less than the specified 
value when door switch is released?

1 

Ω

Check the harness 
for open circuits or 
shorts between 
the keyless entry 
control module 
and door switch.

Replace the door 
switch.


Content   ..  962  963  964  965   ..