SsangYong Korando II (1996-2006 year). Manual - part 318
AUTOMATIC TRANSMISSION 5A-175
SSANGYONG MY2002
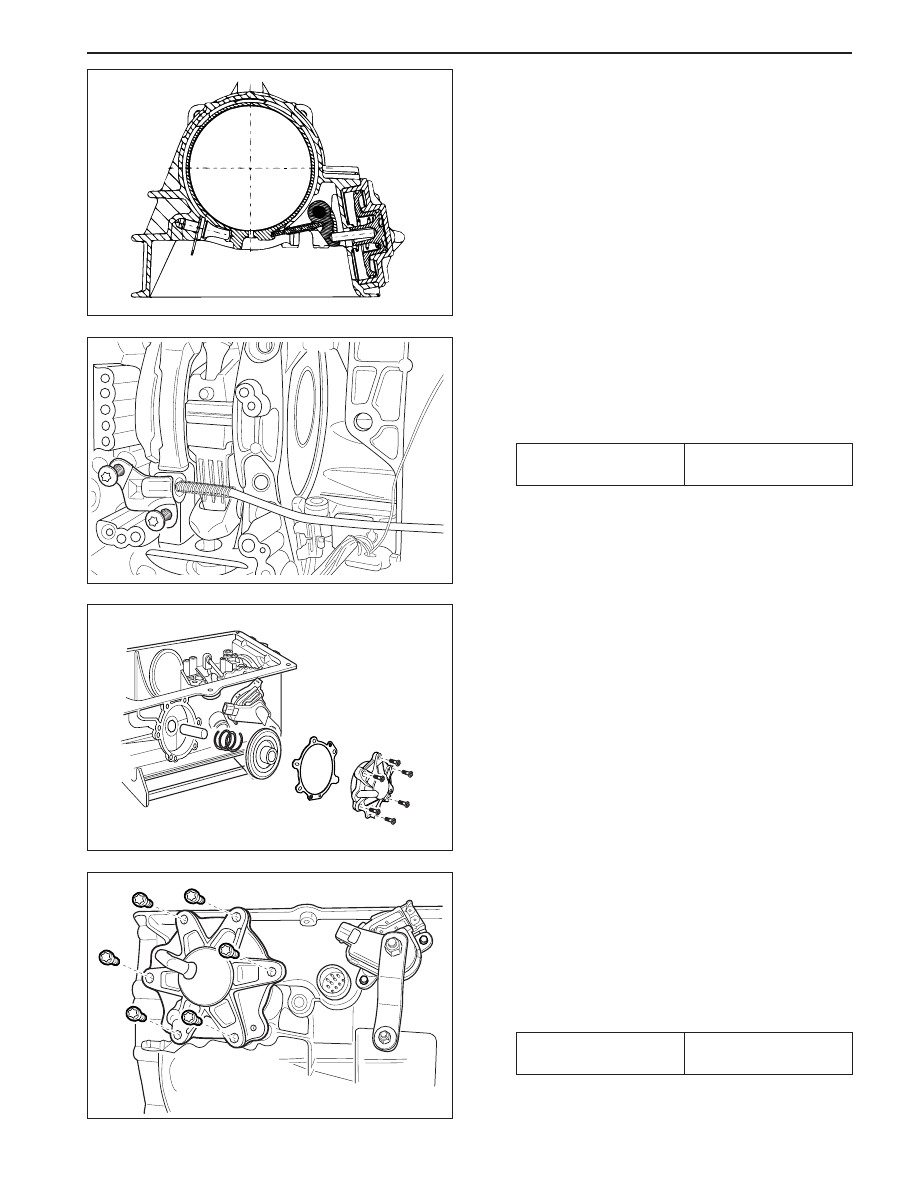
Rear Band Assembly
1. Check the rear band for any cracks or damage
along the lining and metal backing.
2. Install the reaction anchor strut into the main case,
without shims.
3. Carefully install the rear band into the transmission
case and ensure that it is properly fitted in the
case.
Notice: If fitting a new band, soak the new band in
automatic transmission fluid for a minimum of five
minutes prior to assembly.
4. Position the apply strut on the rear band then
engage the apply strut in the servo lever.
5. Install the cam plate and tighten the screws to
specification.
Installation Notice
Rear Servo Assembly
1. Check the servo piston ‘O’ rings and gasket for
any damage.
2. L u b r i c a t e t h e s e r v o p i s t o n ‘ O ’ r i n g s w i t h
automatic transmission fluid, and fit the ‘O’ rings
to the piston grooves.
3. Assemble the piston to the cover, ensuring that
‘ O ’ r i n g c o m p r e s s i o n i s a d e q u a t e b u t n o t
excessive.
4. Align the spring on the piston spigot, then position
the rear servo rod into the spigot.
5. Assemble the gasket to the cover and fit the
assembly to the case.
Notice: Do not use petroleum jelly on the gasket.
6. Apply additional Loctite 202 or equivalent as
required to the rear servo to case bolts. Install
the bolts and tighten to specification.
Installation Notice
KAA5A950
KAA5A960
KAA5A630
KAA5A990
Tightening Torque
30 - 35 N•m
(22 - 26 lb-ft)
Tightening Torque
16 - 22 N•m
(12 - 16 lb-ft)