Renault Master (2018 year). Instruction - part 12
3.18
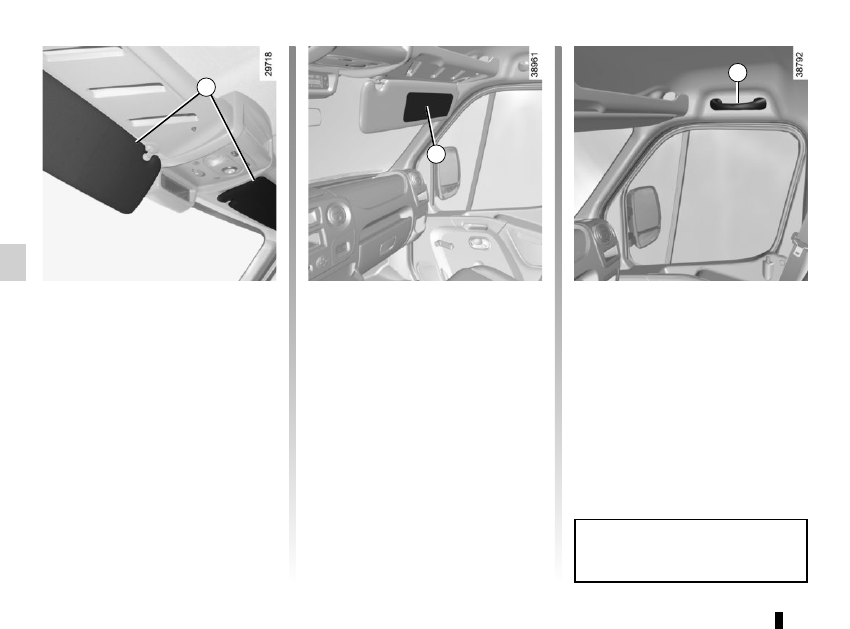
Grab handle 3
This offers support and can be held
when the vehicle is being driven.
SUN VISOR, GRAB HANDLE
Sun visor
Lower sun visor 1.
The sun visor can be swung round
against the door window.
1
3
Do not use it for getting into or out of
the vehicle.
Courtesy mirror or additional
rear-view mirror 2
(depending on the vehicle)
Lower the sun visor to access the
mirror.
Special feature of the additional
rear-view mirror
See “Rear view mirrors” in Section 1.
2