Dacia Solenza (engine E7J). Manual - part 101
 

  Index      Dacia     Dacia Solenza (engine E7J) - service repair manual 2004 year


Search            


Content   ..  99  100  101  102   ..


Dacia Solenza (engine E7J). Manual - part 101


42

42 - 4

FRONT UPPER STRUCTURE

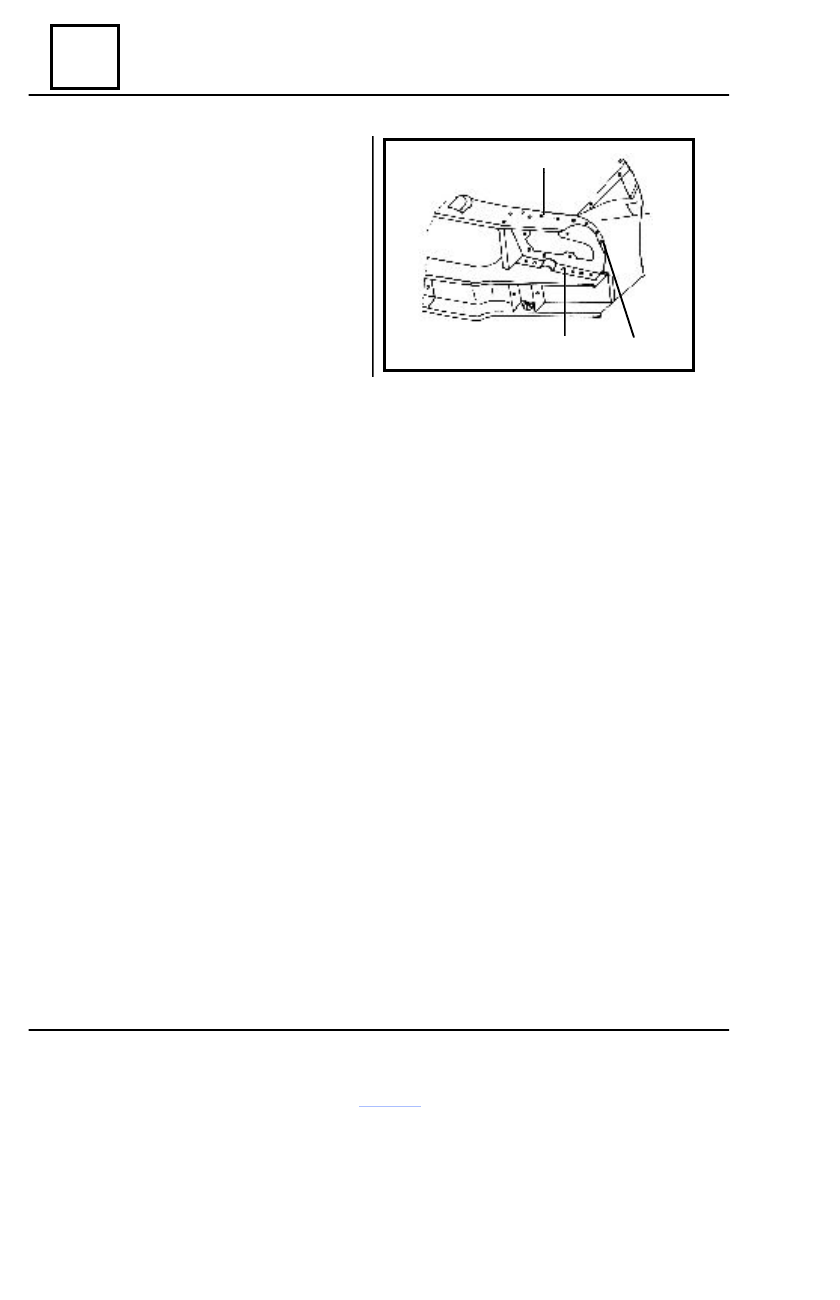
Headlamp support

7

8

6

DISMOUNTING

Dismount the elements, which are in contact

with the headlamp support.

Detach the welding points of the headlamp

support (2), which are in connection with :

- front wing lining in the area (6)
- radiator upper cross member in the area (7);
- front cross member in the area (8).

Straighten the areas resulted by dismounting.
Grind the areas resulted by dismounting.

REMOUNTING

Position and center the new element.
Check the correct positioning of the headlamp support.
Weld the headlamp support (2) following the welding outlines (6), (7) and (8).
Protect the welding with  a corrosion-preventing product.
Mount the elements, which are in connection with the headlamp support, by performing the

dismounting operations in  the reverse order.

42

42 - 5

FRONT UPPER STRUCTURE

Windscreen lower cross member

DISMOUNTING

Dismount the elements, which are in  con-

tact with the windscreen lower cross member
(front bonnet, windscreen, dashboard, driving
post cross member).

Detach the  welding  points of the  windscreen

lower cross member (1), which are in contact
with :

- windscreen frame in the area  (2);
- side frame lining (left/right) in the area (3);
- climate control box in the area (4);

Detach the welding points between the

column support assembly and the climate
control box in the area (5).

Restore and straighten the outlines resulted

from dismounting.

Grind the outlines resulted from dismounting.

REMOUNTING

Position and attach the new element.
Perform a spot welding and under

protection gas (SE CO

2

), in the connection

areas of the windscreen lower cross member
with :

- windscreen frame in the area  (2);
- right/left side frame lining in the area (3);
- climate control box in the area (4).

Weld the column support assembly on the

climate control box in the area (5).

Check and straighten the windscreen frame.
Grind the performed welding.
Apply a sealant material layer in the

connection area of  the windscreen lower cross
member with the right/left side frame lining and
the climate control box.

Mount  the connection elements by

performing the dismounting operations in  the
reverse order.

1

42

42 - 6

FRONT UPPER STRUCTURE

Driving post cross member

DISMOUNTING

The dismounting operation of the driving post

cross member is usually an additional operation
in case of replacing such carriage body elements
as:

- windscreen lower cross  member;
- cow panel;
- climate control box.

This operation is requiring the previous

dismounting of the dashboard.

Dismount the 8 Embase attachment screws

(2) M8 –20 of the driving post cross member
(1) on the carriage body.

Dismount the driving post cross member.

REMOUNTING

Mount by performing the dismounting

operations in the reverse order.

2

43 - 01

43

Front pillar

SIDE UPPER STRUCTURE

DISMOUNTING

Dismount the elements that are in contact

with the front pillar (front door, front bonnet,
front wing).

Detach the welding points of the front pillar

(1), which are in connection with :

- side frame lining in the area (3) ;
- windscreen frame in the area (3)
- front pillar lining in the area (4).

Straighten the areas  resulted by dismount-

ing.

Grind the areas resulted by dismounting.

REMOUNTING

Position and center the new element on the

side frame lining.

Clench in 2-3 points by means of sliding

tongs.

Joint the front pillar border with side  bor-

der of the windscreen frame.

Weld the front pillar, following the

assembling outlines( 2), (3) and (4) .

Perform an additional welding SE CO

2

, in

the front pillar connection area with:

- side frame lining (6 weld x  15 mm);
- windscreen frame (4 weld x 15 mm);
- front pillar lining (6 weld x 15 mm).

Mount temporarily the front door, observing

the openings clearance.

Weld the hinges on the front pillar (continuos

weld on  all hinges sides).

Grind the performed welds.
Protect the performed weld with a

corrosion-preventing product.

Mount the connection elements by

performing the dismounting operations in  the
reverse order.

2

3

4


Content   ..  99  100  101  102   ..