Peugeot 508 Dag (2010.5). Instruction - part 9
4
117
!
Driving
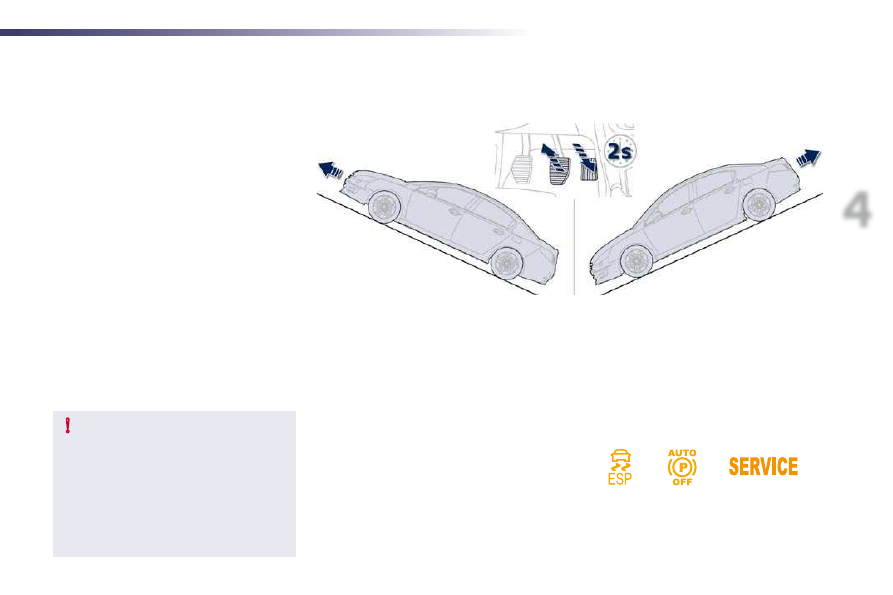
Hill start assist
System which keeps your vehicle immobilised
temporarily (approximately 2 seconds) when
starting on a gradient, the time it takes to
move your foot from the brake pedal to the
accelerator pedal.
This system only operates when:
-
the vehicle is completely stationary, with
your foot on the brake pedal,
-
in particular conditions on a slope,
-
with the driver’s door closed.
The hill start assist system cannot be
deactivated.
On an ascending slope, with the vehicle
stationary, the vehicle is held for a momentarily
when you release the brake pedal:
-
provided you are in first gear or neutral on
a manual gearbox,
-
provided you are in A or M on an electronic
gear control gearbox,
-
provided you are in D or M on an automatic
gearbox.
Operation
On a descending slope, with the vehicle
stationary and reverse gear engaged, the
vehicle is held momentarily when you
release the brake pedal.
Do not exit the vehicle while it is being
held in the hill start assist phase.
If you need to exit the vehicle with
the engine running, apply the parking
brake manually then ensure that the
parking brake warning lamp (and the
warning lamp P in the lever of the
electric parking brake) are on fixed (not
flashing).
Operating fault
If a fault in the system occurs, these warning
lamps come on. Contact a PEUGEOT dealer
or a qualified workshop to have the system
checked.