Peugeot 205 (954 cc, 1124 cc, 1360 cc, 1580 cc & 1905 cc). Manual - part 1
The Peugeot 205 was introduced in the UK in September 1983 as a
five-door Hatchback with a transversely-mounted engine and trans-
mission assembly driving the front wheels. The suspension is of front
coil springs and rear transverse torsion bars.
Three engine sizes were originally available, featuring a chain driven
overhead camshaft design mounted directly over the transmission. The
GTi was introduced in the Spring of 1984 and was fitted with a
belt-driven overhead camshaft engine with a side-mounted
transmission. The GTI engine is equipped with an electronically
controlled fuel injection system.
In October 1984 three-door versions became available, with an X
series designation, in addition to the three-door GTI. Van versions were
introduced in June 1985, together with the limited edition Lacoste,
based on the GT version. In September 1985 the XT was introduced,
being a three-door version of the GT, and at the same time the 954 cc
XL three-door was introduced, having a higher specification than the
XE. The 1580 cc Automatic was introduced in April 1986 at the same
time as the Cabriolet CTI. The XS replaced the XT in July 1986, at
which time the limited edition Junior, based on the XE, became
available. The 1.9 GTI was introduced in August 1986, and at the same
time dim-dip headlights and rear seat belts were fitted as standard. In
December 1987 the new TU engines and MA transmissions were fitted
to all except fuel injection, diesel and automatic models.
Latest models feature single- and multi-point fuel injection, with full
emission control equipment and a sophisticated engine management
system.
0•4 Introduction
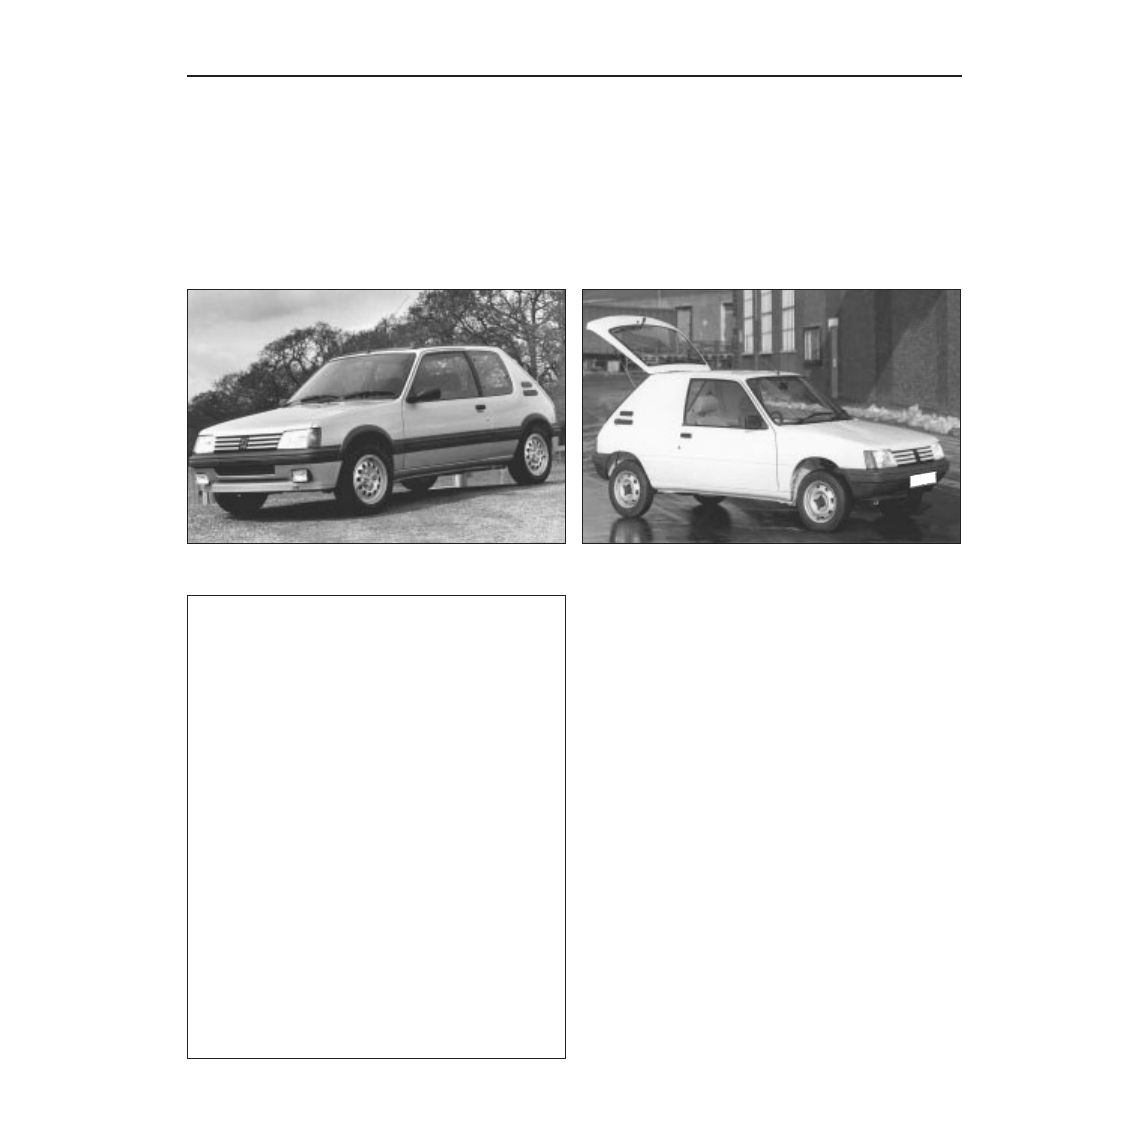
Peugeot 205 GTi
Peugeot 205 van
Your Peugeot 205 Manual
The aim of this manual is to help you get the best value from your
vehicle. It can do so in several ways. It can help you decide what work
must be done (even should you choose to get it done by a garage),
provide information on routine maintenance and servicing, and give a
logical course of action and diagnosis when random faults occur.
However, it is hoped that you will use the manual by tackling the work
yourself. On simpler jobs it may even be quicker than booking the car
into a garage and going there twice, to leave and collect it. Perhaps
most important, a lot of money can be saved by avoiding the costs a
garage must charge to cover its labour and overheads.
The manual has drawings and descriptions to show the function of
the various components so that their layout can be understood. Then
the tasks are described and photographed in a clear step-by-step
sequence.
Acknowledgements
Thanks are due to Champion Spark Plug, who supplied the illustrations
showing spark plug condition. Certain illustrations are the copyright of
Peugeot Talbot Motor Company Limited, and are used with their
permission. Thanks are also due to Sykes-Pickavant Limited, who
provided some of the workshop tools, and to Duckhams Oils who
provided lubrication data, also to all those people at Sparkford who
helped in the production of this manual.
We take great pride in the accuracy of information given in this
manual, but vehicle manufacturers make alterations and design
changes during the production run of a particular vehicle of which
they do not inform us. No liability can be accepted by the authors
or publishers for loss, damage or injury caused by any errors in, or
omissions from the information given.
The Peugeot 205 Team
Haynes manuals are produced by dedicated and
enthusiastic people working in close co-operation. The
team responsible for the creation of this book included:
Authors
Andy Legg
John Mead
Sub-editors
Carole Turk
Editor & Page Make-up
Steve Churchill
Workshop manager
Paul Buckland
Photo Scans
John Martin
Paul Tanswell
Cover illustration & Line Art
Roger Healing
Wiring diagrams
Matthew Marke
We hope the book will help you to get the maximum
enjoyment from your car. By carrying out routine
maintenance as described you will ensure your car’s
reliability and preserve its resale value.