Opel Astra GTC (2018 year). Manual - part 5
70
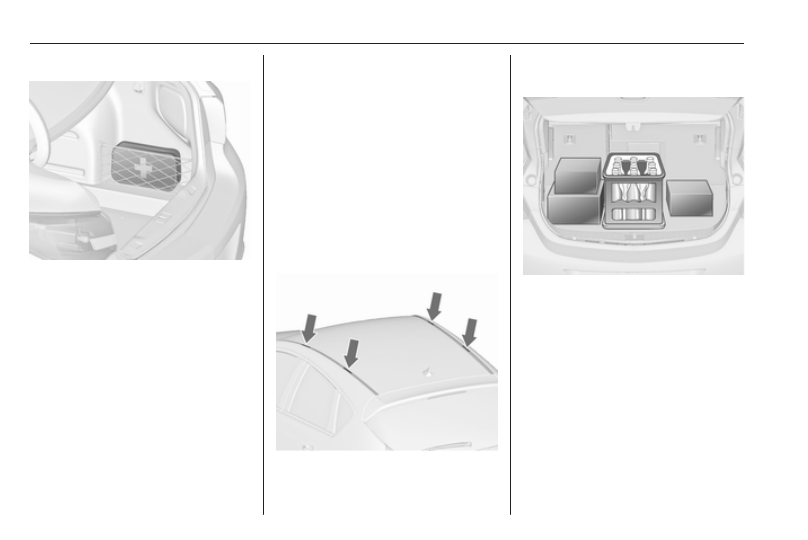
Storage
4-door notchback
Stow the first aid kit in the space
behind the mesh net on the right side
of the load compartment.
Roof rack system
Roof rack
For safety reasons and to avoid
damage to the roof, the vehicle
approved roof rack system is
recommended. For further
information contact your workshop.
Follow the installation instructions
and remove the roof rack when not in
use.
Mounting roof rack
Detach the cover from each mounting
point by using a coin.
Loading information
● Heavy objects in the load
compartment should be placed
against the seat backrests.
Ensure that the backrests are
securely engaged. If objects can
be stacked, heavier objects
should be placed at the bottom.
● Secure objects with lashing
straps attached to the lashing
adjustable cover in the lowest
position (1) 3 67.