Nissan Altima (2022 year). Manual in english - page 11
WARNING
•
In an accident you could be thrown
from the vehicle through an open
moonroof. Always use seat belts and
child restraints.
•
Do not allow anyone to stand up or
extend any portion of their body out
of the moonroof opening while the
vehicle is in motion or while the
moonroof is closing.
CAUTION
•
Remove water drops, snow, ice or
sand from the moonroof before
opening.
•
Do not place heavy objects on the
moonroof or surrounding area.
Sunshade
Open and close the sunshade by sliding it
forward or backward.
If the moonroof does not close
Have your moonroof checked and re-
paired. It is recommended that you visit a
NISSAN dealer for this service.
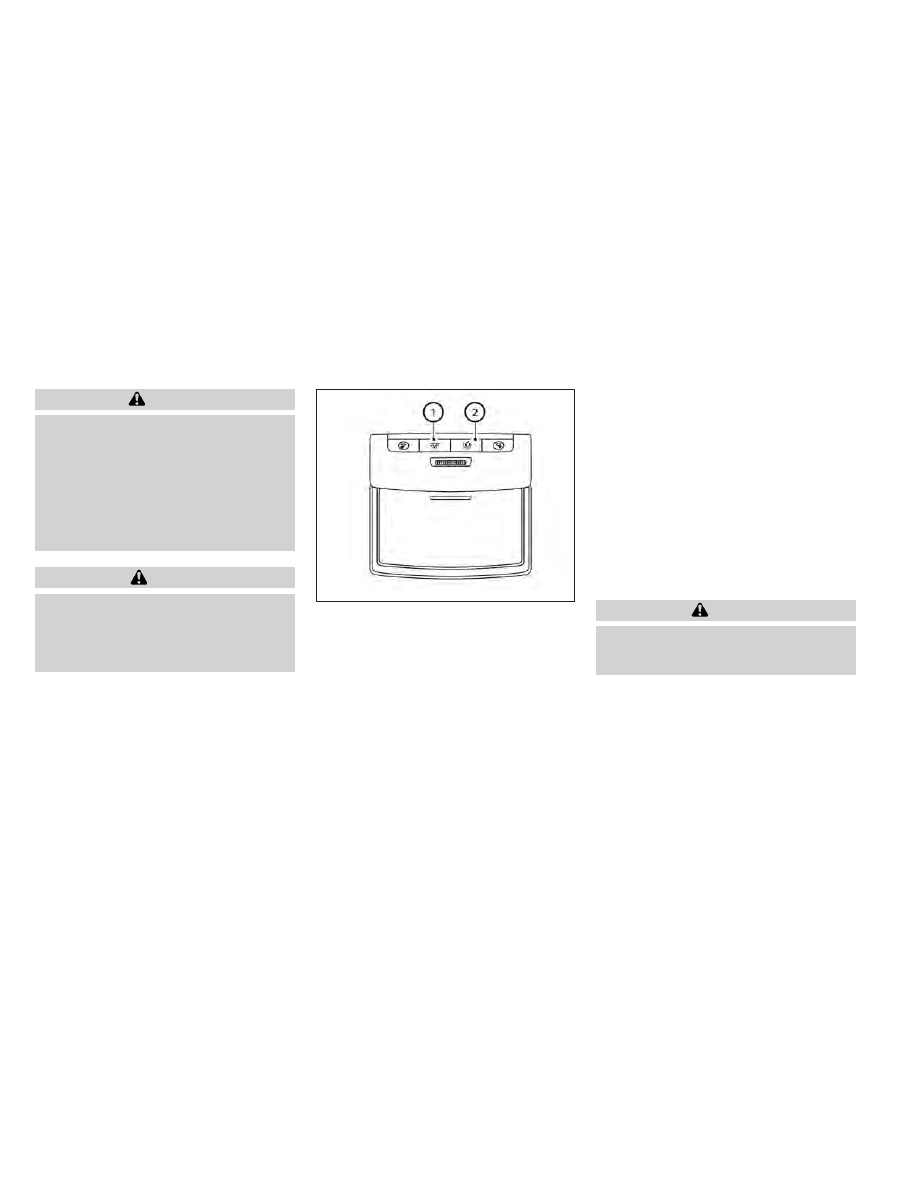
䊊
1
The interior light can be turned on re-
gardless of door position. The light will
go off after a period of time unless the
ignition switch is placed in the ON posi-
tion when any door is opened.
䊊
2
The interior lights can be set to operate
when the doors are opened. To turn off
the interior lights when a door is open,
push the switch, the interior lights will
not illuminate, regardless of door posi-
tion.
The lights will go off when the ignition
switch is placed in the ON position, or
the driver's door is closed and locked.
The lights will also go off after a period
of time when the doors are open.
NOTE:
The step lights (if so equipped) illumi-
nate when the driver and passenger
doors are opened regardless of the inte-
rior light switch position. These lights
will turn off automatically after a period
of time while doors are open to prevent
the battery from becoming discharged.
CAUTION
Do not use for extended periods of time
with the engine stopped. This could re-
sult in a discharged battery.
LIC4906
INTERIOR LIGHTS
Instruments and controls
2-79