Nissan Rogue (2020 year). Manual - part 6
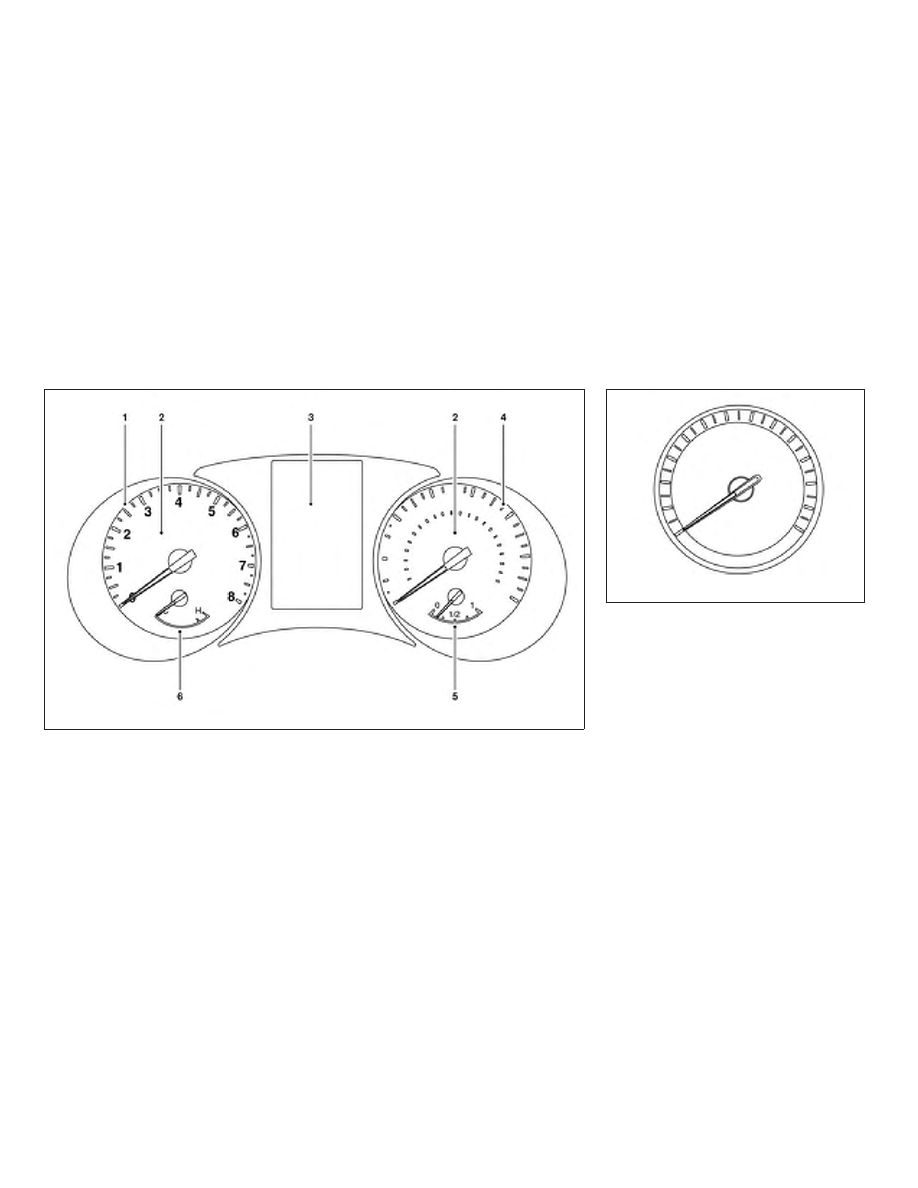
1.
Tachometer
2.
Warning and indicator lights
3.
Vehicle information display
4.
Speedometer
5.
Fuel gauge
6.
Engine coolant temperature gauge
SPEEDOMETER AND ODOMETER
This vehicle is equipped with a speedom-
eter and odometer. The speedometer is
located on the right side of the meter clus-
ter. The odometer is located within the ve-
hicle information display.
Speedometer
The speedometer indicates vehicle speed.
LIC2627
LIC2255
METERS AND GAUGES
2-4
Instruments and controls