Nissan Xterra (2015 year). Instruction - part 21
For additional brake and clutch fluid specification
information,
refer
to
“Recommended
fluids/lubricants and capacities” in the “Technical
and consumer information” section of this
manual.
WARNING
● Use only new fluid from a sealed con-
tainer. Old, inferior or contaminated
fluid may damage the brake and clutch
(if so equipped) systems. The use of
improper fluids can damage the brake
and clutch system and affect the vehi-
cle’s stopping ability.
● Clean the filler cap before removing.
● Brake and clutch fluid is poisonous and
should be stored carefully in marked
containers out of reach of children.
CAUTION
Do not spill the fluid on any painted sur-
faces. This will damage the paint. If fluid is
spilled, immediately wash the surface with
water.
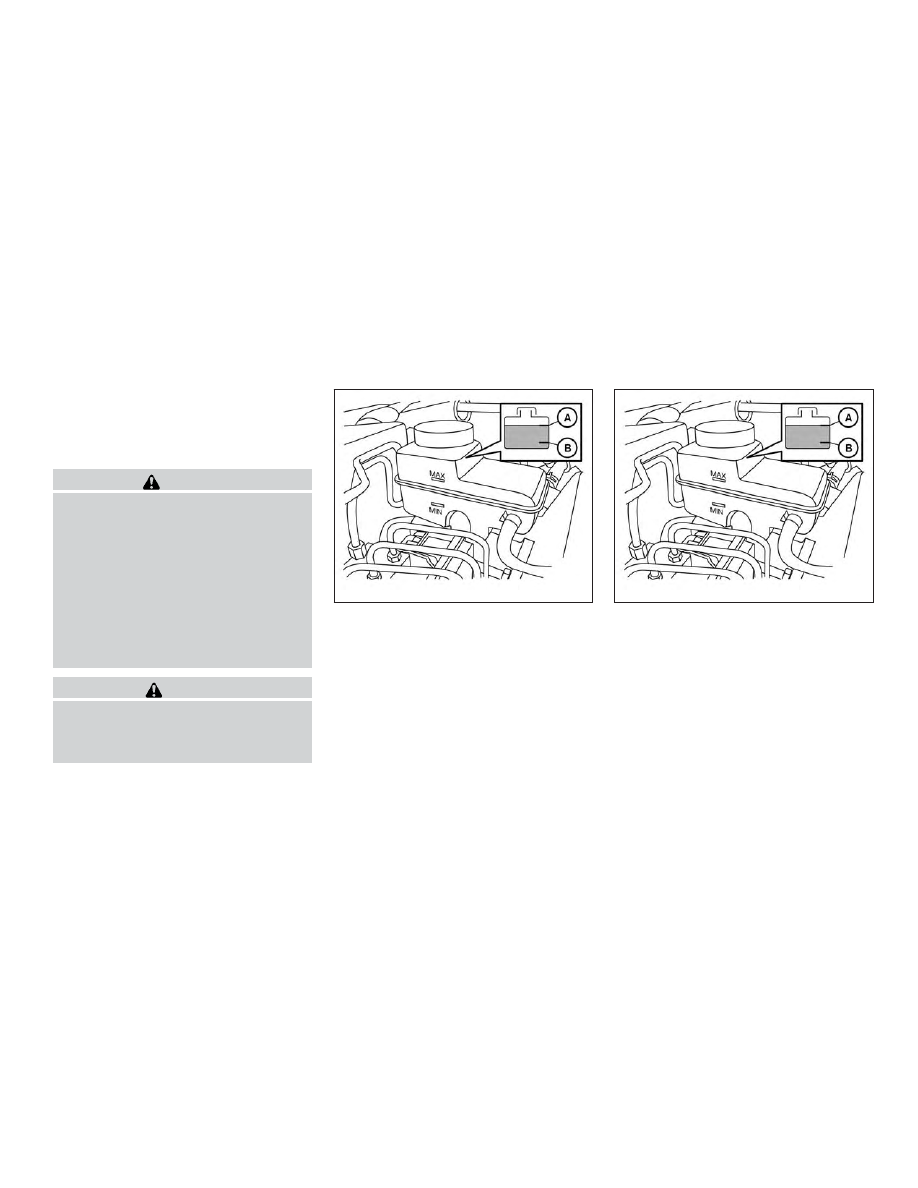
BRAKE FLUID
Check the brake fluid level in the reservoir. If the
fluid level is below the MIN line
䊊
B
or the brake
warning light comes on, add Genuine NISSAN
Super Heavy Duty Brake Fluid or equivalent DOT
3 fluid up to the MAX line
䊊
A
. If fluid must be
added frequently, the system should be checked
by a NISSAN dealer.
CLUTCH FLUID (if so equipped)
Check the clutch fluid level in the reservoir
(manual transmissions only). If the fluid level is
below the MIN
䊊
B
line, add Genuine NISSAN
Super Heavy Duty Brake Fluid or equivalent DOT
3 fluid up to the MAX
䊊
A
line. If fluid must be
added frequently, the system should be checked
by a NISSAN dealer.
For additional brake and clutch fluid specification
information,
refer
to
“Recommended
fluids/lubricants and capacities” in the “Technical
and consumer information” section of this
manual.
LDI2447
LDI2447
BRAKE AND CLUTCH (if so equipped)
FLUID
Maintenance and do-it-yourself
8-13